How to Configure Central Server?
- Petteri Kivimäki
This article is for X-Road versions < 7.3.0. Instructions for X-Road versions >= 7.3.0 are available here.
Table of contents
1. Configuration of the Central Server
1.1 Logging in to the administration interface and creating initial configuration
The official Central Server installation guide is available at: https://github.com/nordic-institute/X-Road/blob/develop/doc/Manuals/ig-cs_x-road_6_central_server_installation_guide.md
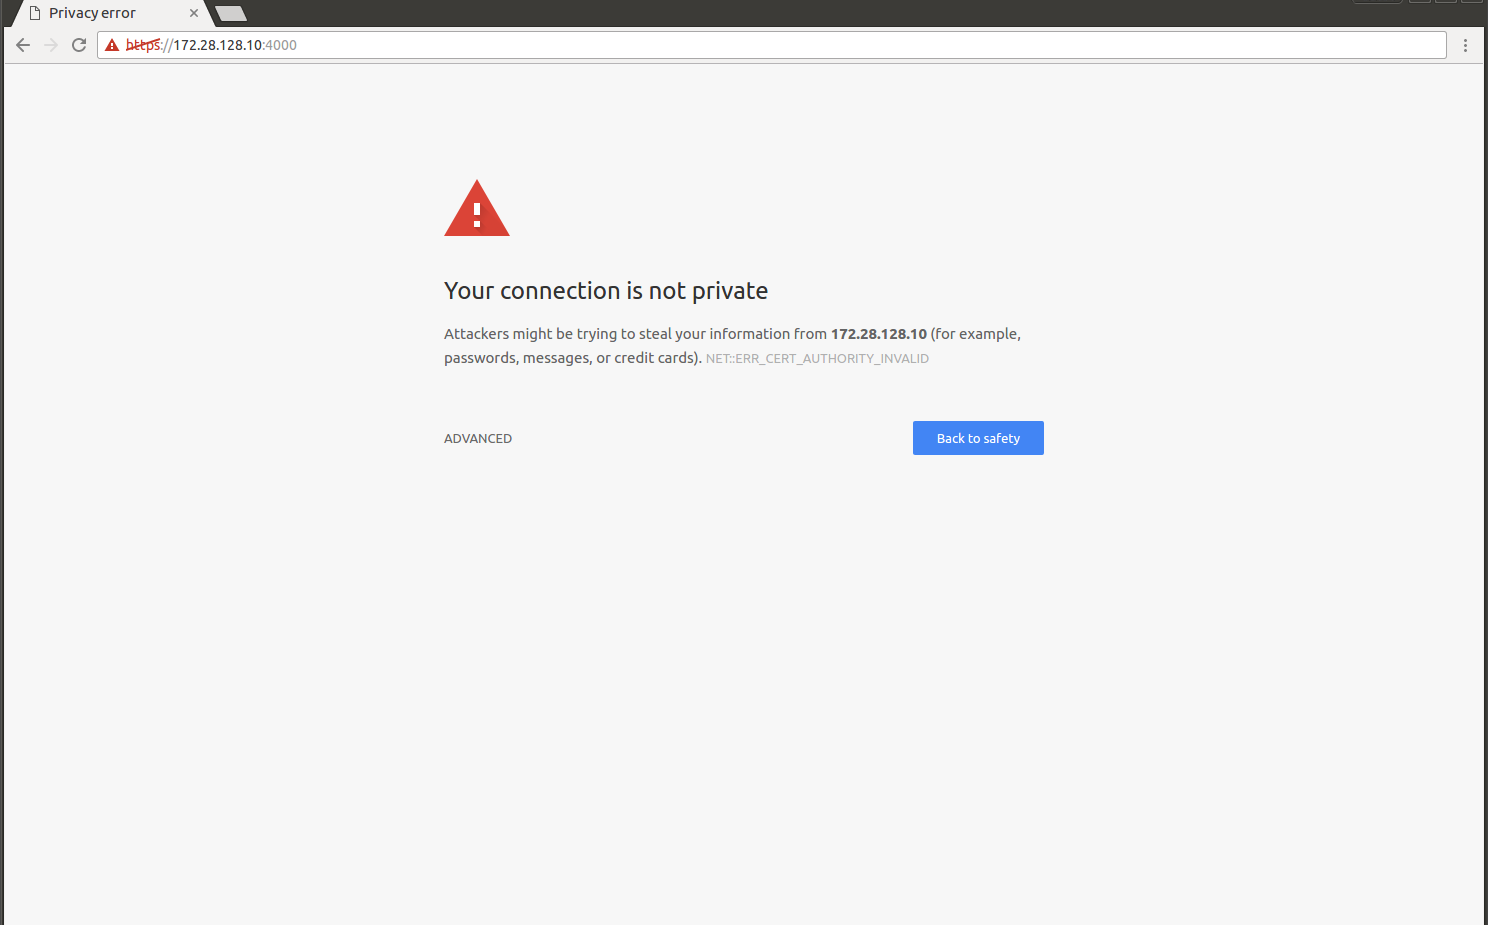
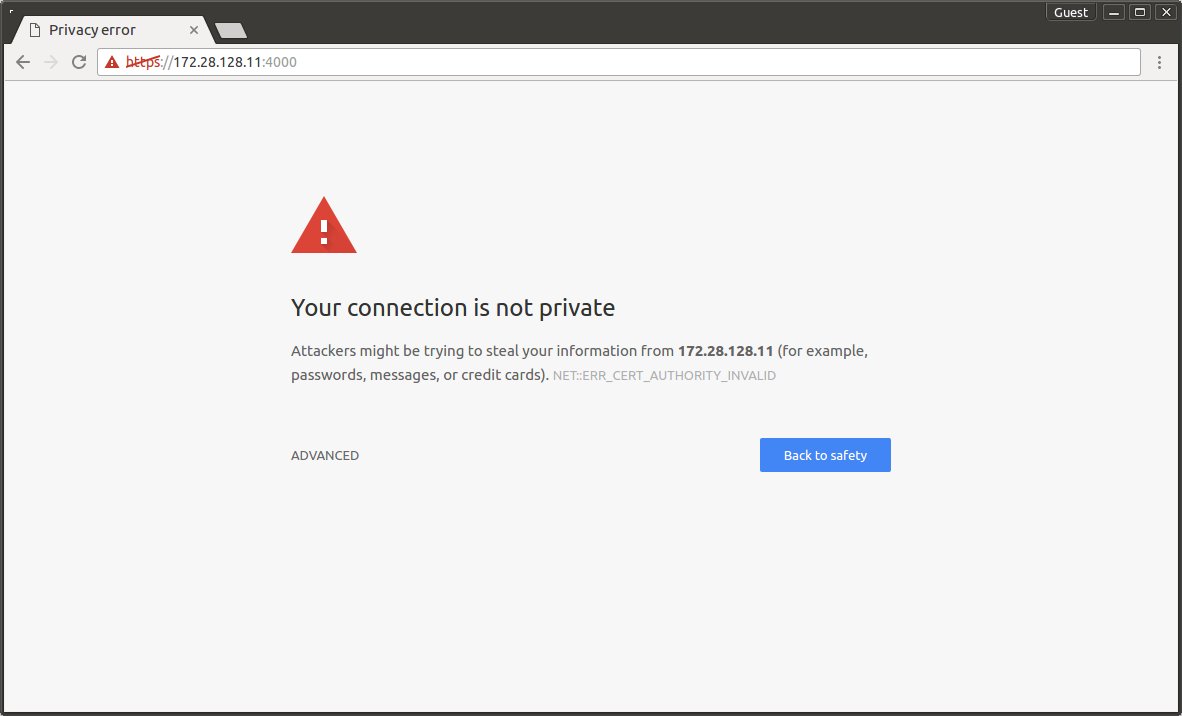
After installing the Central Server the admin interface can be found at https://<CENTRAL_SERVER_URL>:4000. At the first time the self-signed certificate from the server needs to be accepted.
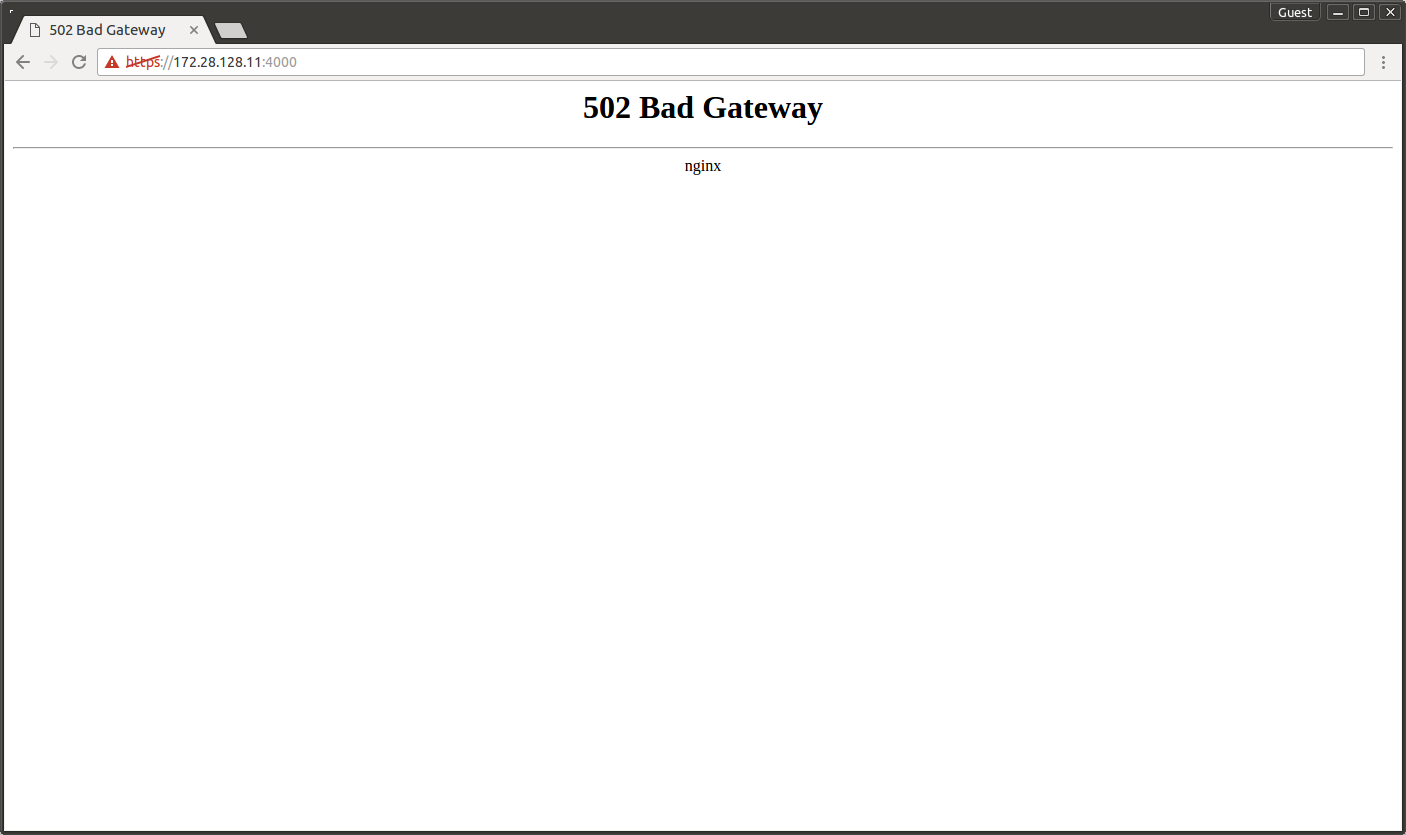
If you go to the URL right after the installation has finished, usually the background services have not started yet and an error message 502 Bad Gateway is returned.
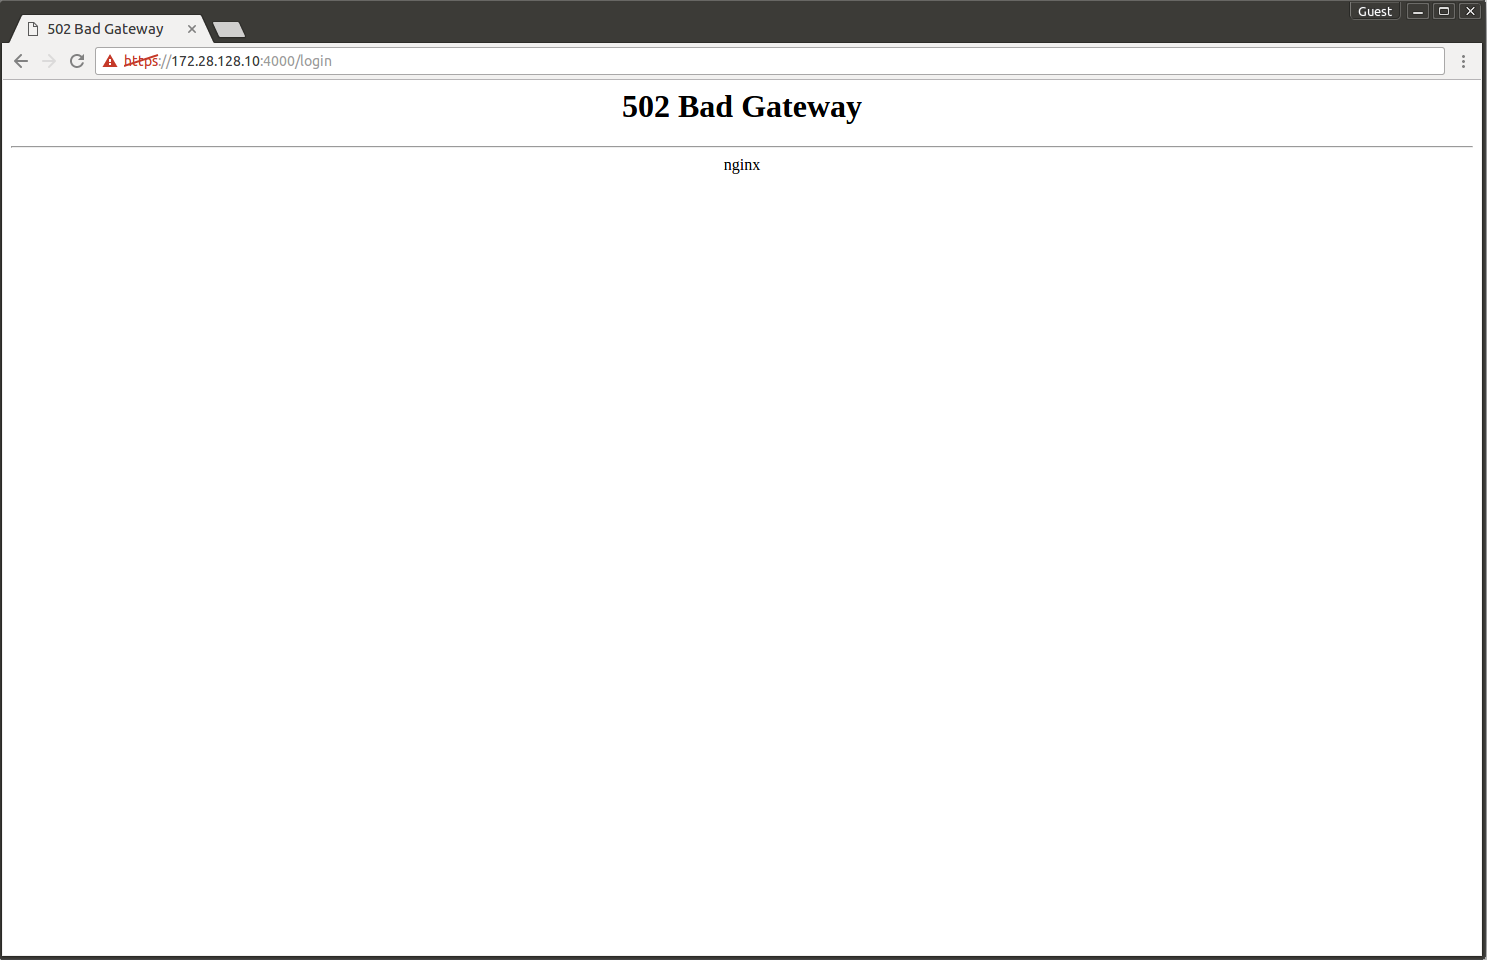
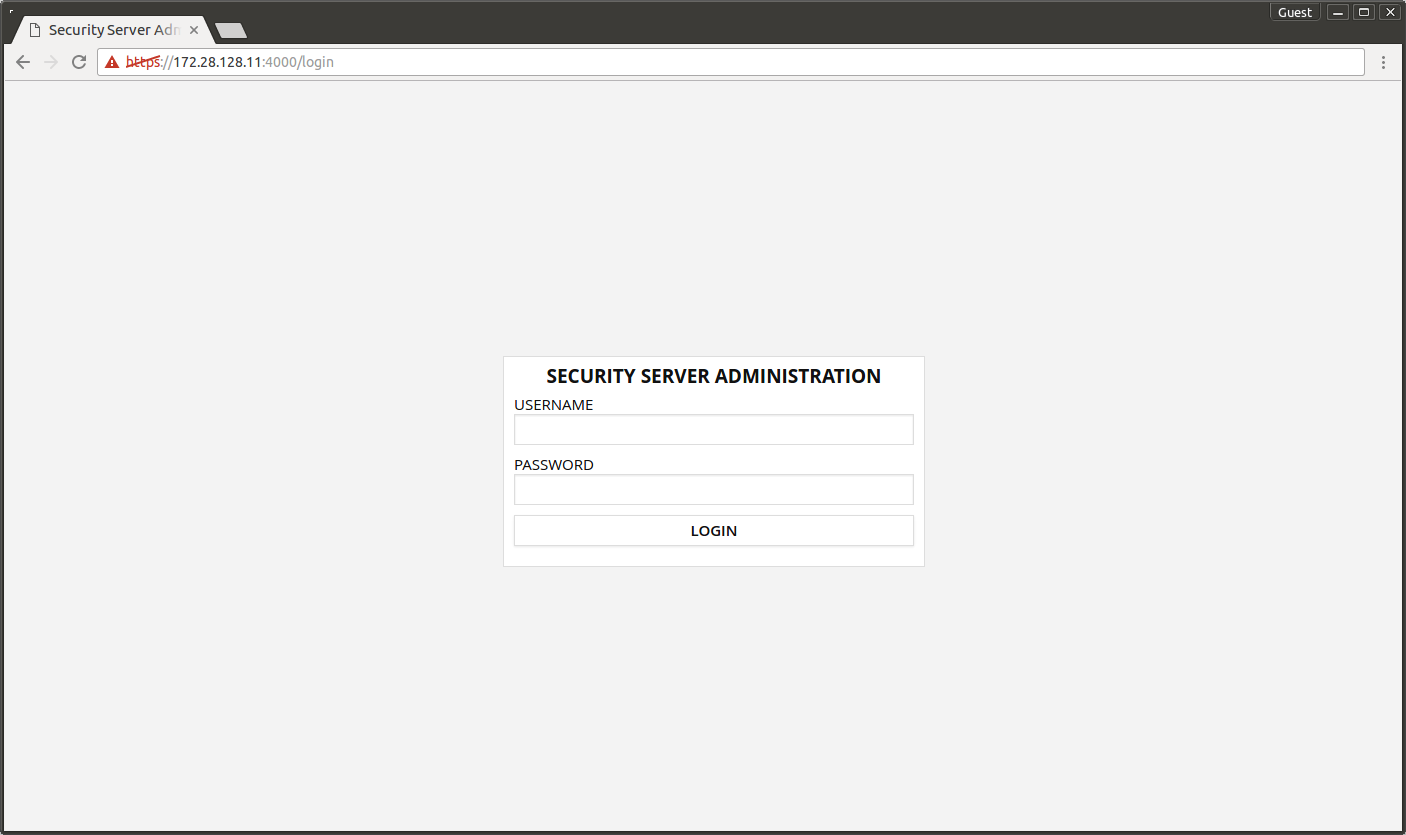
Wait for a while and eventually the browser connects to the admin interface.
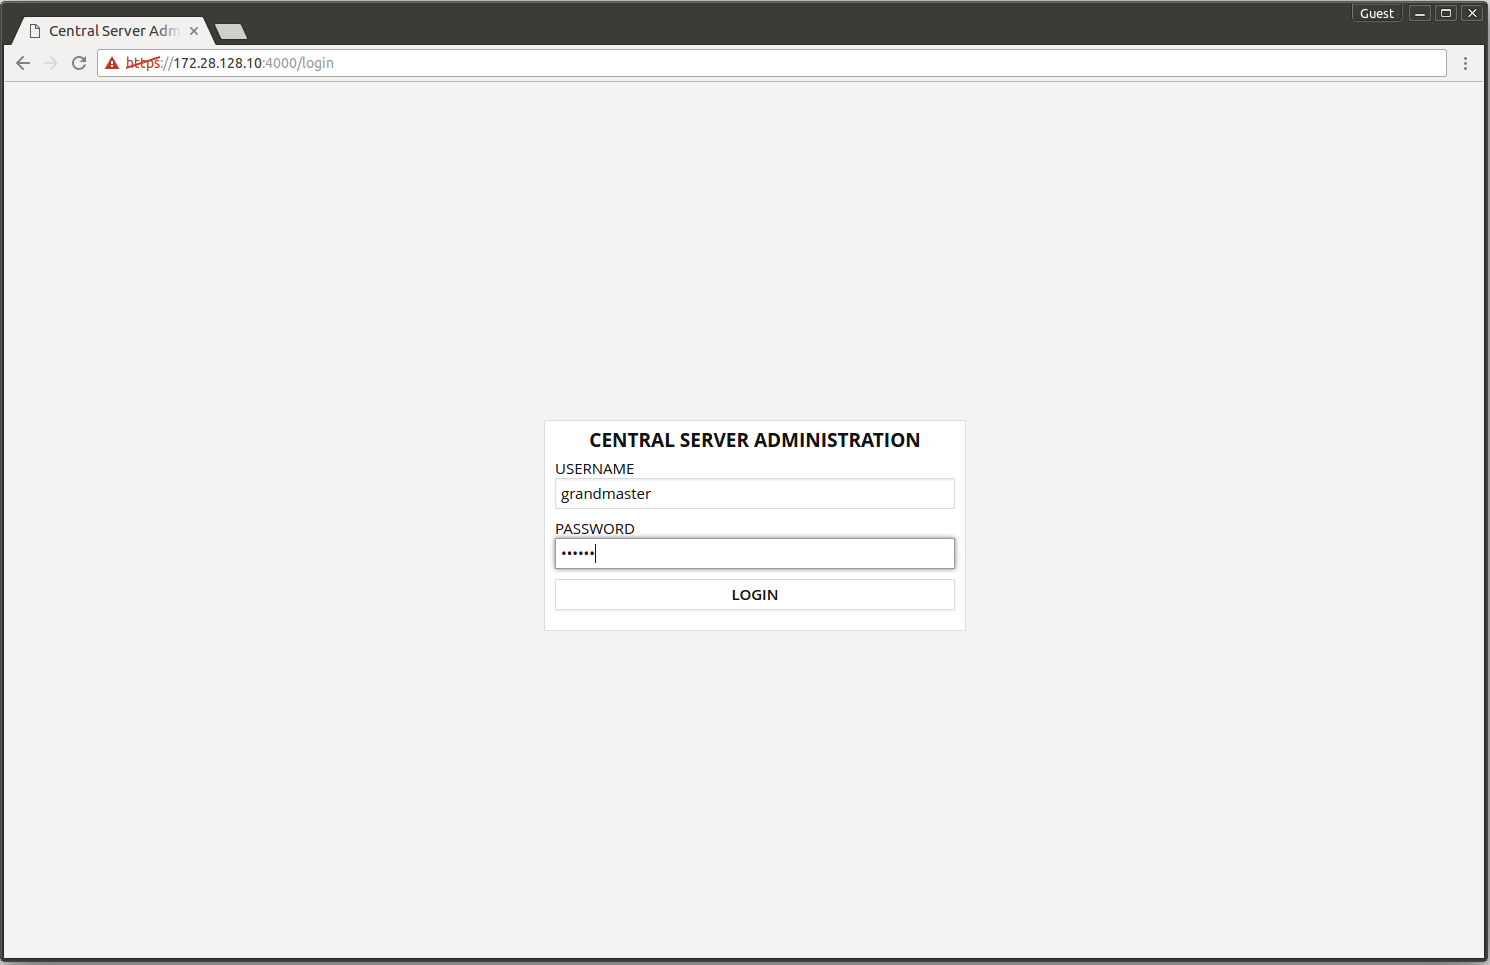
- Enter the admin interface root user credentials created during the installation phase.
- Press LOGIN.
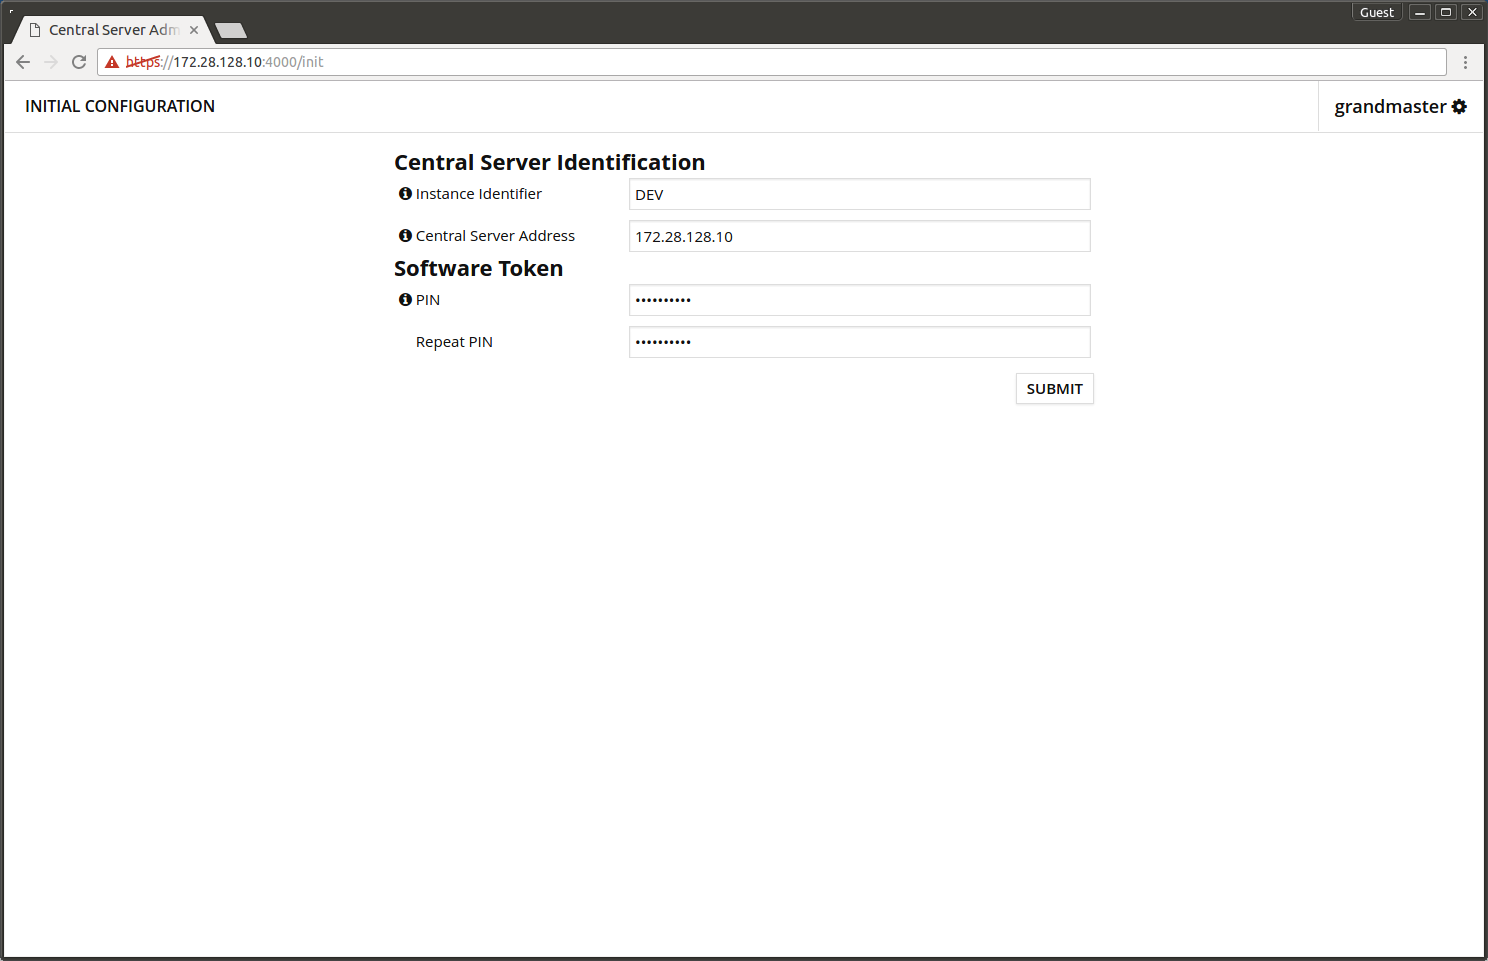
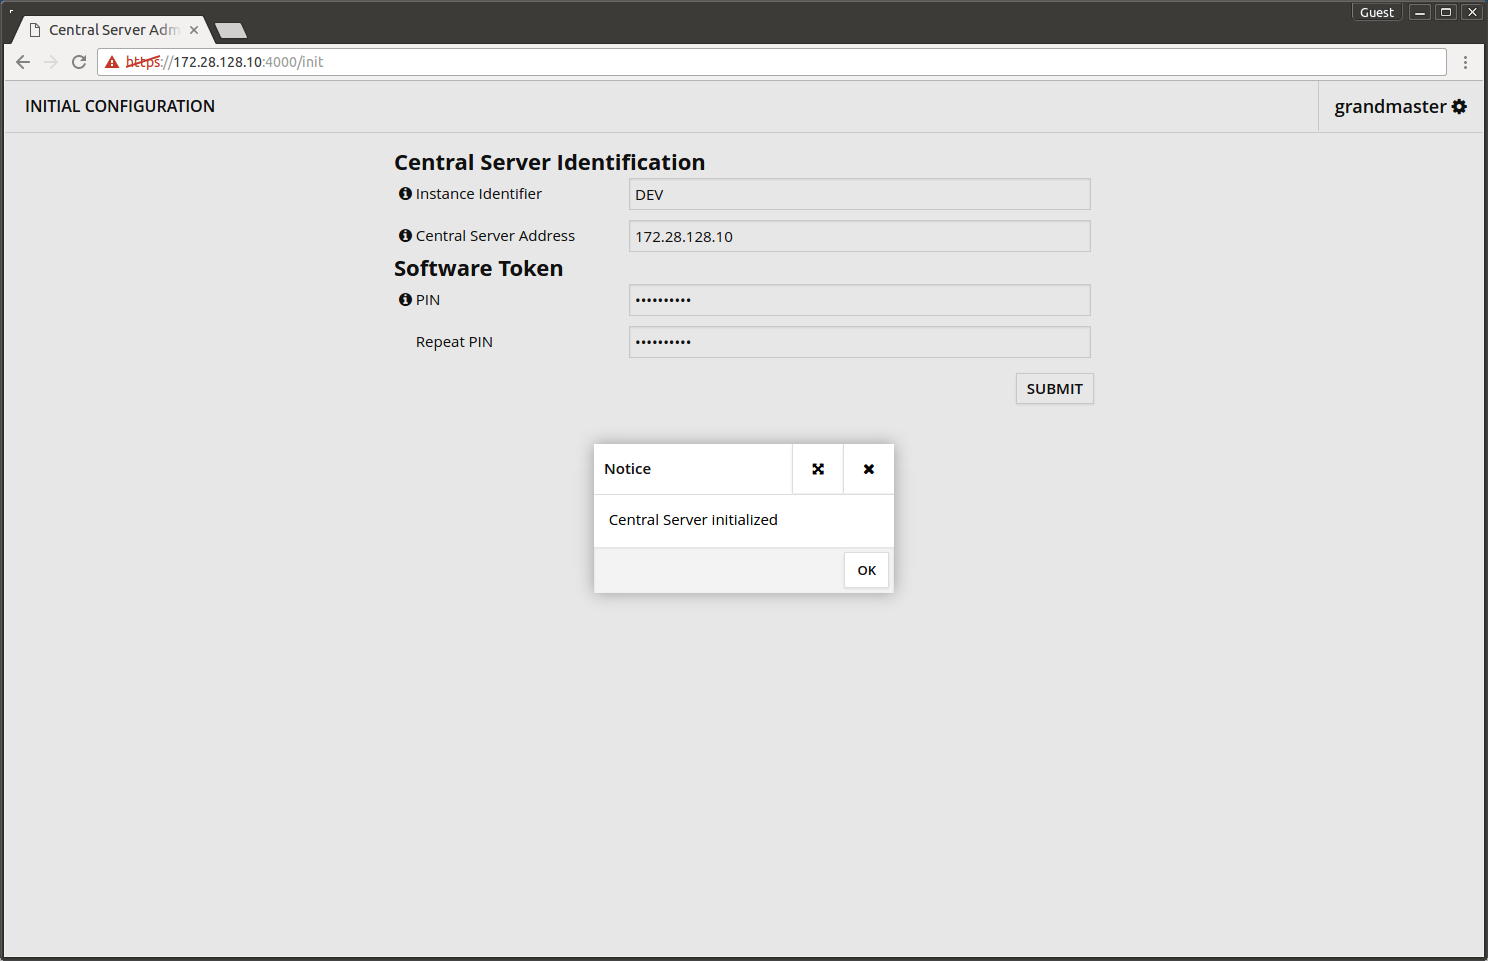
In the initial configuration screen you need to input the following information.
- X-Road instance name.
- Server FQDN.
- PIN-code that protects the server's secret keys.
- Press SUBMIT
The initial configuration is saved and the server outputs message Central Server Initialized.
Initially the admin interface displays multiple error messages but they will vanish while the configuration proceeds. At this point the errors can be ignored.

1.2 Adding member classes
Choose System Settings -> Member Classes -> ADD. Add suitable Member Class for the administrative organization and press OK.
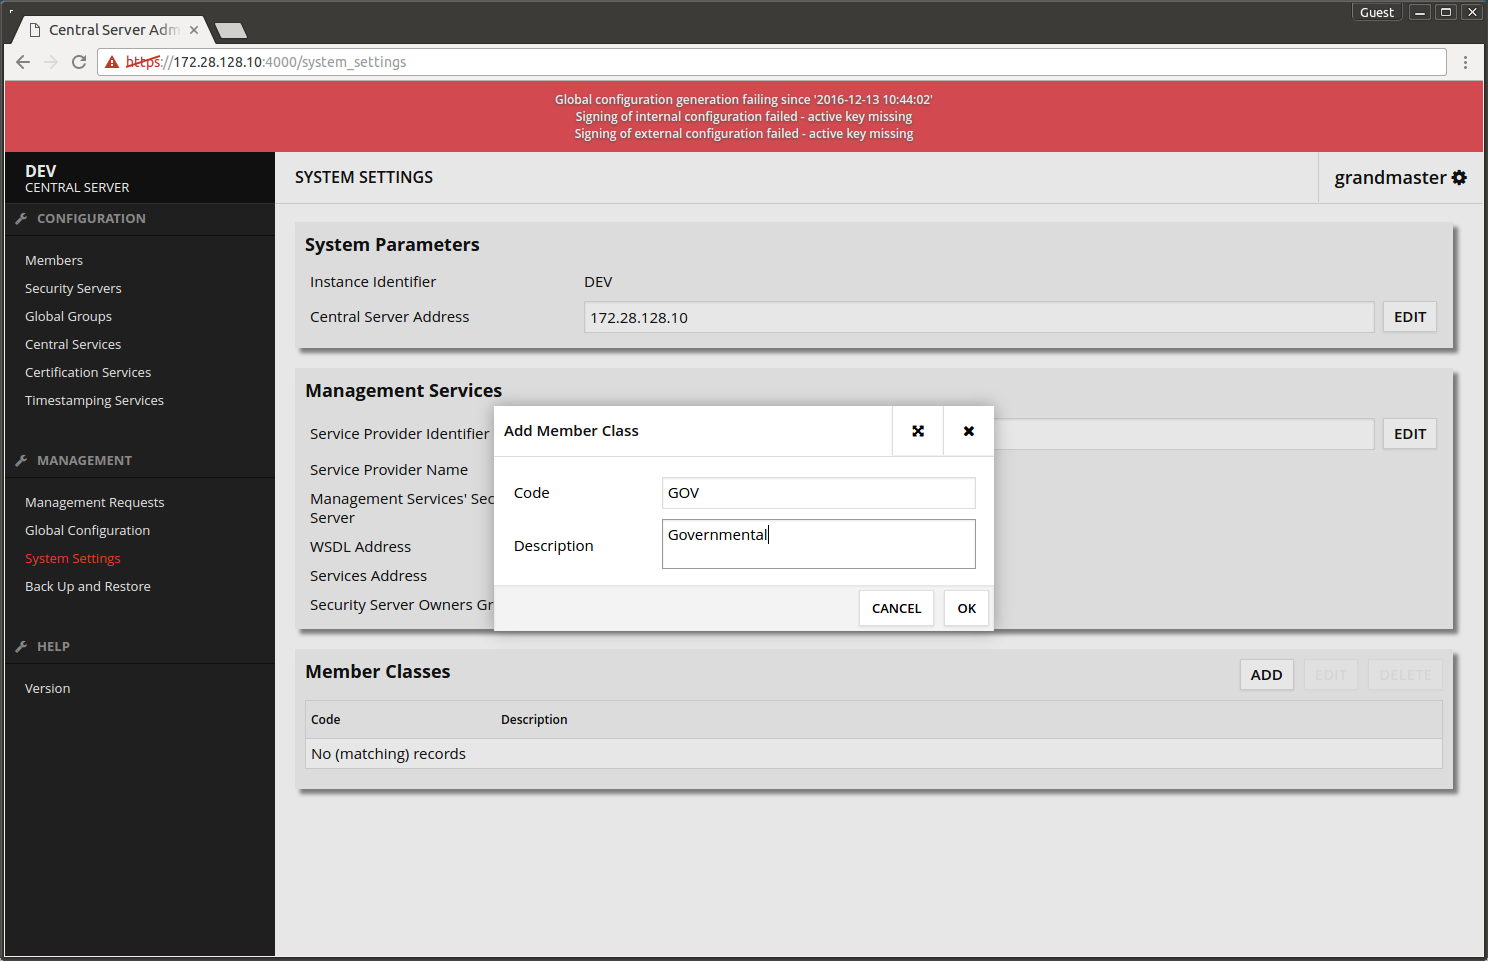
The added Member Class shows in the list.

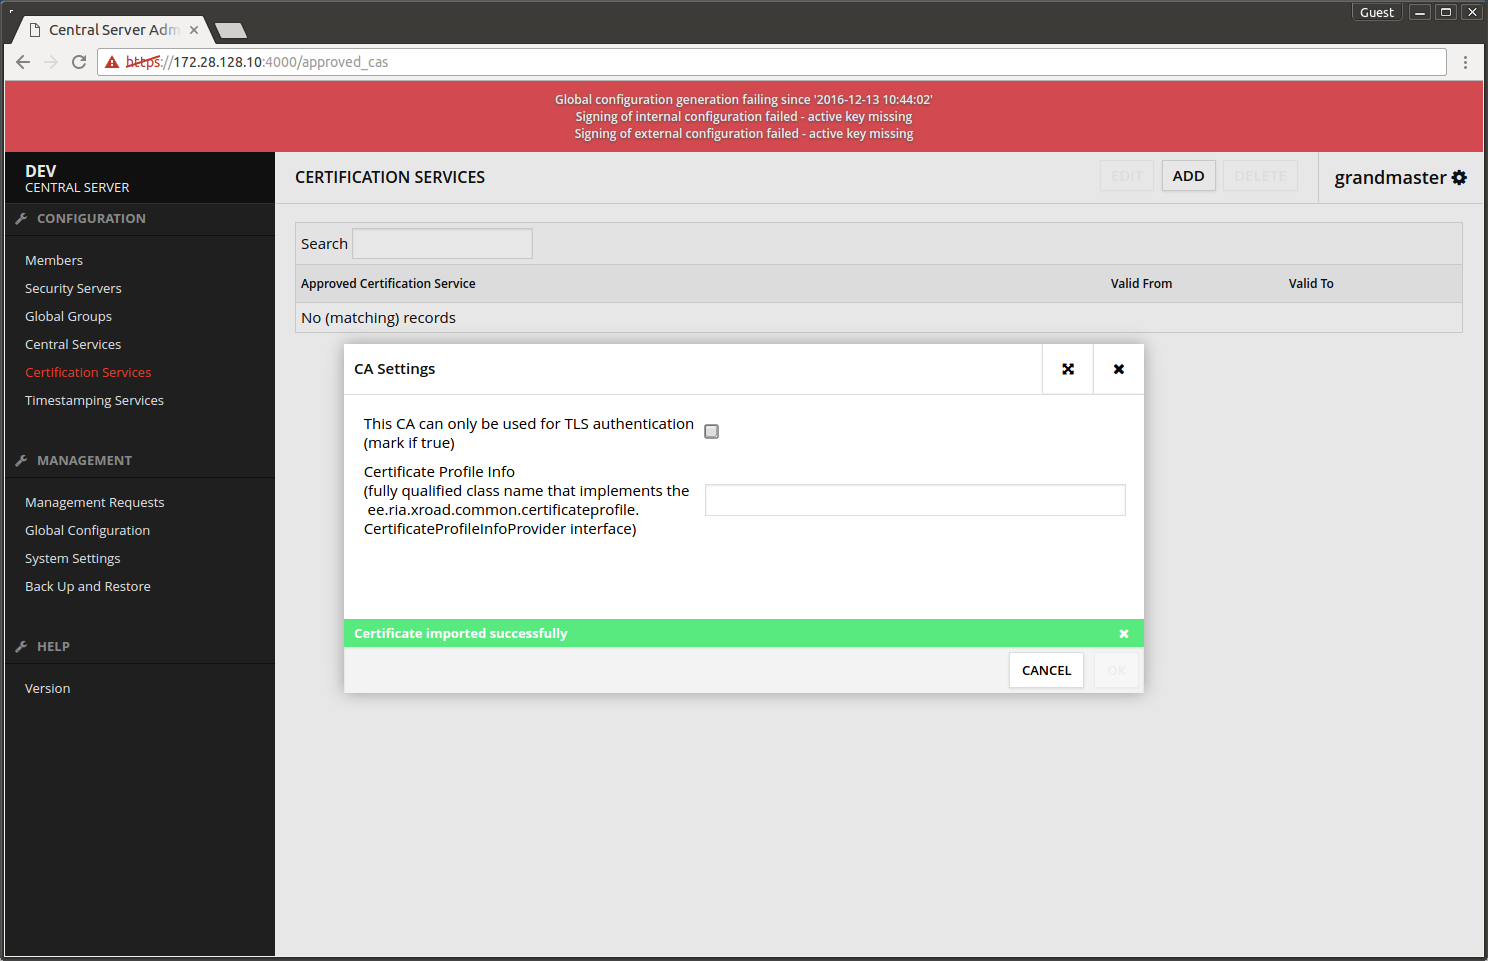
1.3 Adding certification service
When using the test CA as a certification provider, please see the location of the CA root certificate and OCSP certificate, and OCSP URL at:
- Choose Certification Services -> ADD.
- Upload the certification service's root certificate and pres NEXT.

- For test CA the following CertificateProfileInfo value must be used: ee.ria.xroad.common.certificateprofile.impl.FiVRKCertificateProfileInfoProvider.
- Press OK
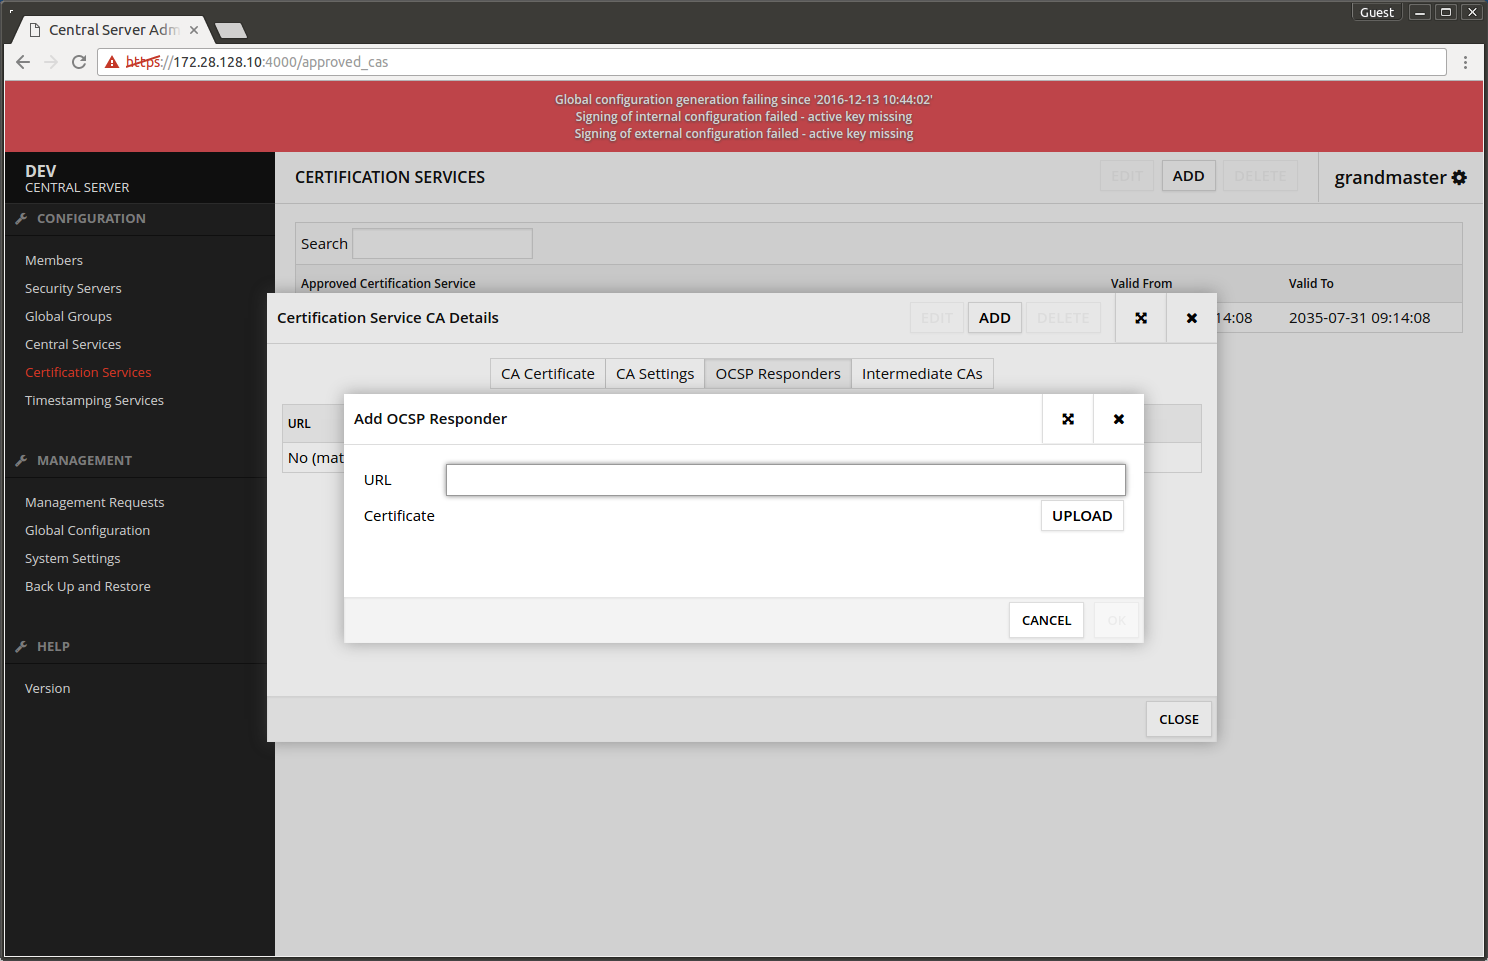
- Choose OCSP Responders -> ADD.
- URL is the OCSP responder's address.
- Upload the OCSP responder's certificate.
- Press OK.
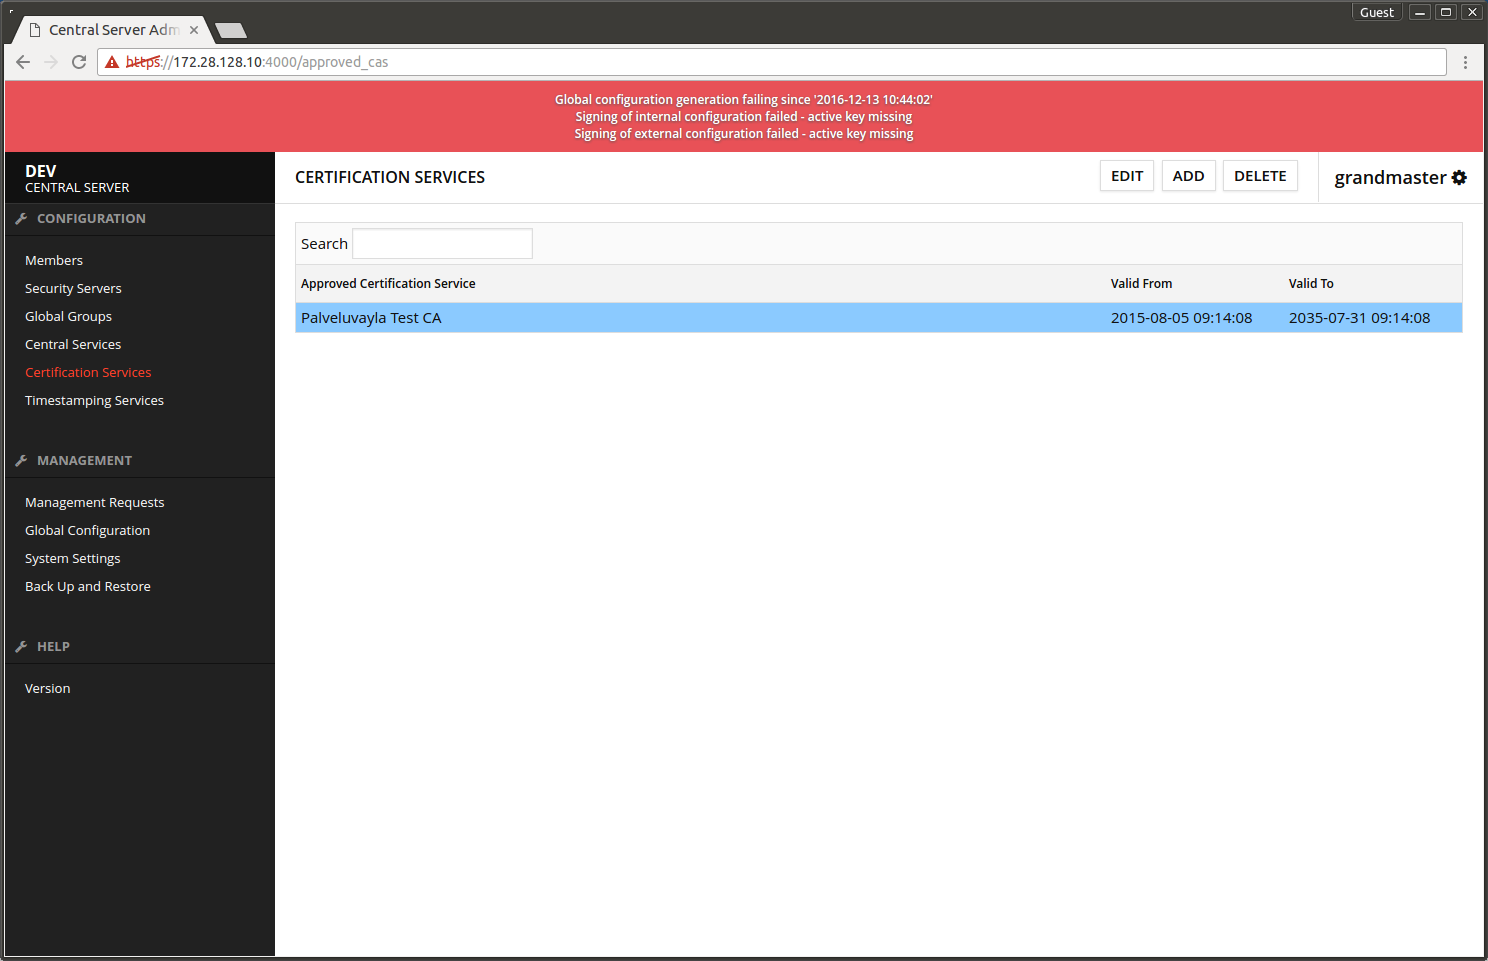
Screen after adding the certification service.
1.4 Adding time-stamping service
When using the test CA as a time-stamping provider, please see the location of the TSA certificate and TSA URL at:
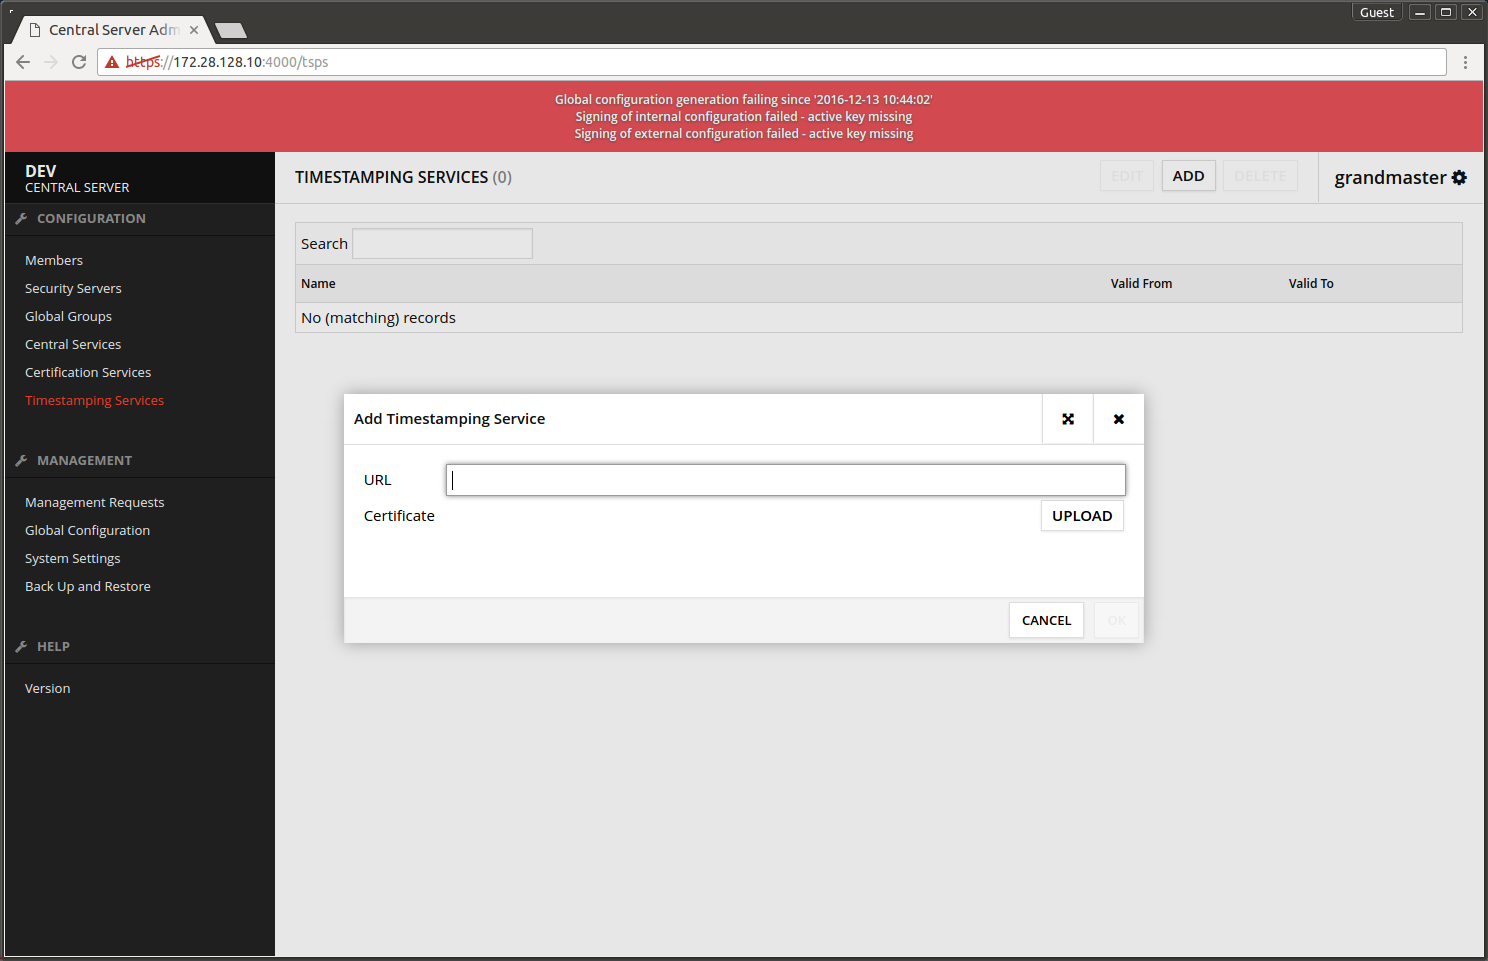
- Choose Timestamping Services -> ADD.
- Add timestamping service URL.
- Upload the timestamping service's certificate.
- Press OK.
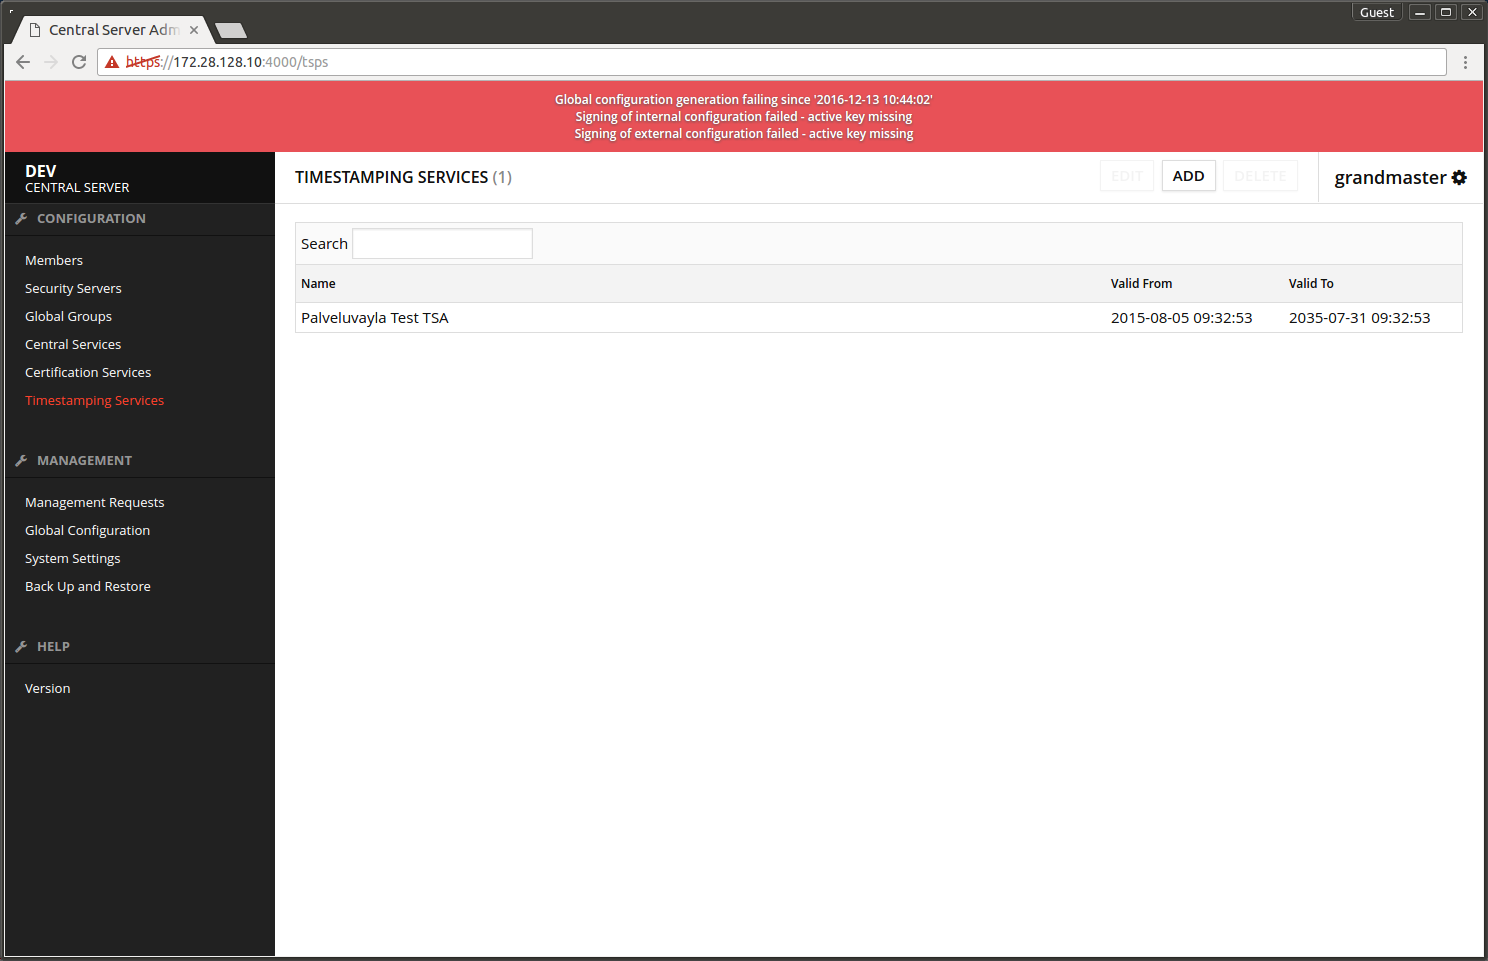
The screen after adding the time-stamping service.
1.5 Adding the administrative organization and subsystem
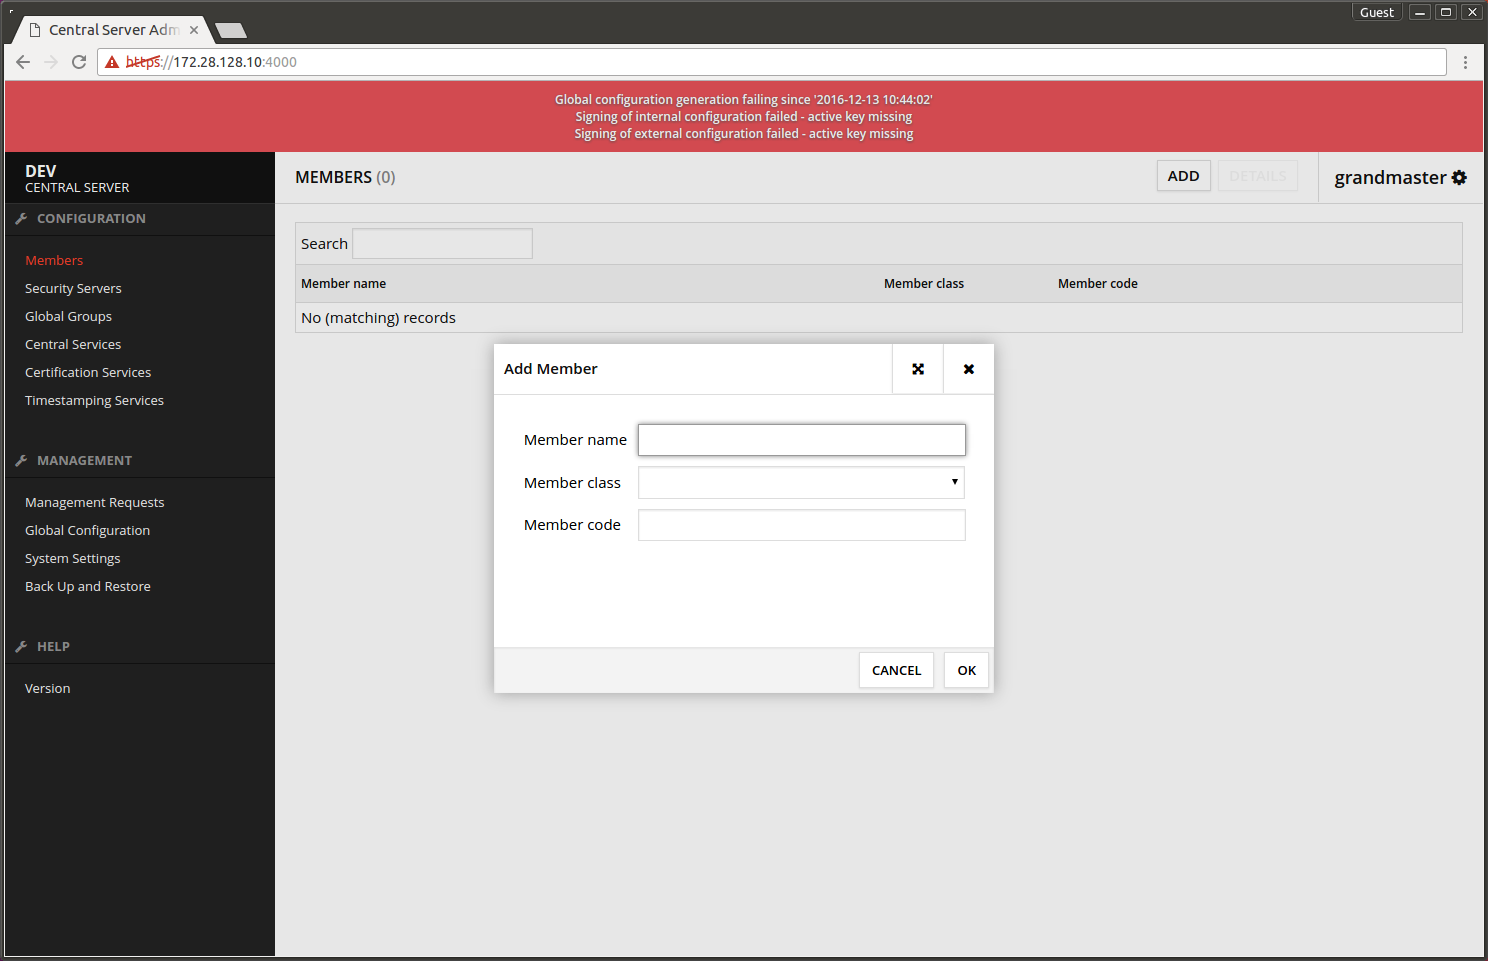
- Choose Members -> ADD.
- Member name - the name of the administrative organization.
- Member class - pick from the list.
- Member code - organization identifier, e.g. business ID
- Press OK.
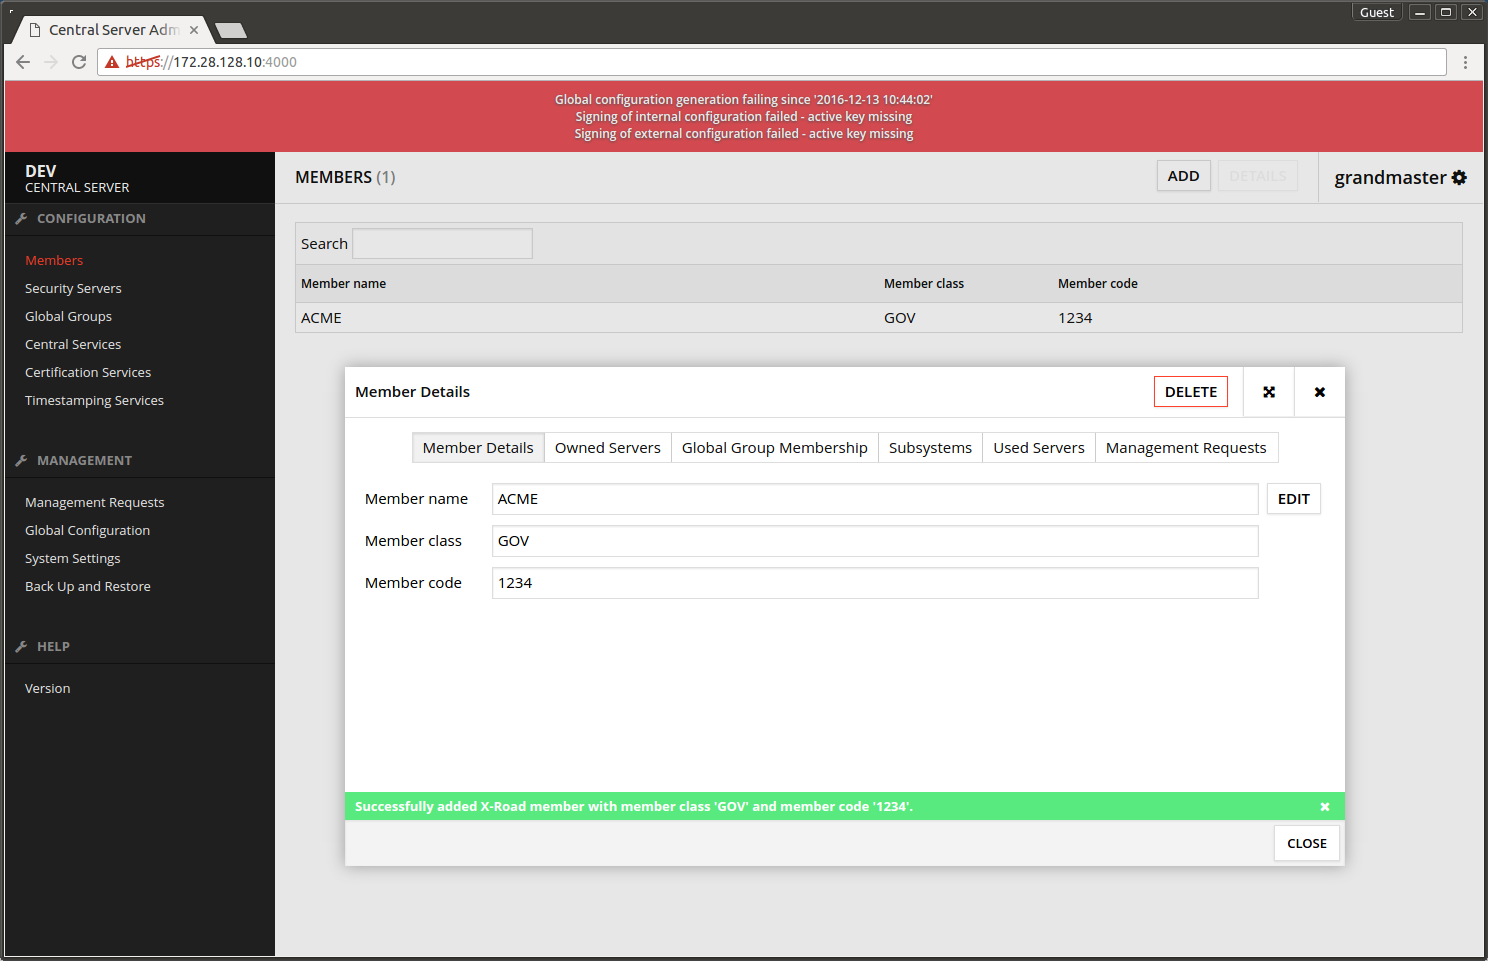
The screen after adding the organization.
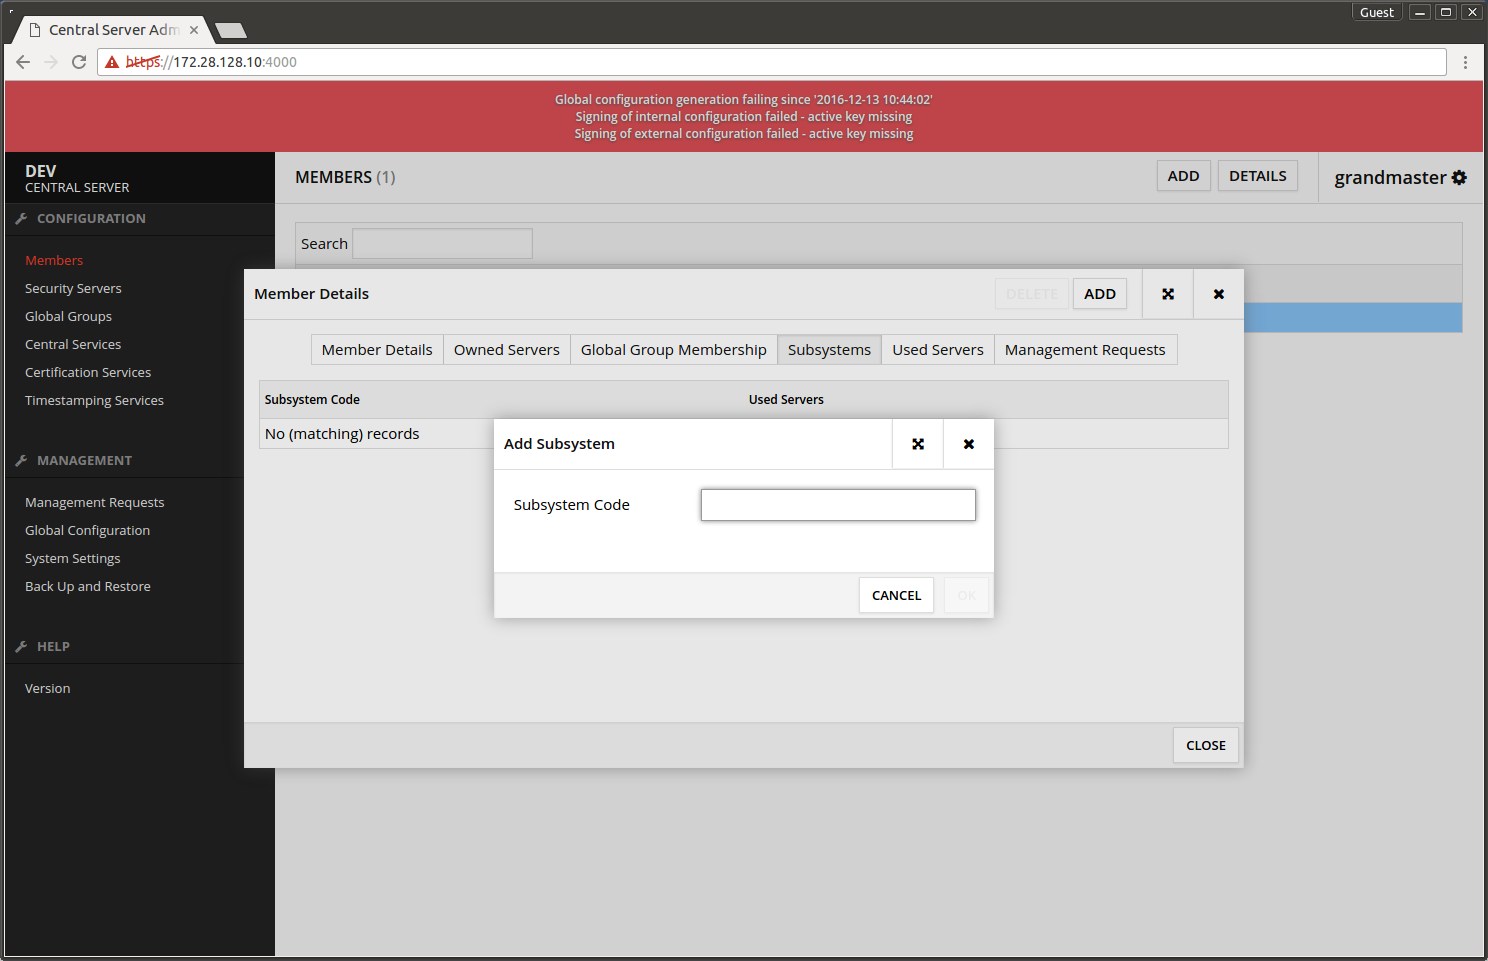
- For management services a subsystem is added to the organization. Choose Subsystems -> ADD.
- Subsystem Code - enter the subsystem's name.
- Press OK.
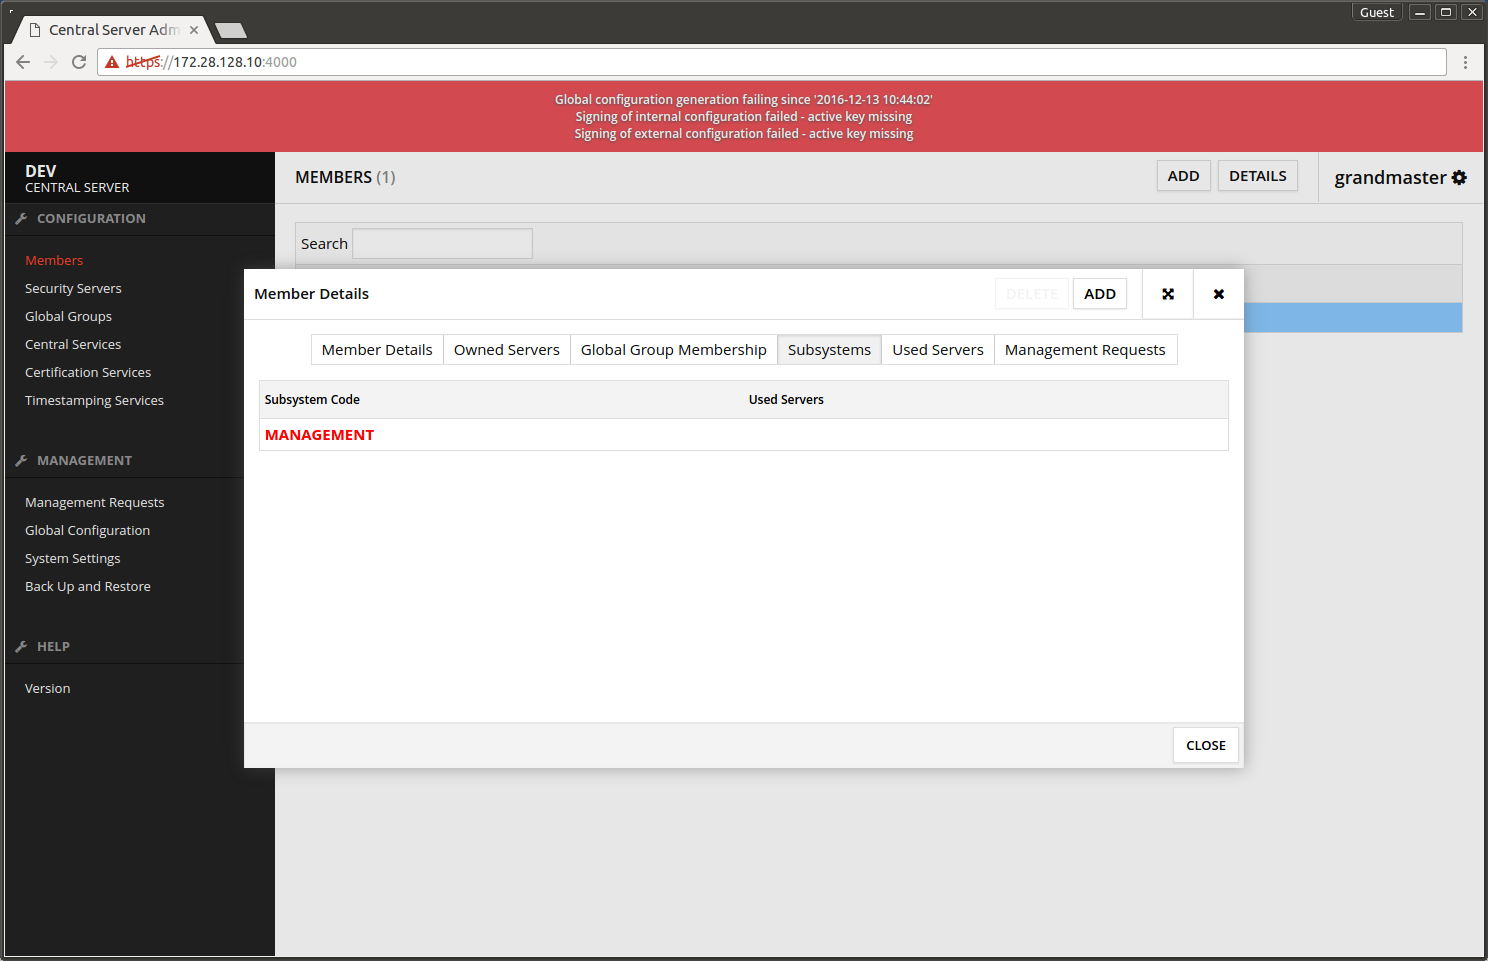
The screen after adding the subsystem.
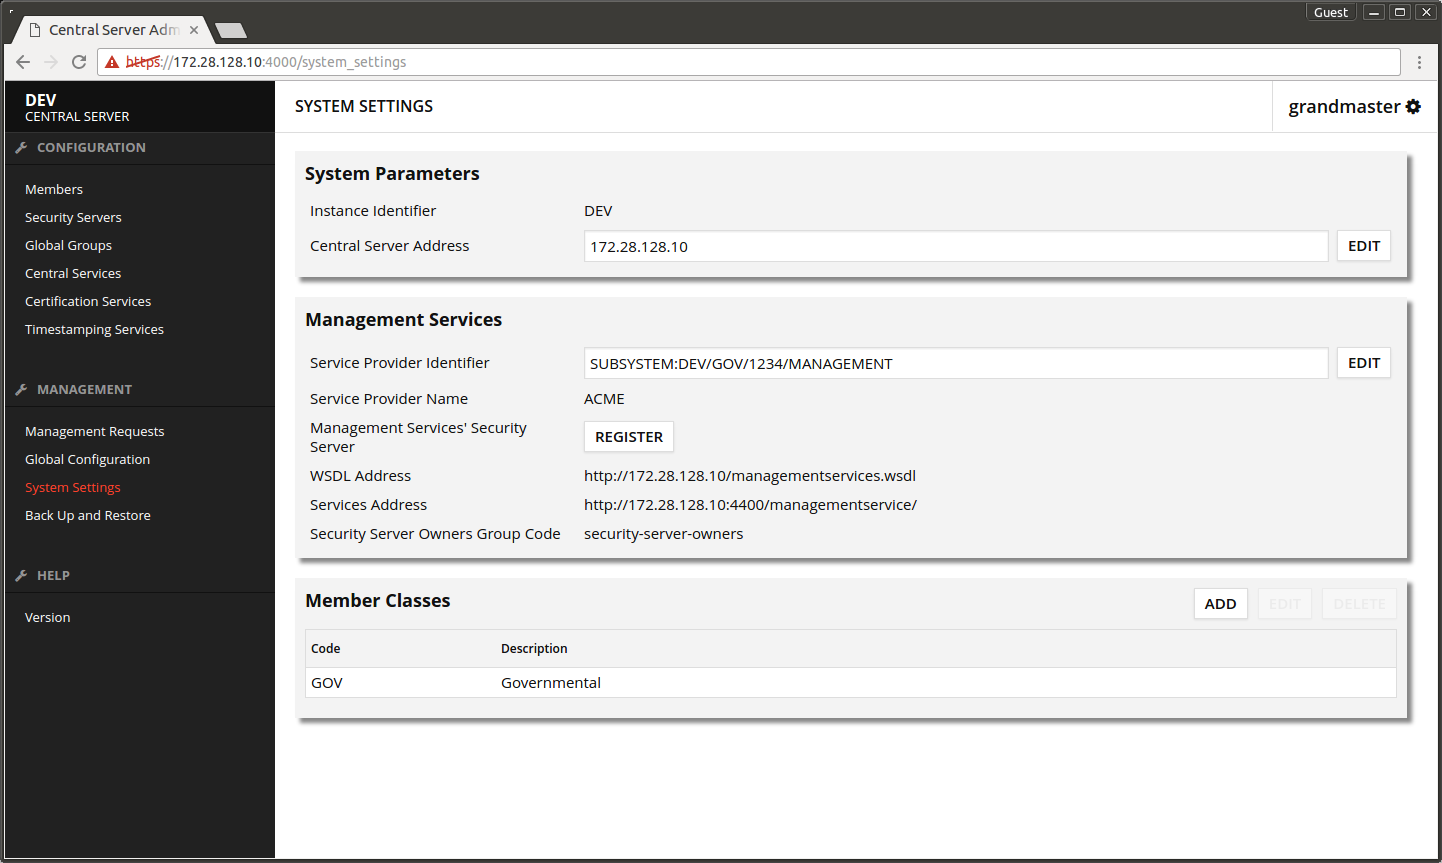
1.6 Configuring the management services
- Choose System Settings -> Management Services -> Service Provider Identifier -> EDIT.
- Pick the subsystem that was added earlier.
- Press SELECT.

The screen after configuring the subsystem for management services.

1.7 Adding the signing keys
- Choose Global Configuration -> Internal Configuration -> Signing keys -> NEW KEY.
- Press OK.
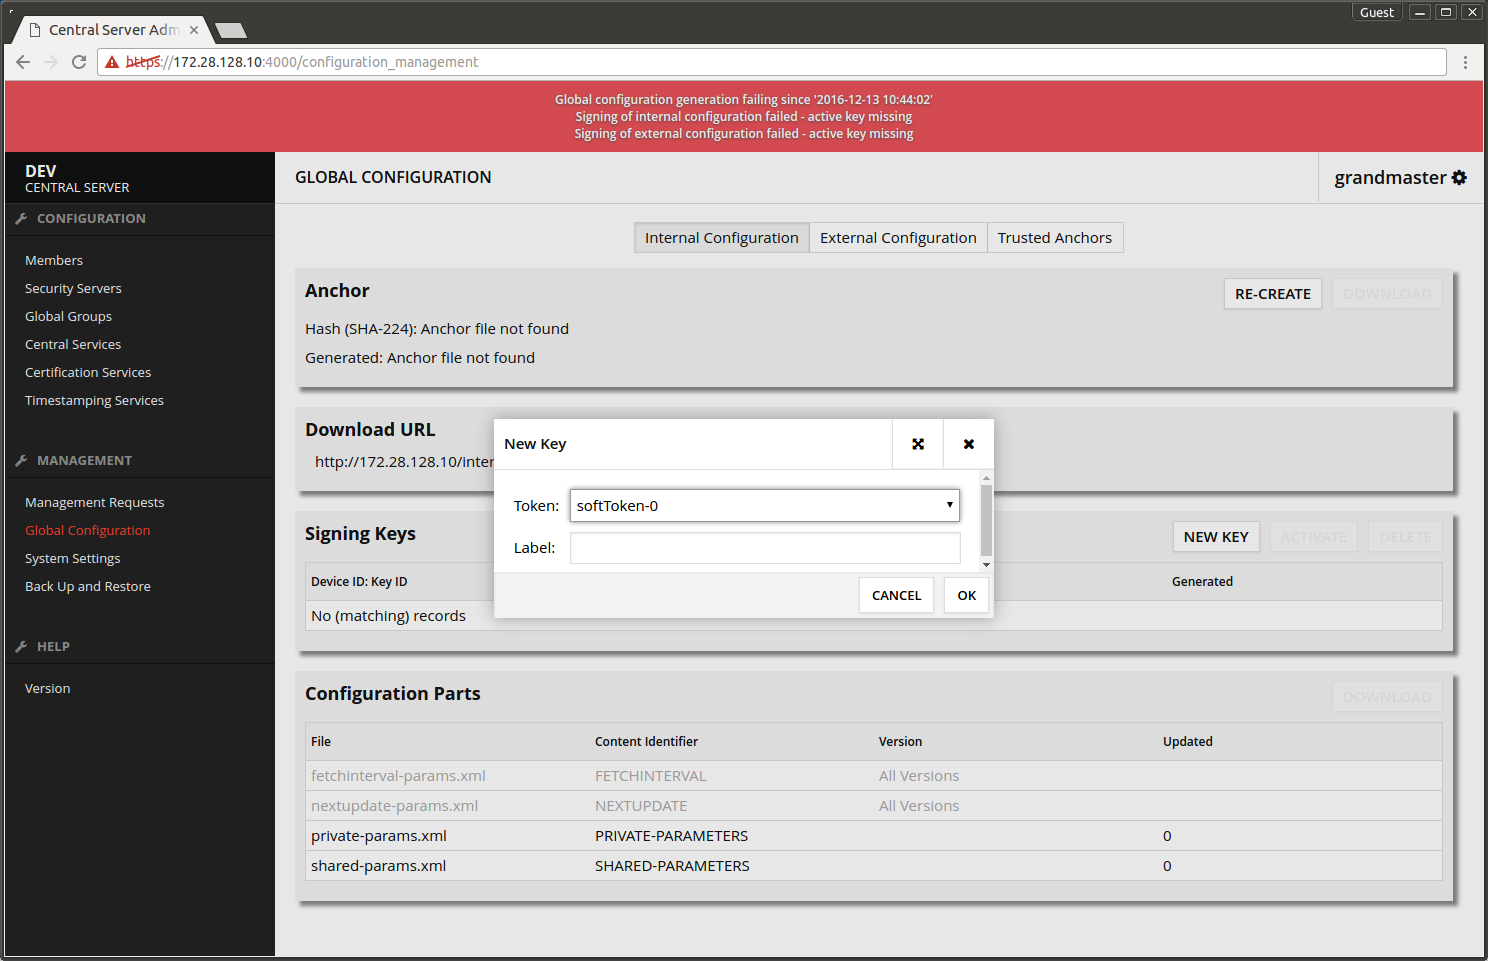
- Write the PIN-code that was chosen earlier.
- Press OK.
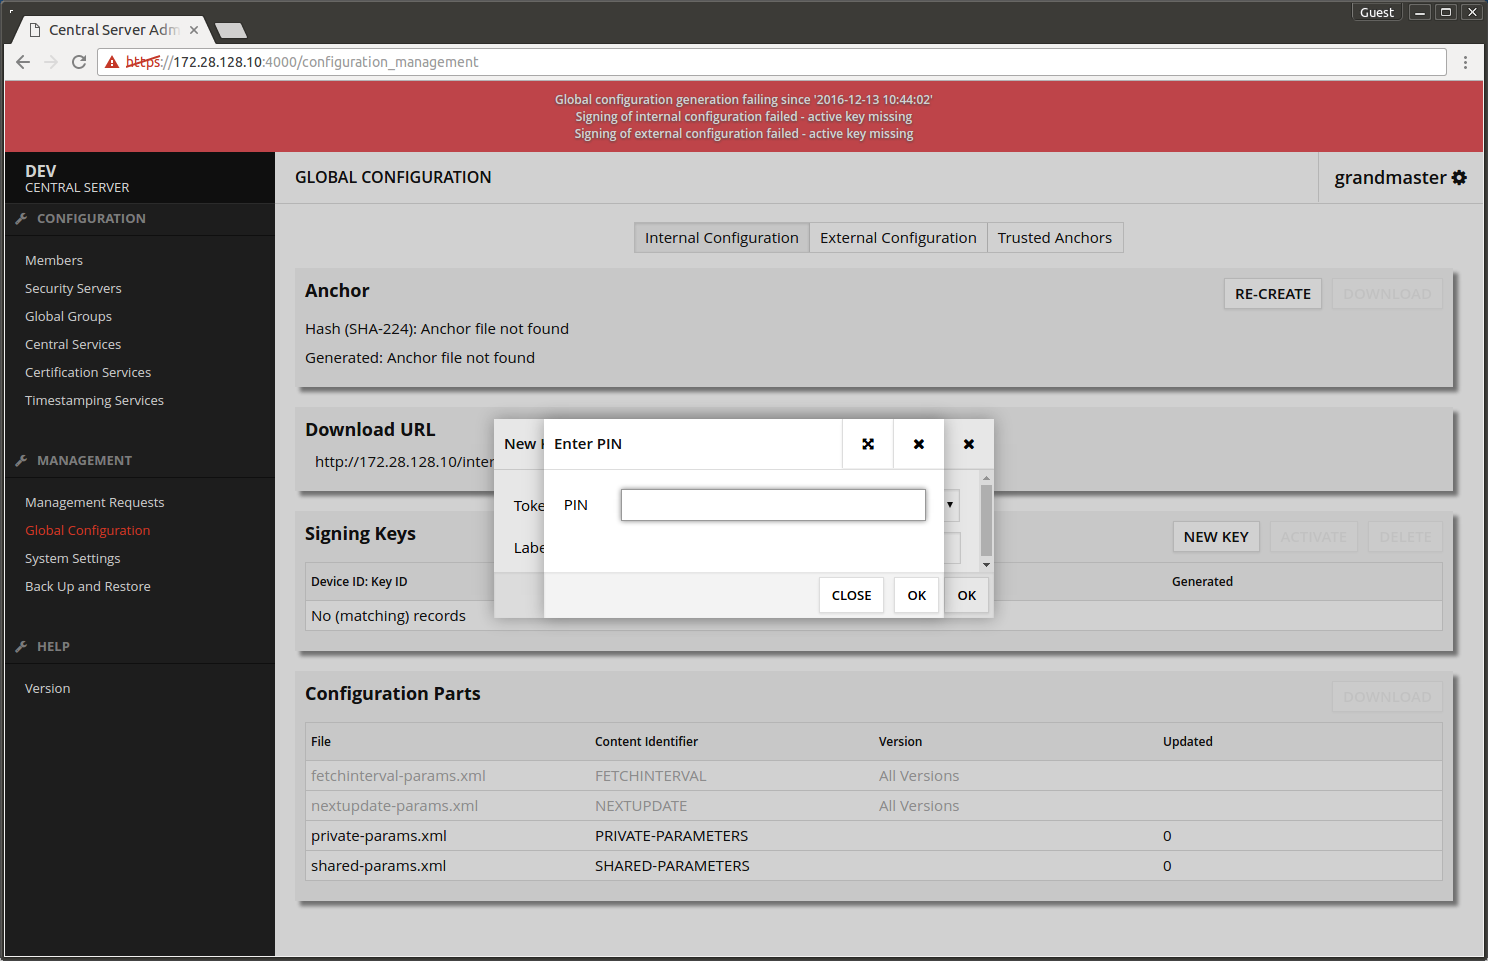
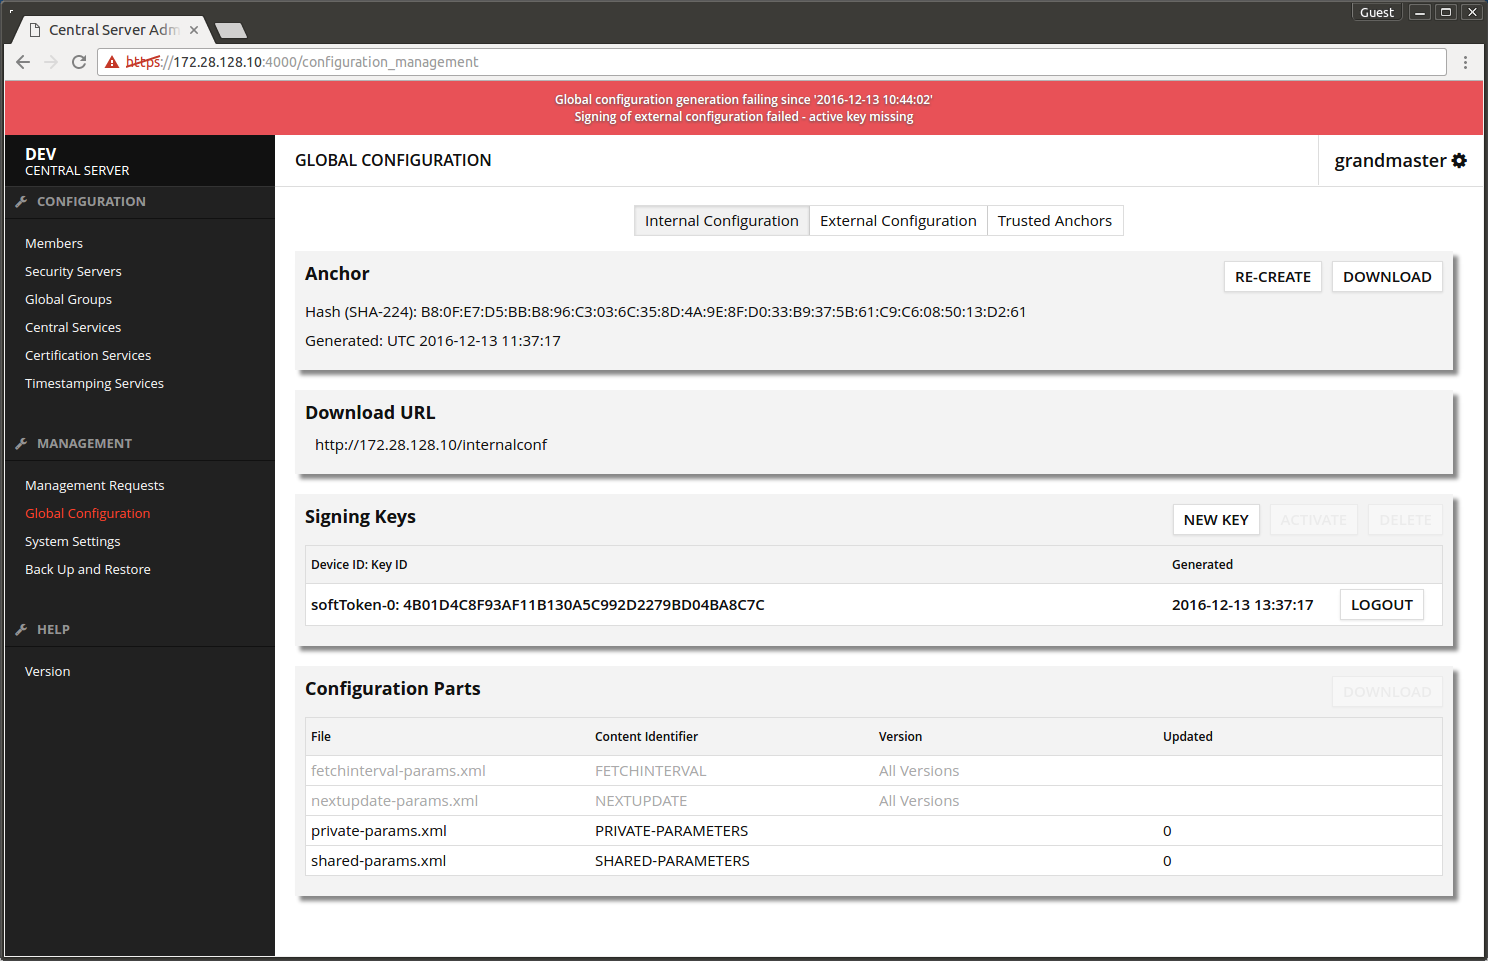
The screen after adding the internal signing key.
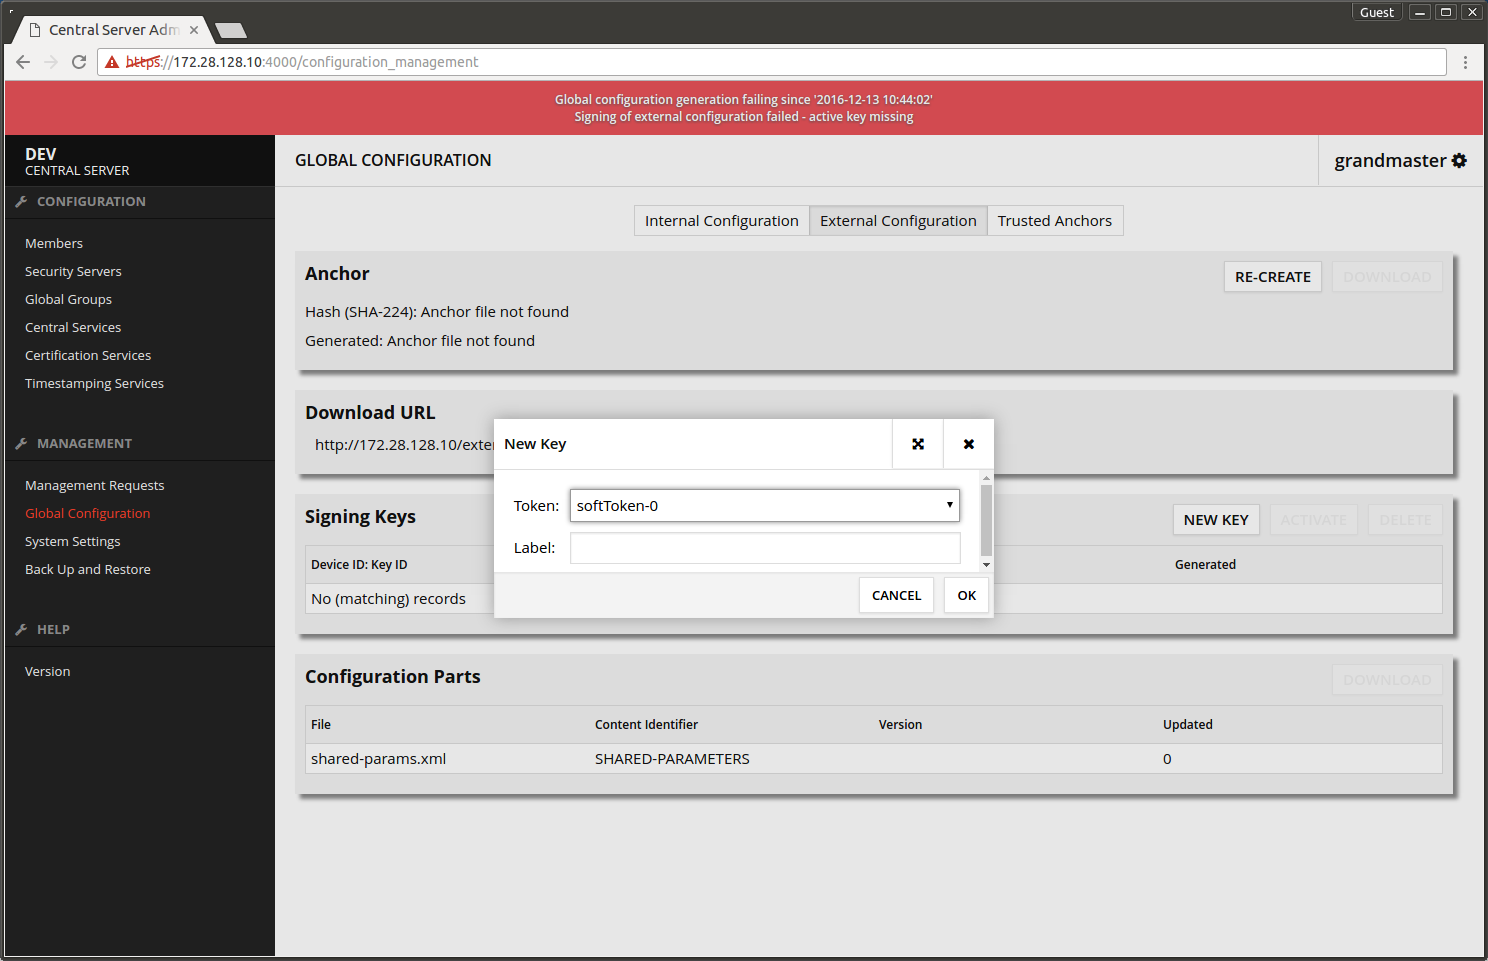
- Choose Global Configuration -> External Configuration -> Signing keys -> NEW KEY.
- Press OK.
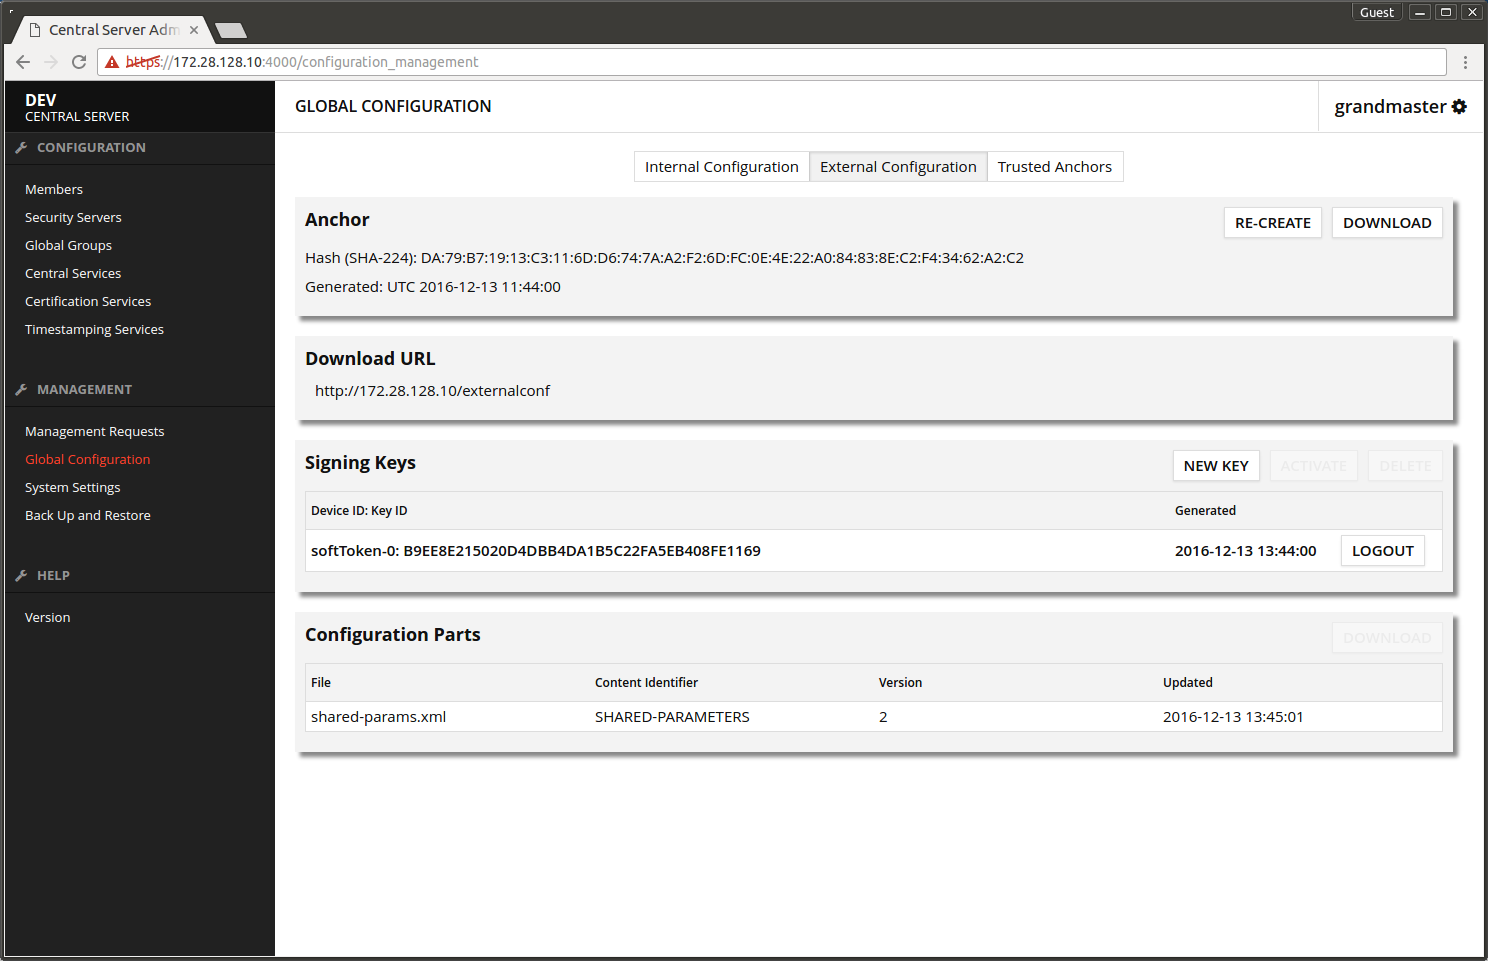
The screen after adding the external signing key.

The user interface error messages vanish after small wait. The configuration of the central server is now finished.
2. Installing the Security Server for management services
The official Security Server installation guide is available at: https://github.com/nordic-institute/X-Road/blob/develop/doc/Manuals/ig-ss_x-road_v6_security_server_installation_guide.md
3. Configuring the Security Server for management services
3.1 Initial configuration
After installing the Security Server the admin interface is found at https://<SECURITY_SERVER_URL>:4000/. At the first time the self-signed certificate needs to be approved.
If you go to the address right after the installation has finished, usually the background services have not yet started and an error message 502 Bad Gateway is displayed.
Wait for a while and eventually the browser connects to the admin user interface. Enter the administrator user credentials created during the installation.
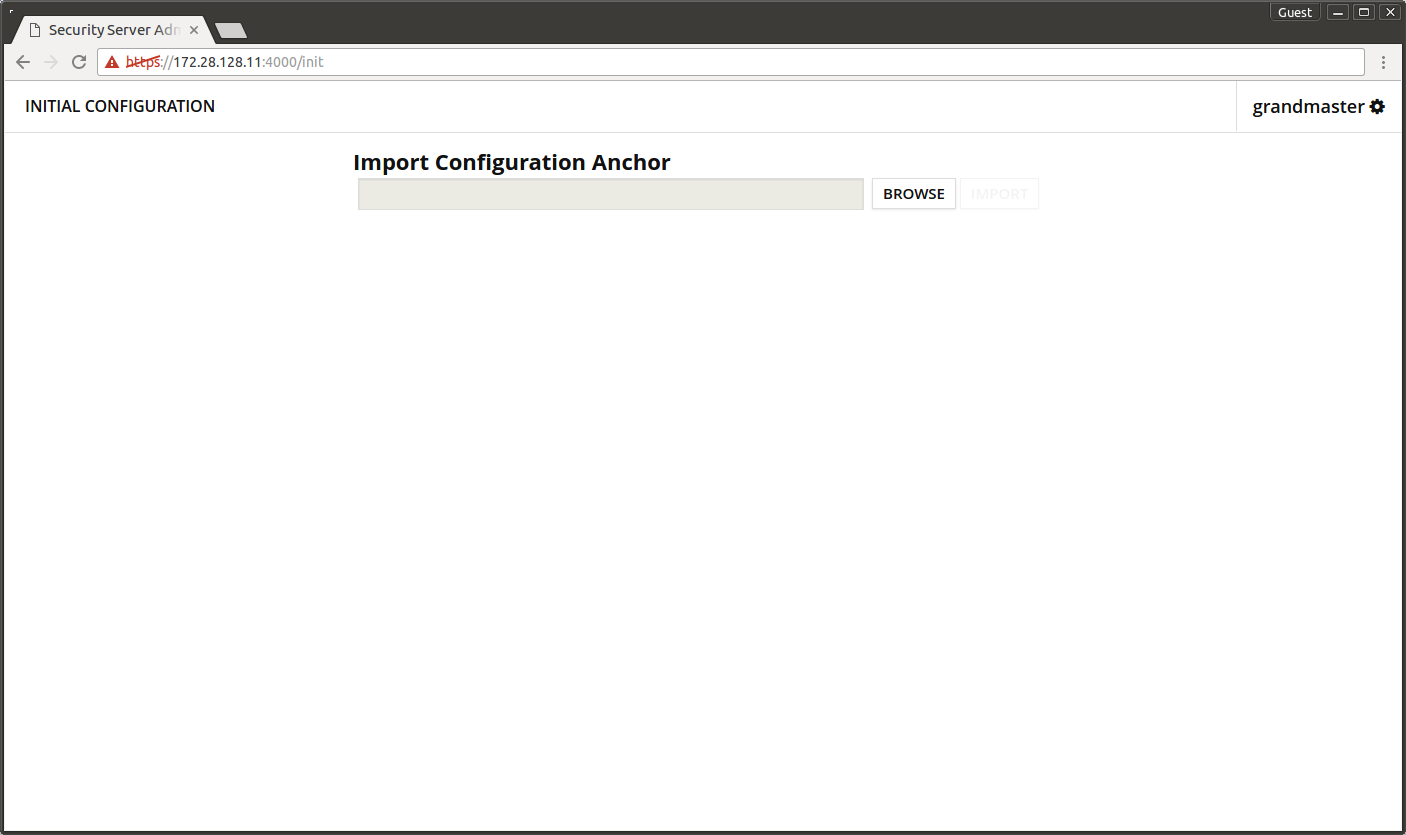
In the next screen a configuration anchor is requested.
- Upload the configuration anchor from the central server's admin interface Global Configuration -> Internal Configuration → Anchor -> DOWNLOAD.
- Press IMPORT.
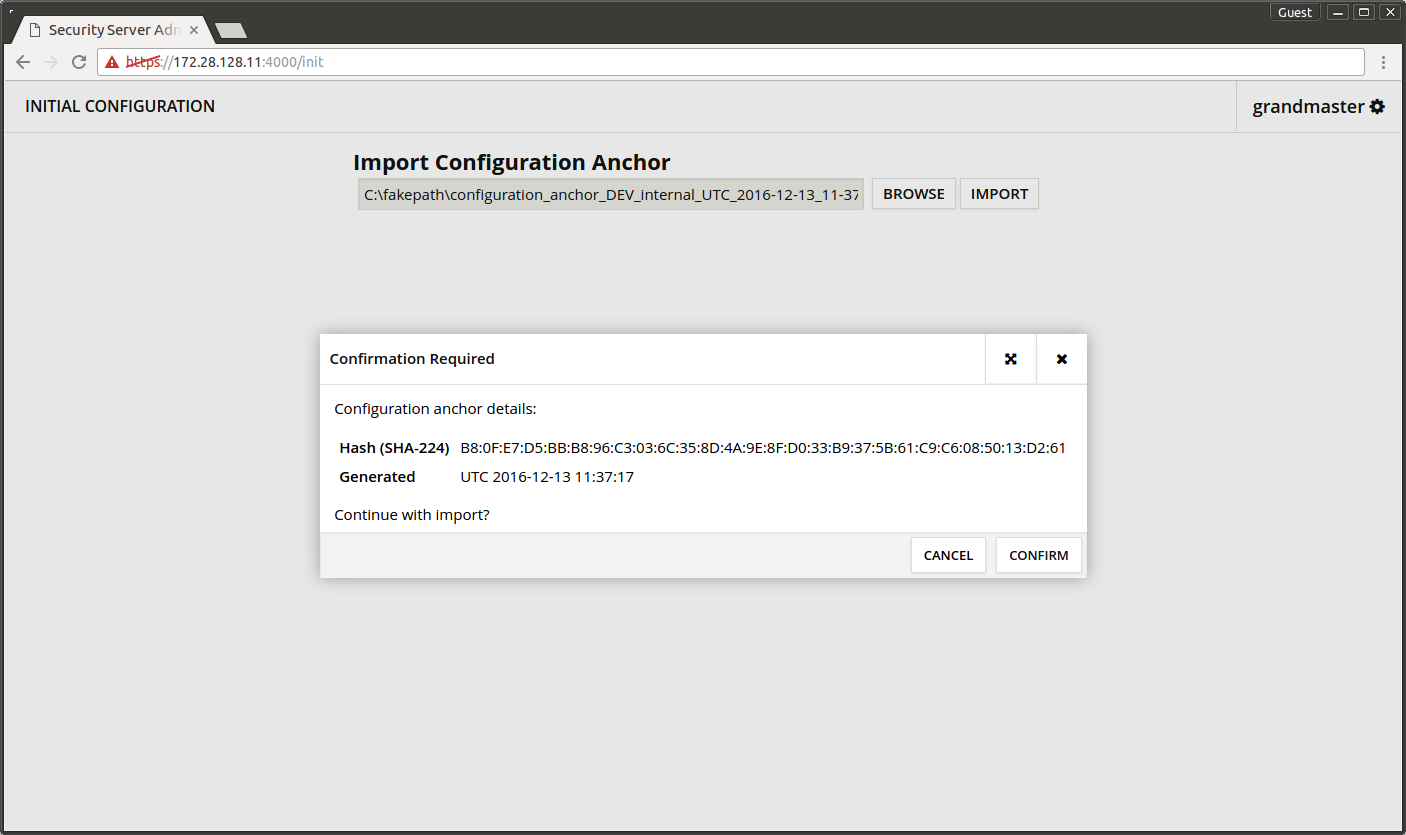
Next the anchor upload needs to be confirmed.
- Check that the Hash ja Generated correspond to the information on the central server.
- Press CONFIRM.
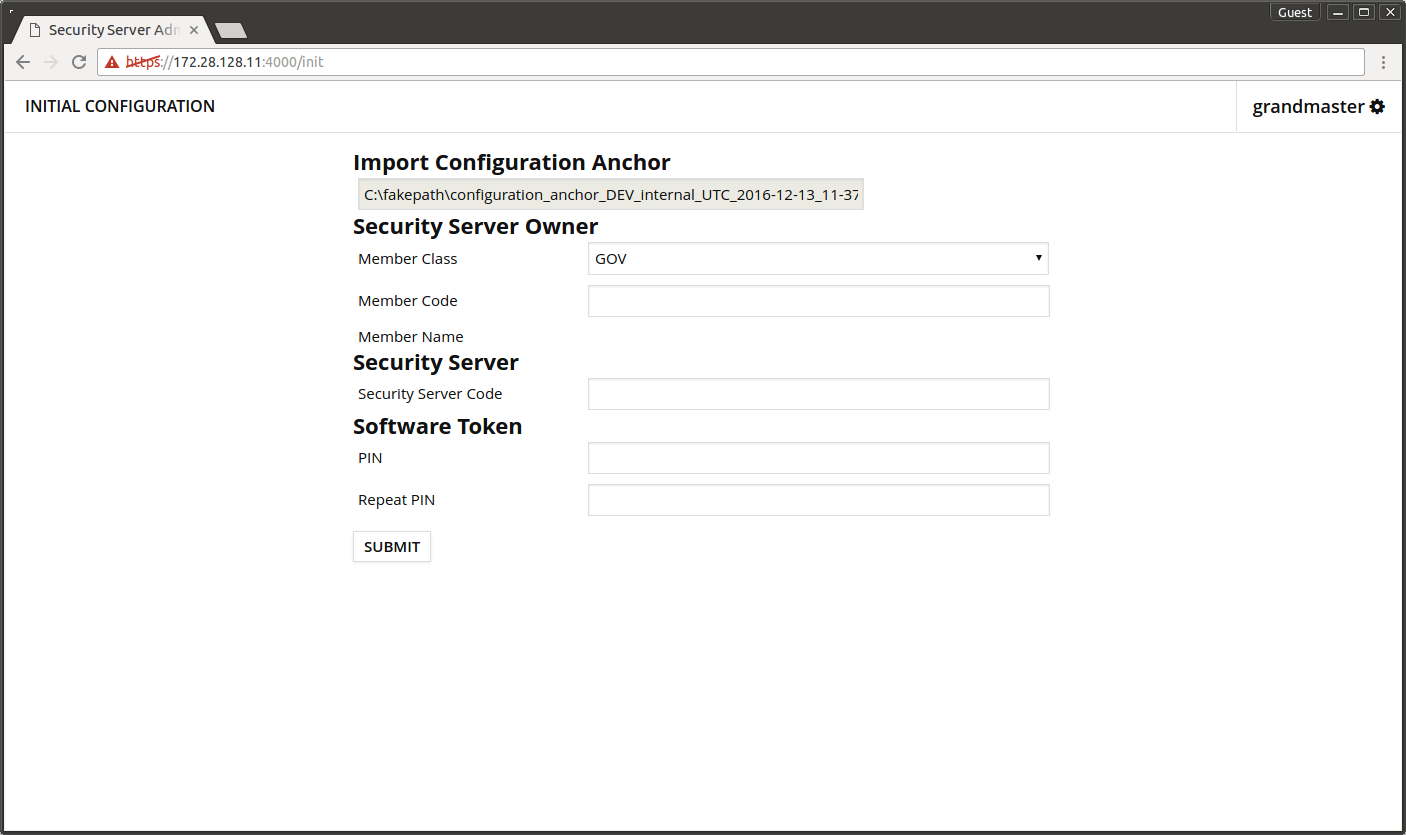
In the initial configuration screen input the values as follows.
- Member Class - the Member Class of the organization that maintains the central server.
- Member Code - the Member Code of the organization that maintains the central server.
- Member Name - is auto completed when Member Code is added.
- Security Server Code - unique code identifying the Security Server.
- PIN - the password that protects the security server's secret keys.
- Repeat PIN - repeat the above PIN.
- Press SUBMIT.
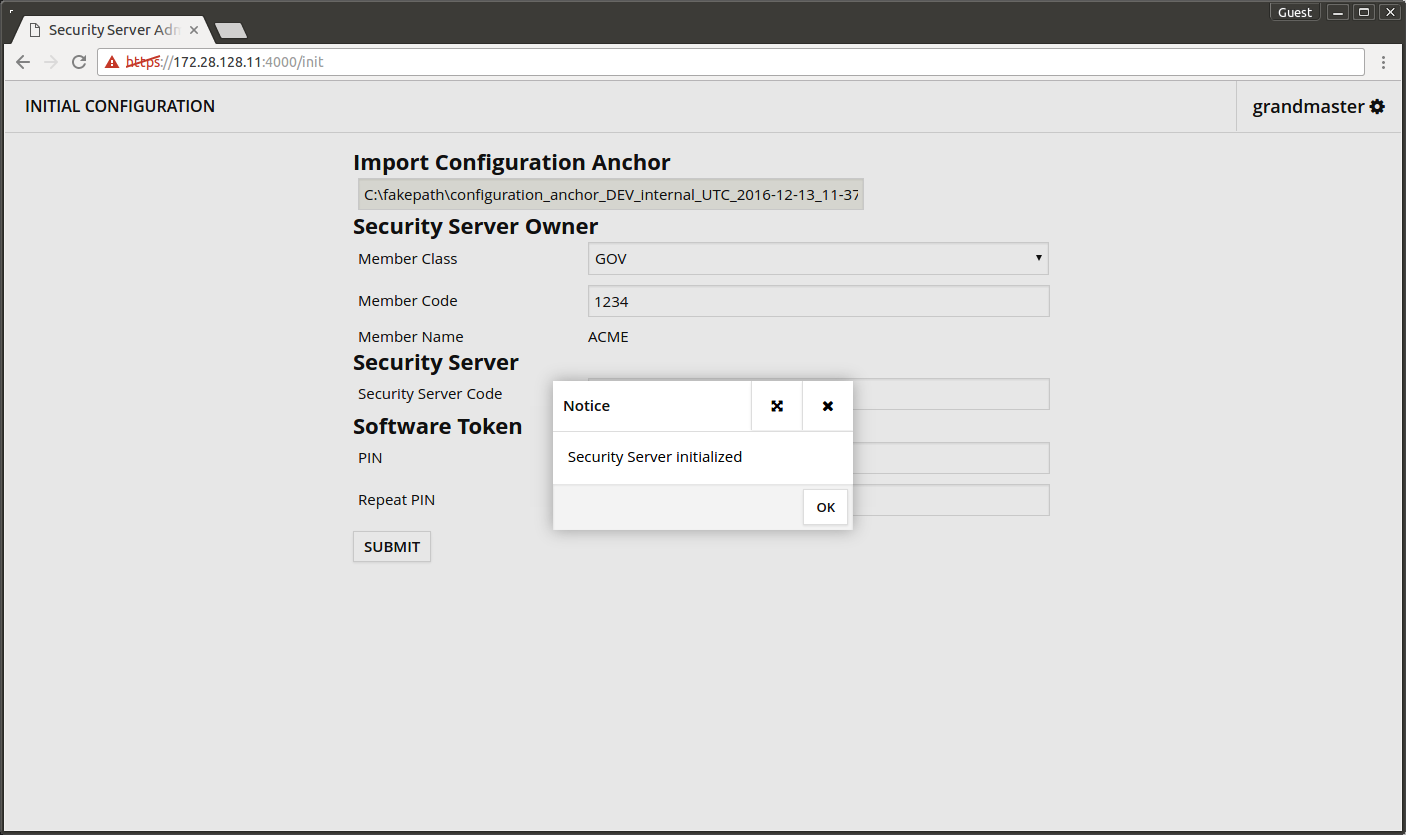
The initial configuration was saved successfully.
- Press OK.
3.2 Entering the PIN code
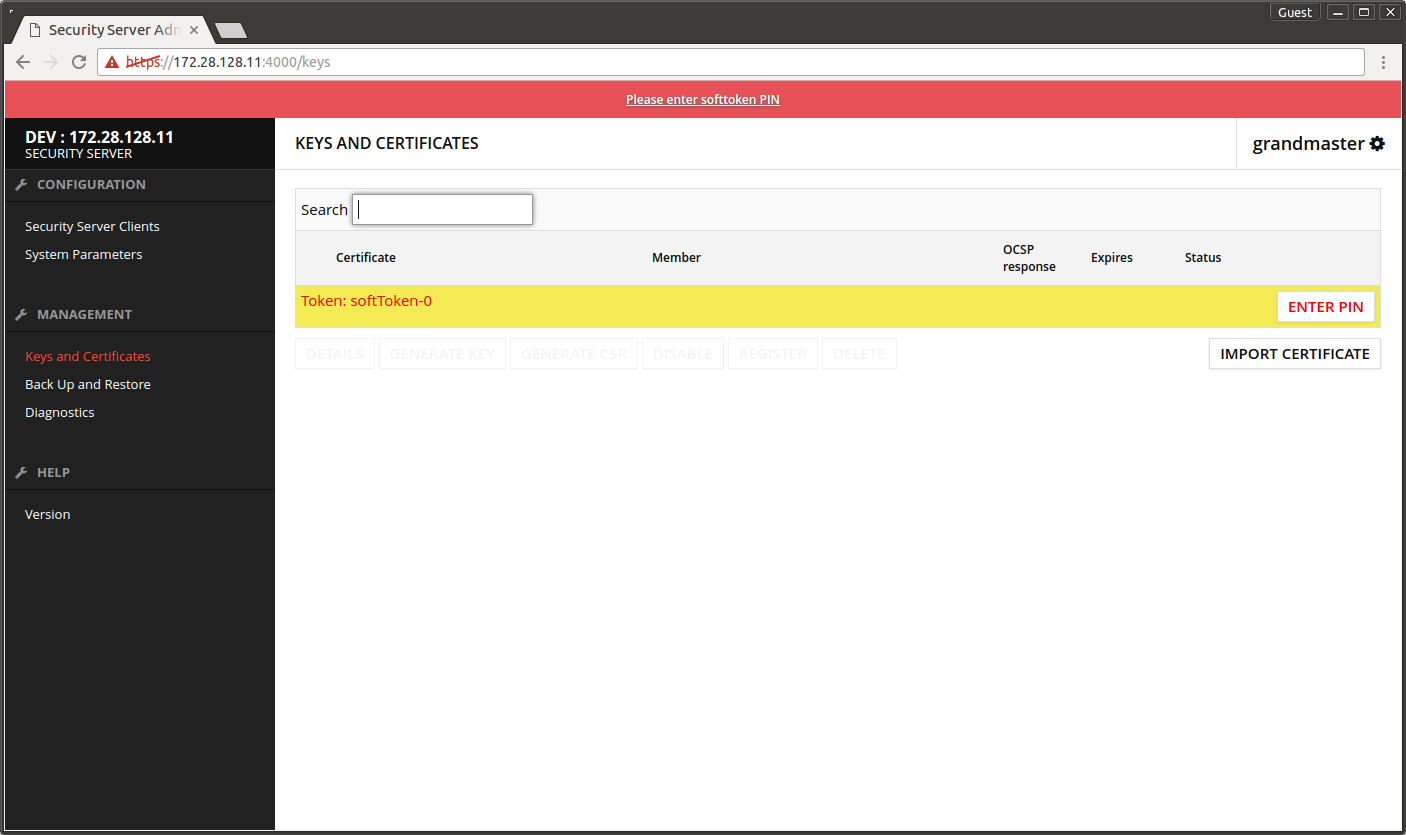
The security server asks for PIN code.
- Follow the link Please enter softtoken PIN.
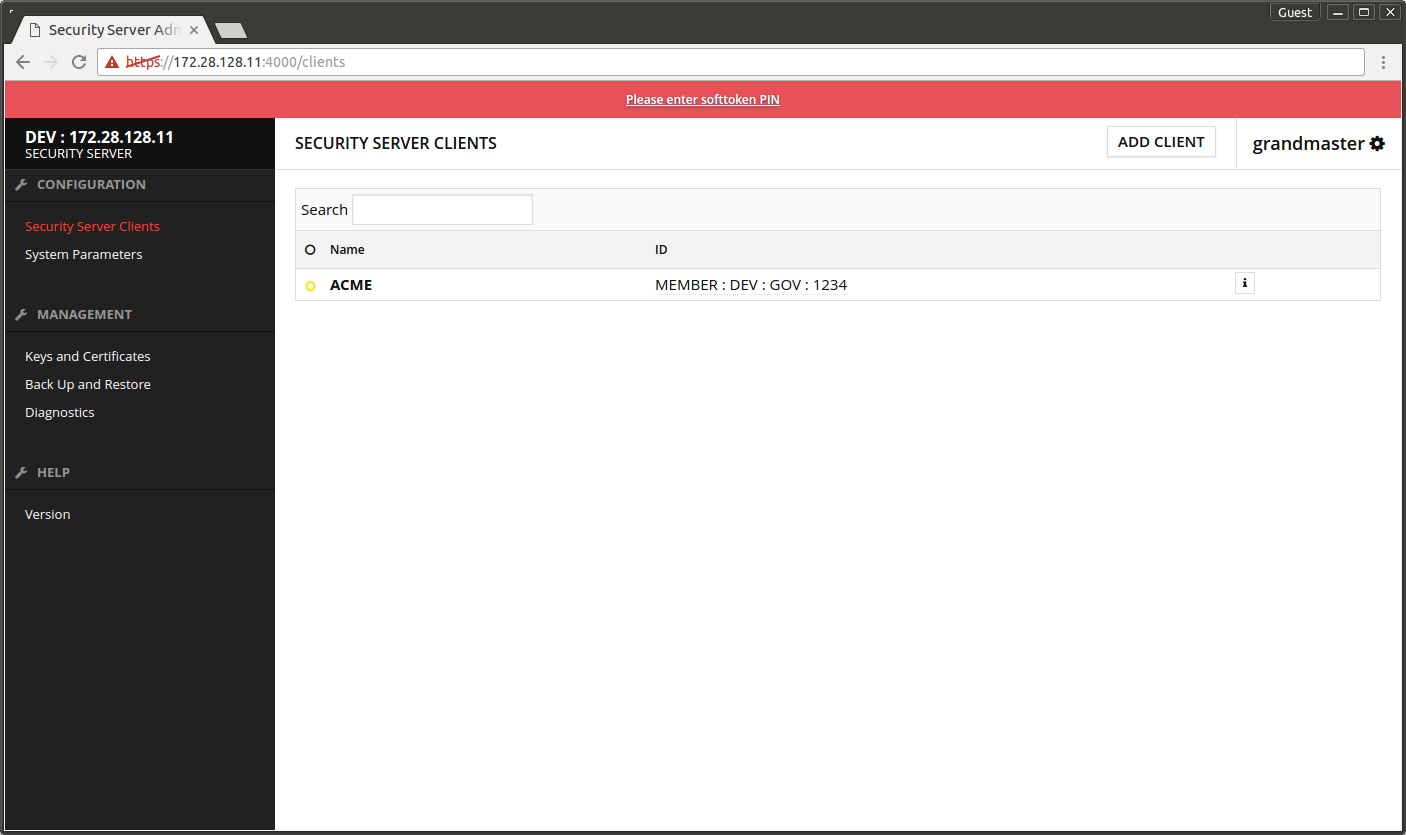
Clicking the links navigates to Keys and Certificates page.
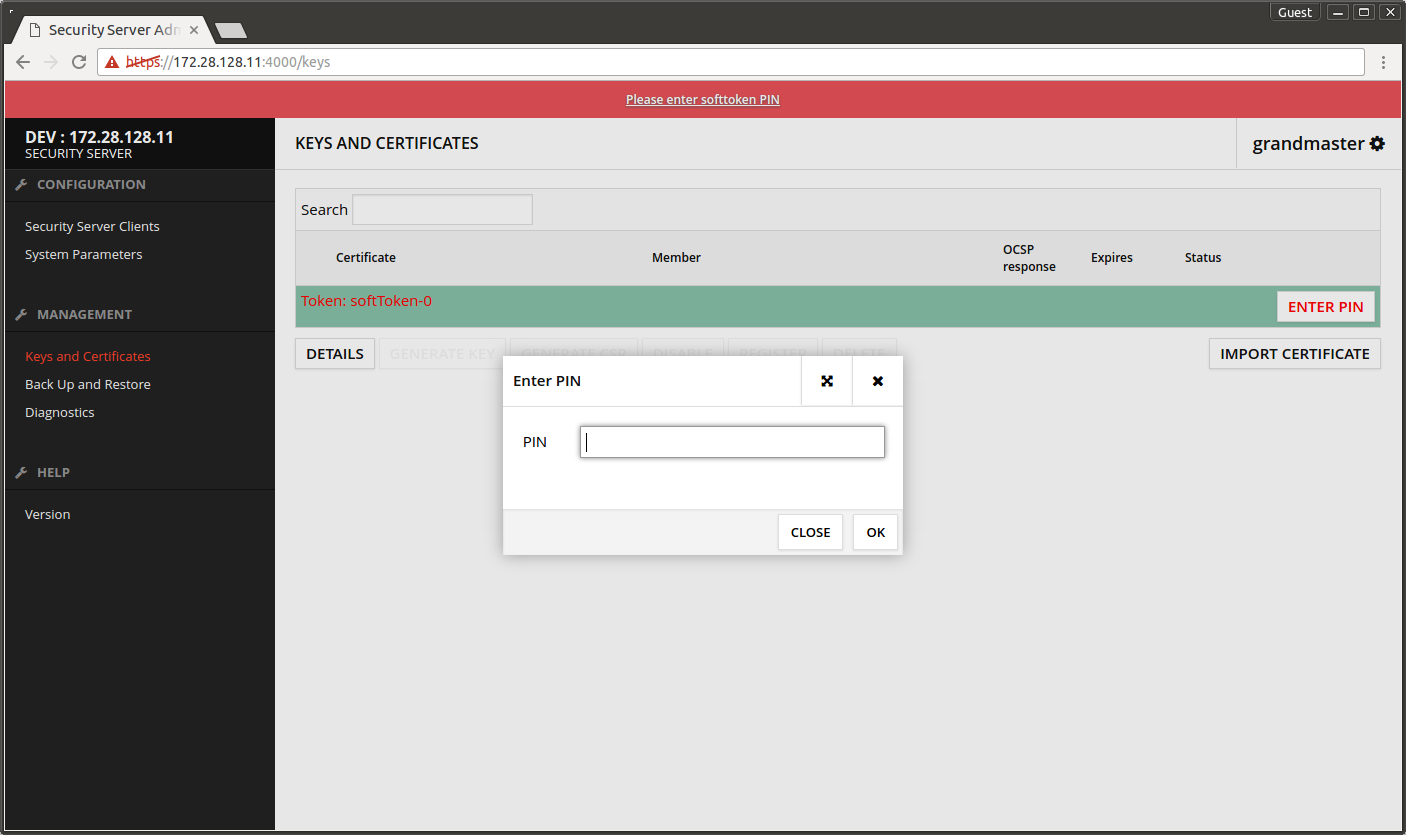
- Press ENTER PIN.
- Enter PIN code.
- Press OK.
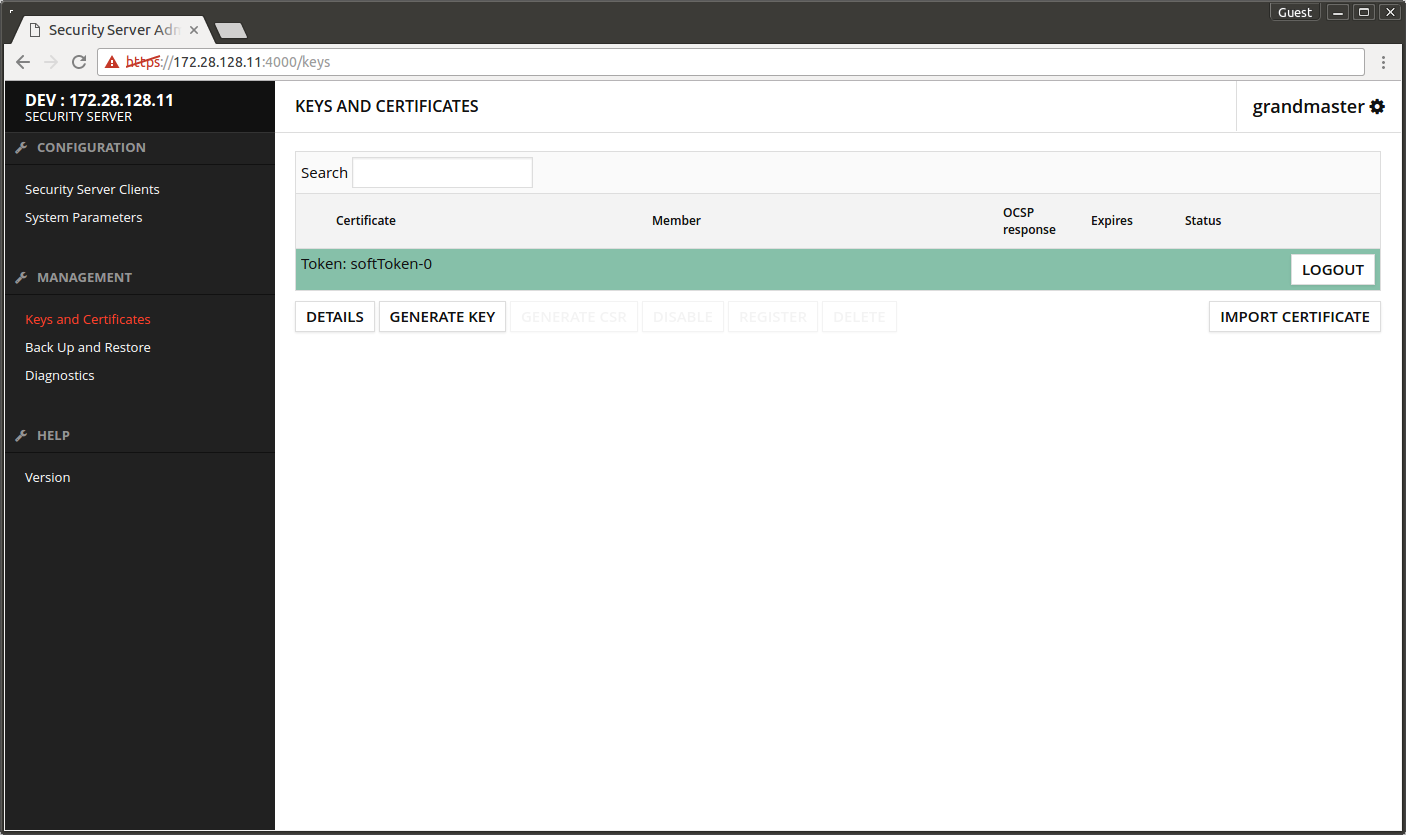
The red error message bar disappears.
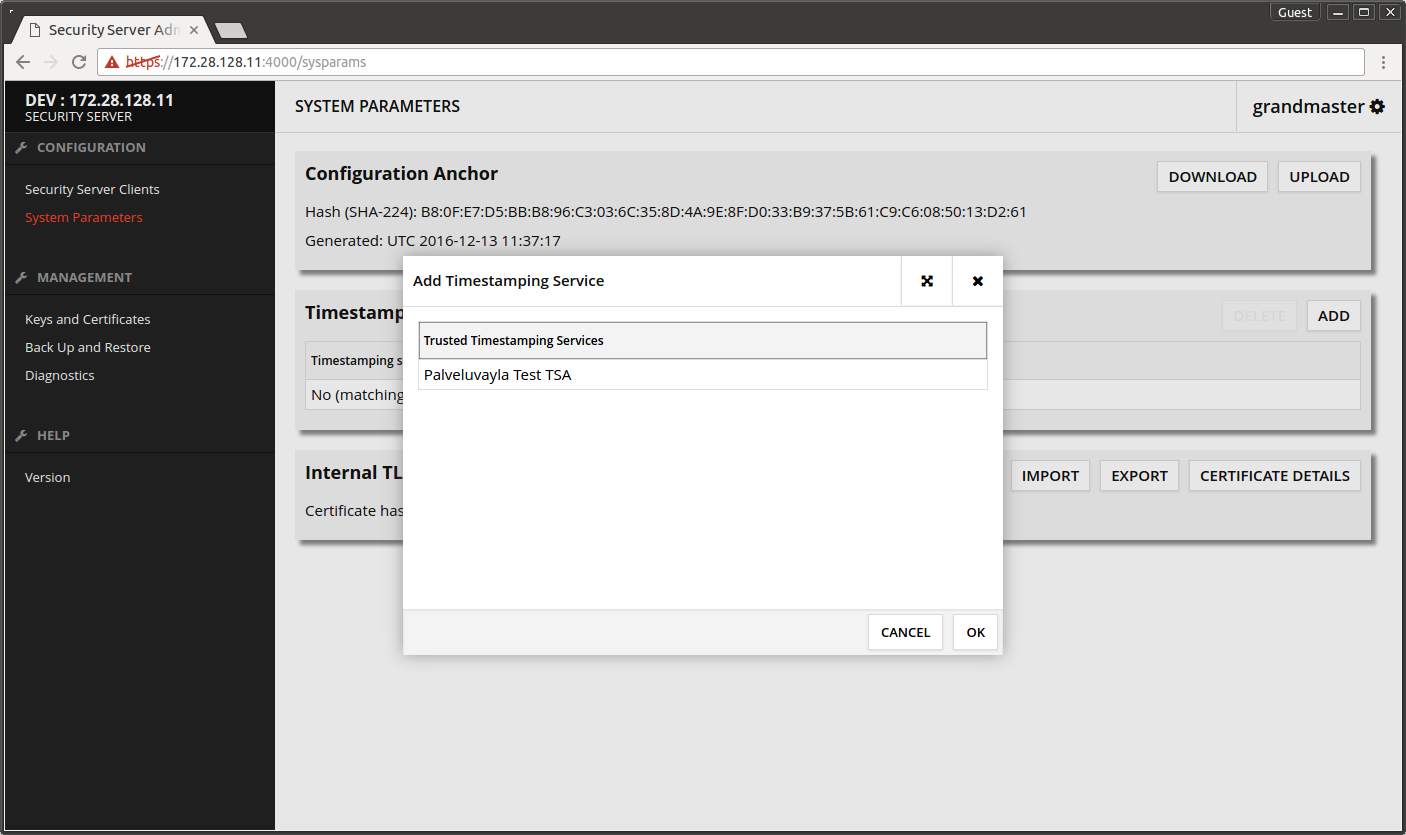
3.3 Configuring the time-stamping service
- Choose System Parameters -> Timestamping Services -> ADD.
- Pick time-stamping service from the list.
- Press OK.
3.4 Creating the certificate requests
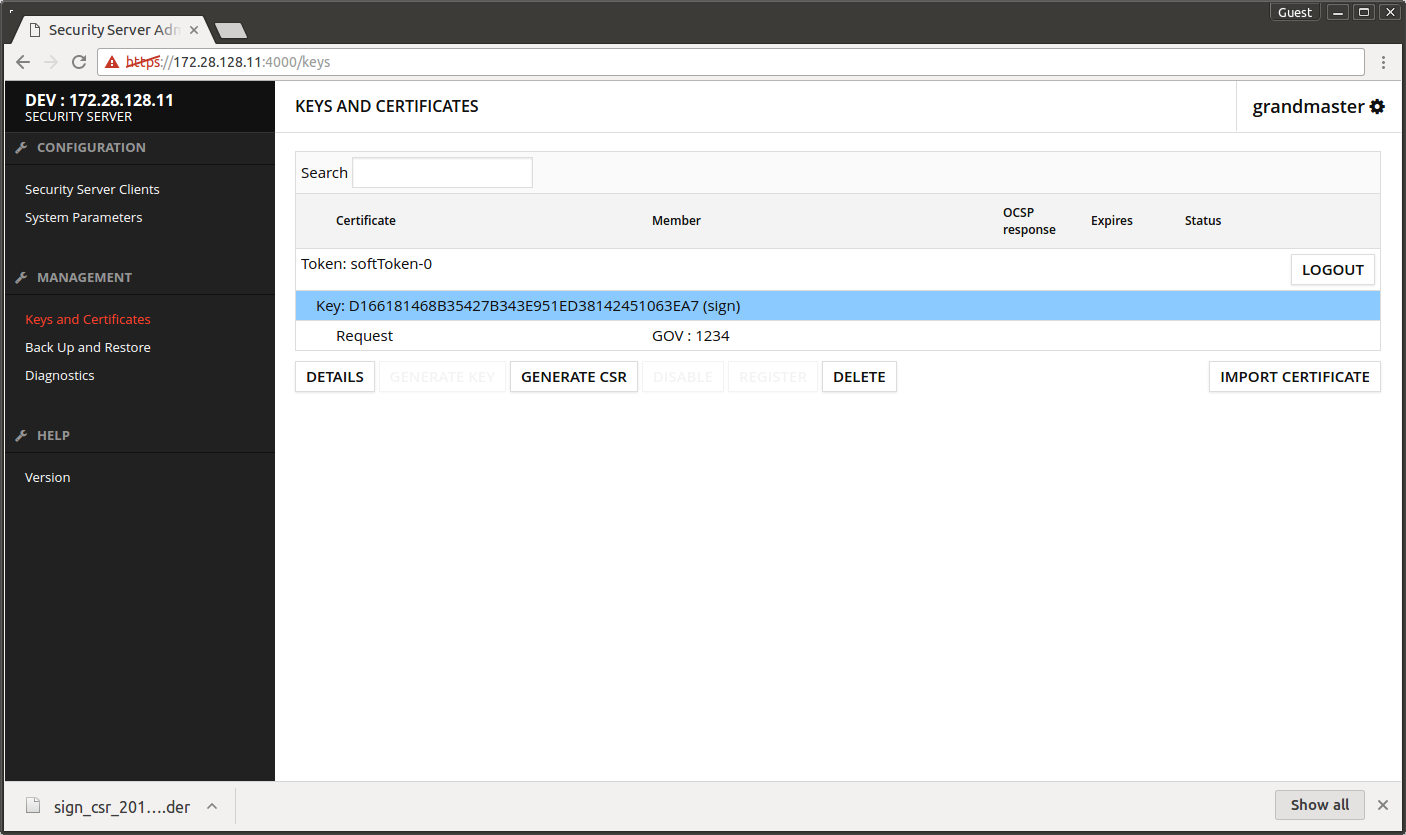
- Open Keys and Certificates.
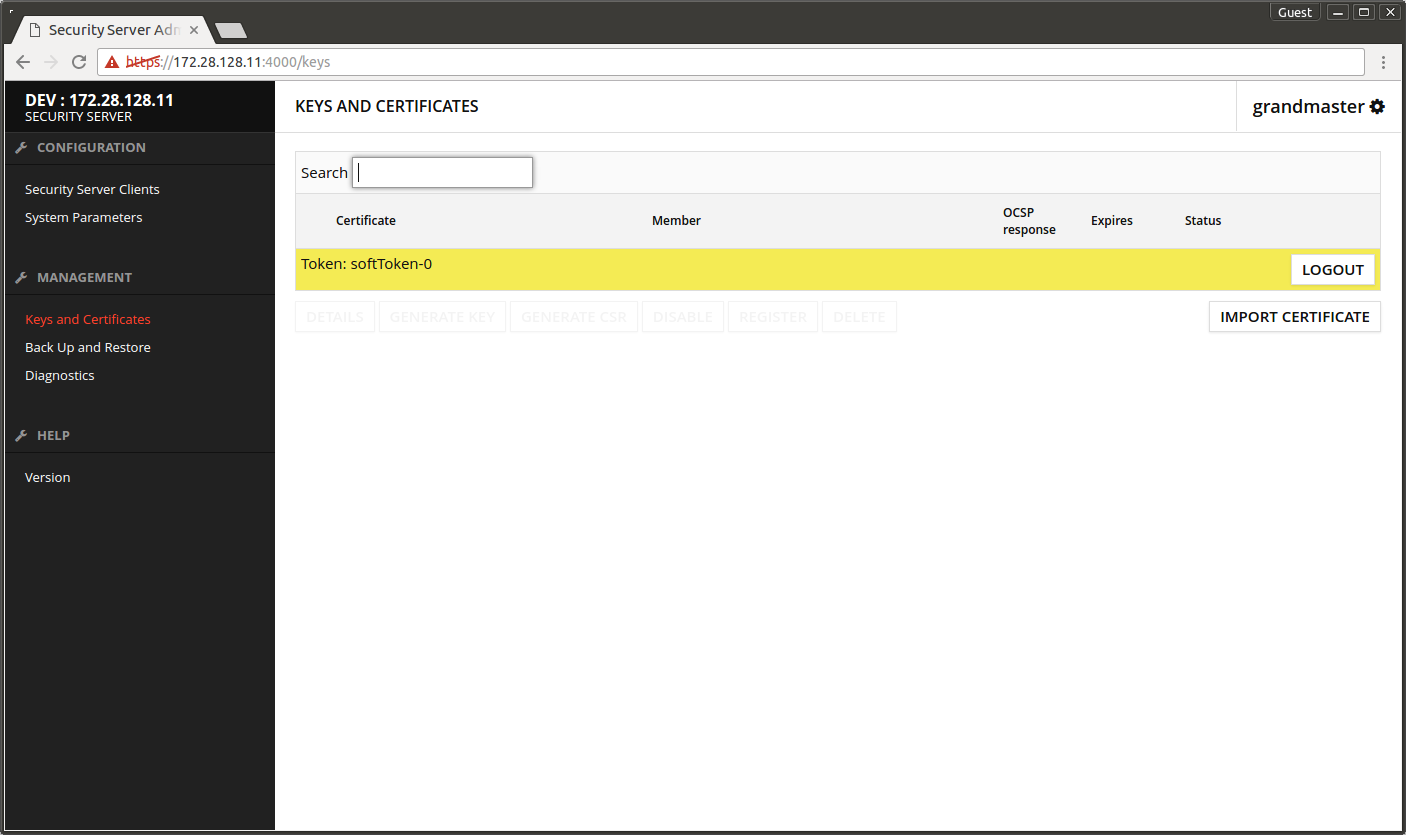
- Select Token: softToken-0.
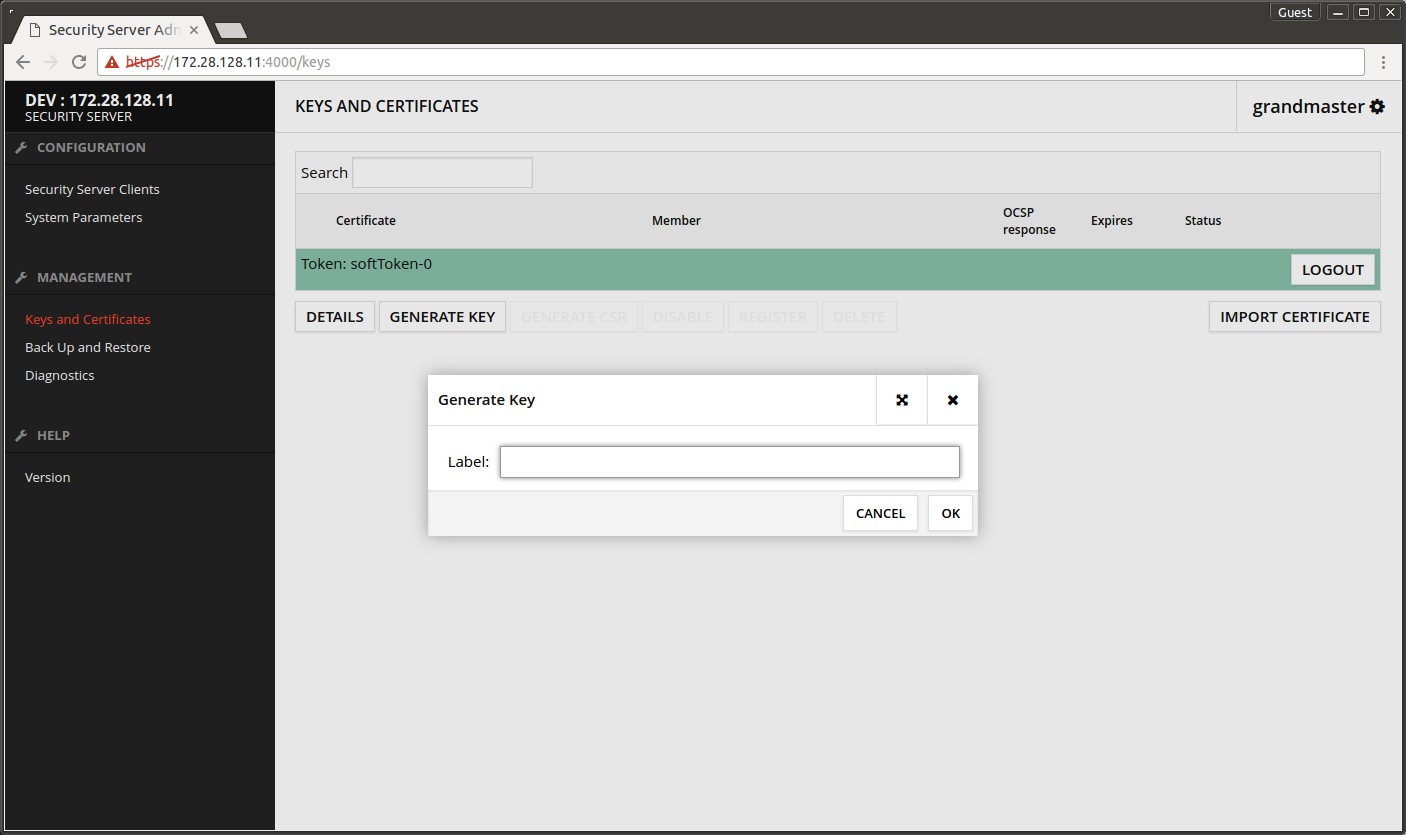
- Press GENERATE KEY.
- Press OK.
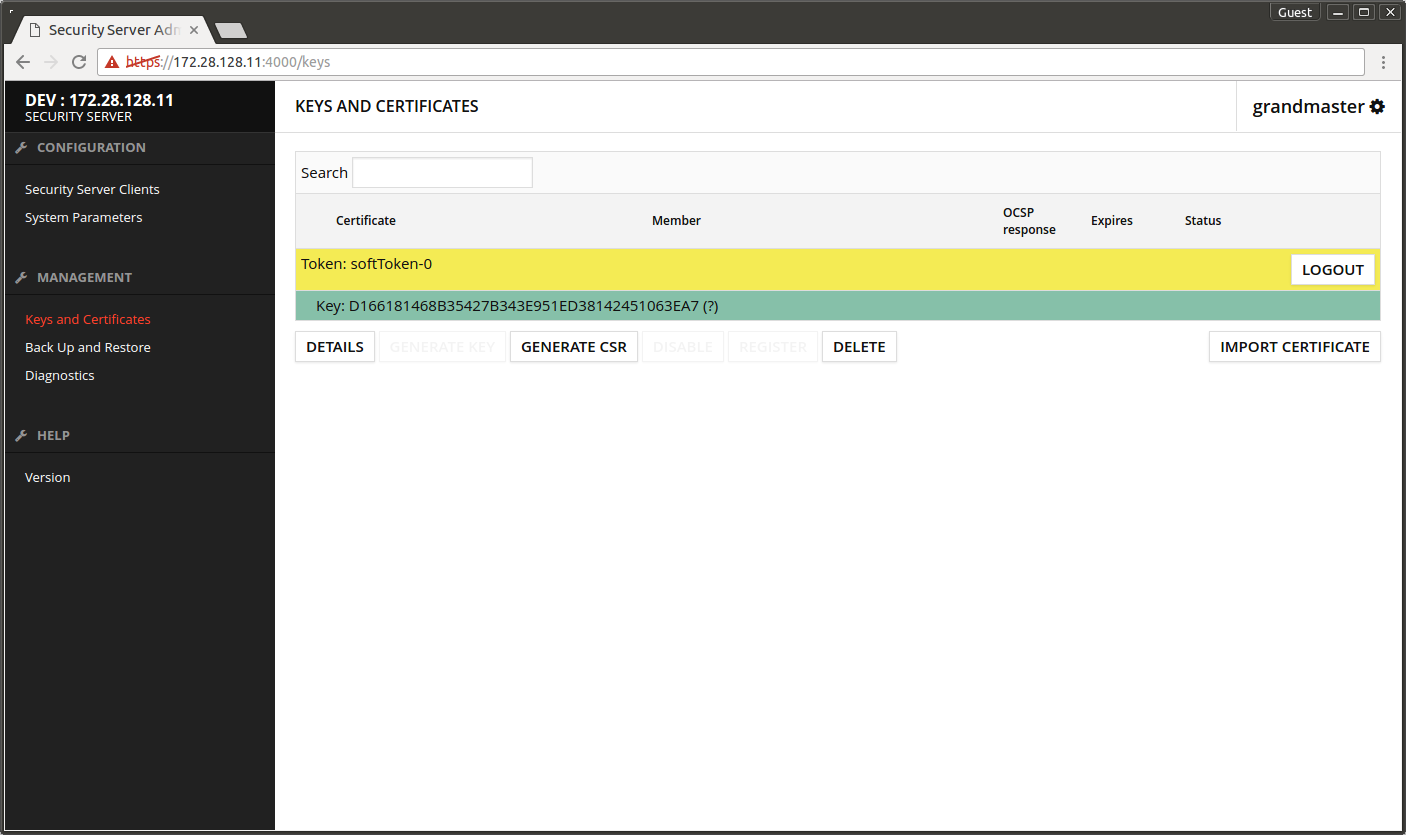
- Select Key: xxx that was just generated.
- Press GENERATE CSR.
- Usage - SIGN.
- Client - leave to default value.
- Certification Service - choose the certification service that was defined on the Central Server.
- CSR Format - select a suitable format for the certification service. NOTE: The test CA setup only accepts DER as input format.
- Press OK.

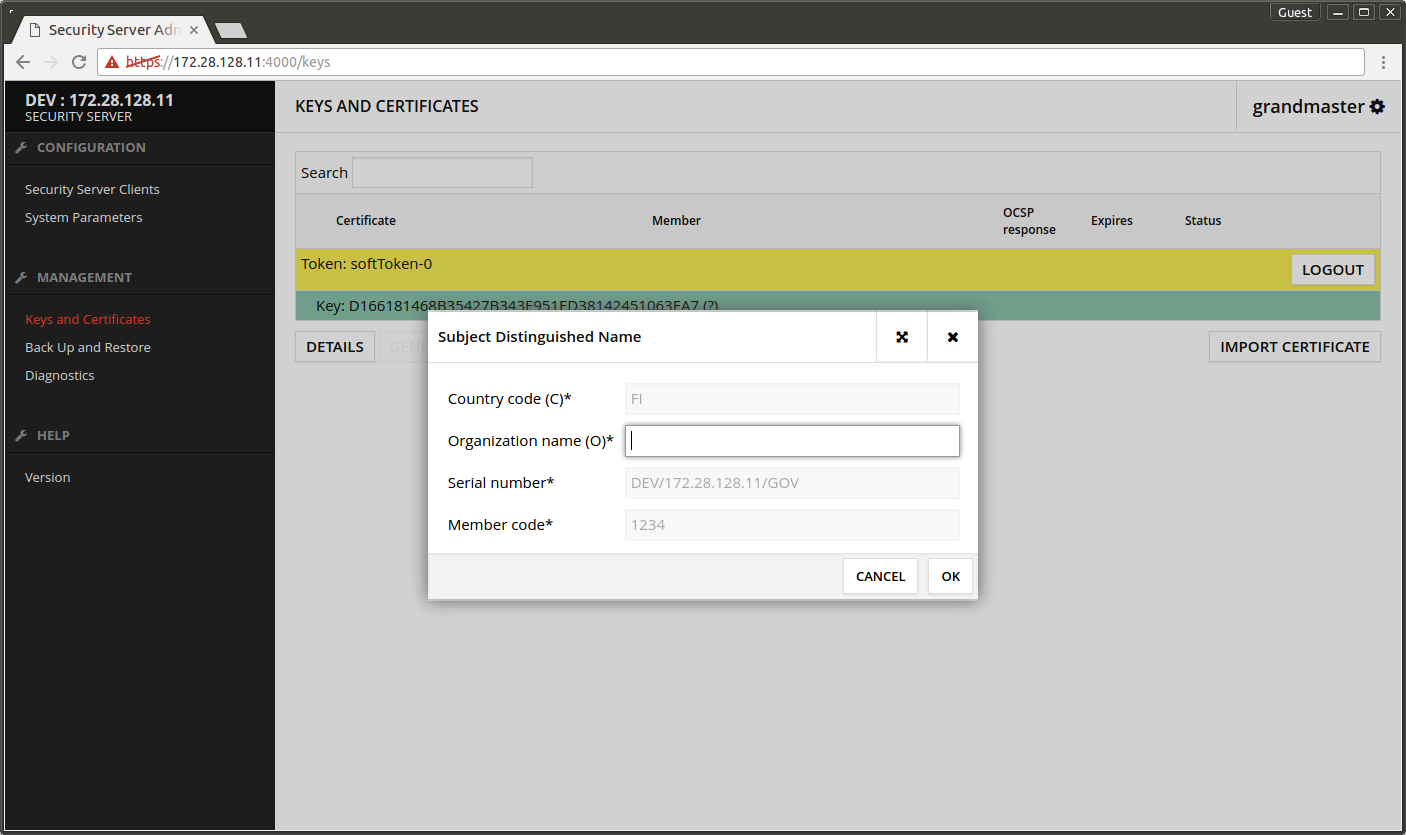
- Organization name (O) - enter the name of the organization maintaining the Central Server.
- Press OK.
The certificate request is downloaded to browser's download folder.
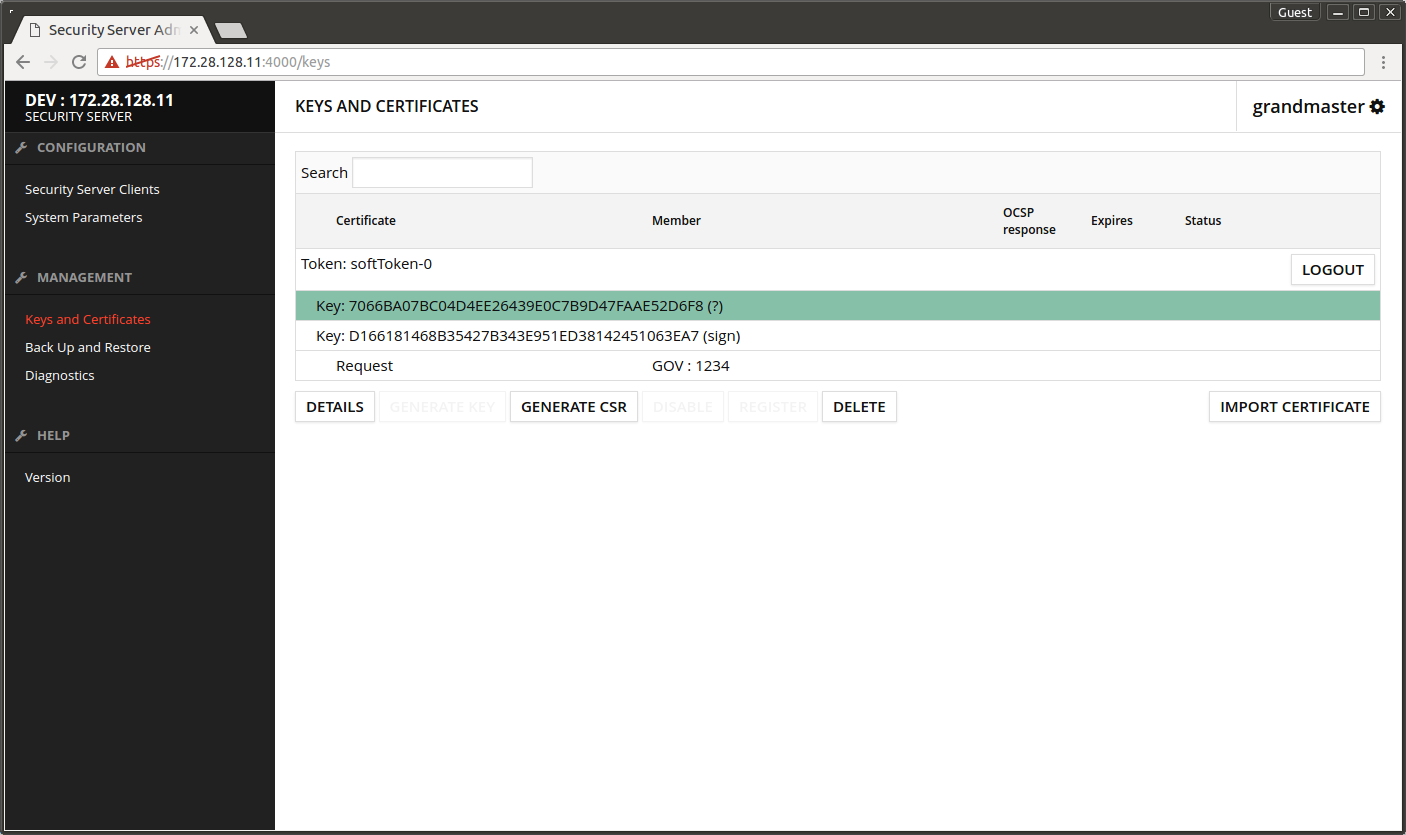
- Select Token: softToken-0.
- Press GENERATE KEY.
- Press OK.

- Select Key: xxx that was just generated.
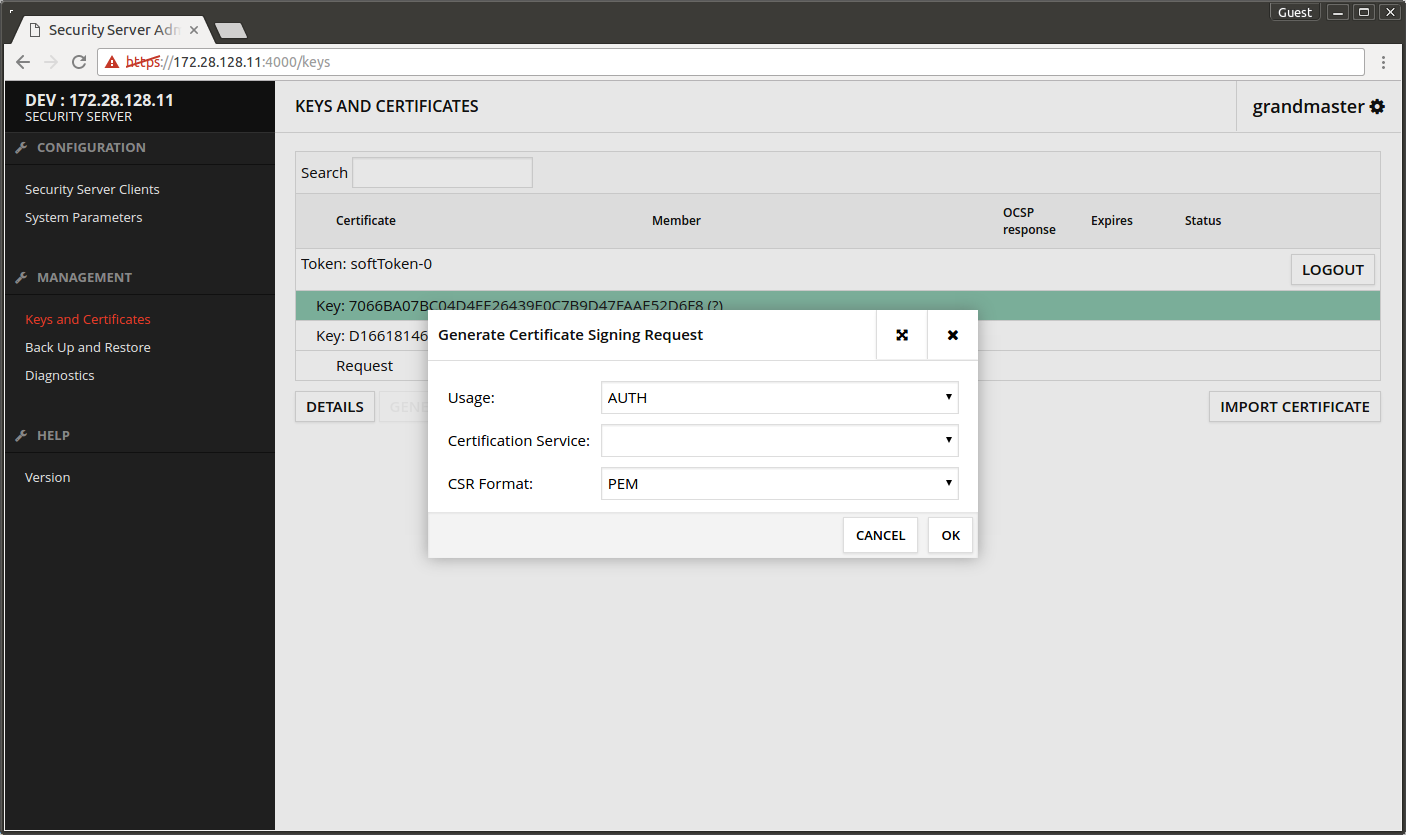
- Press GENERATE CSR.
- Usage - AUTH.
- Certification Service - choose the certification service that was defined on the Central Server.
- CSR Format - select a suitable format for your certificate service. NOTE: The test CA setup only accepts DER as input format.
- Press OK.
- Organization name (O) - write the name of the organization maintaining the Central Server.
- Server DNS name (CN) - the security server's FQDN.
- Press OK.
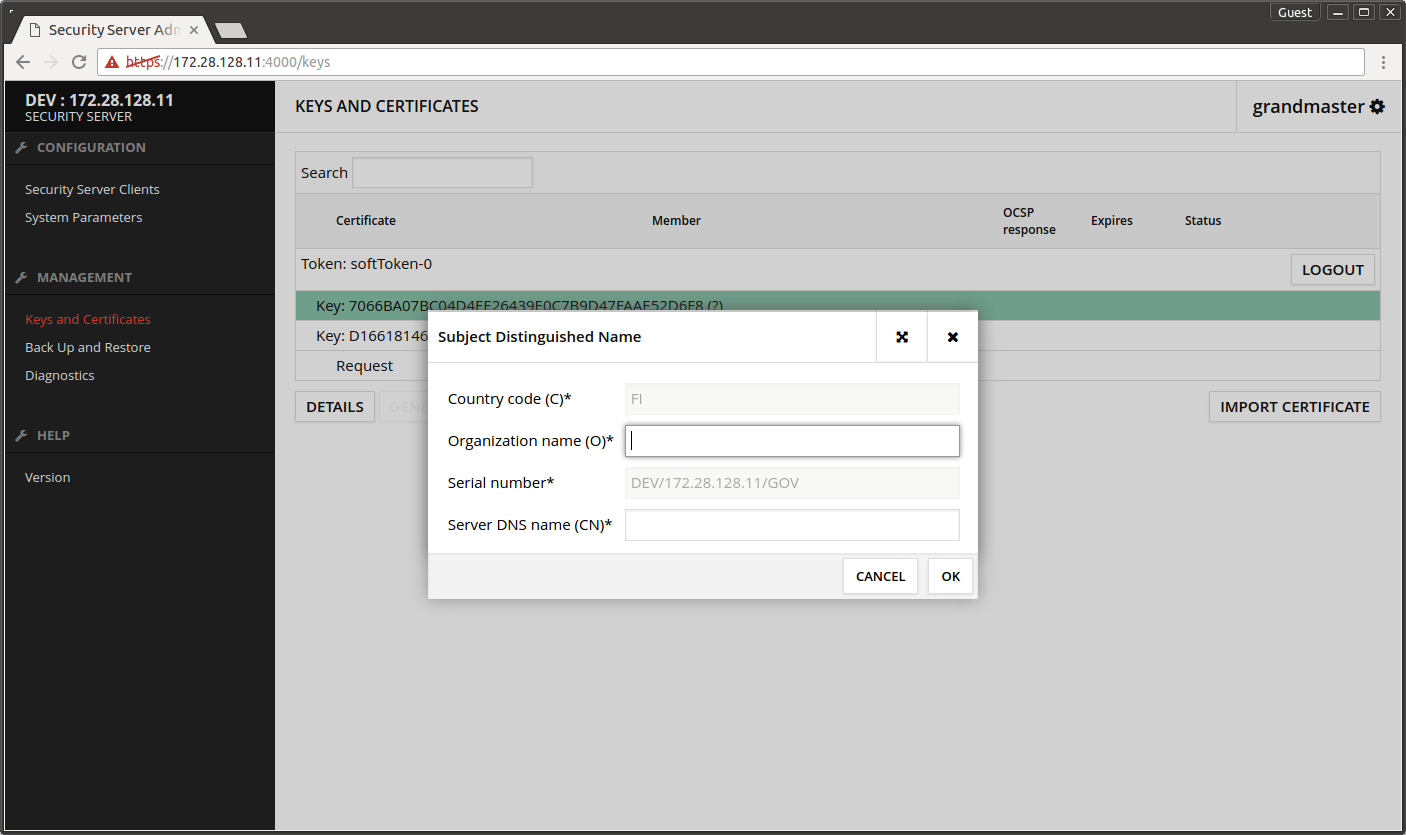
The certificate request is downloaded to the browser's download folder.
When using the test CA as a certification provider, sign the certificate requests according to the instructions:
https://github.com/nordic-institute/X-Road/blob/develop/ansible/TESTCA.md#7-signing-certificates
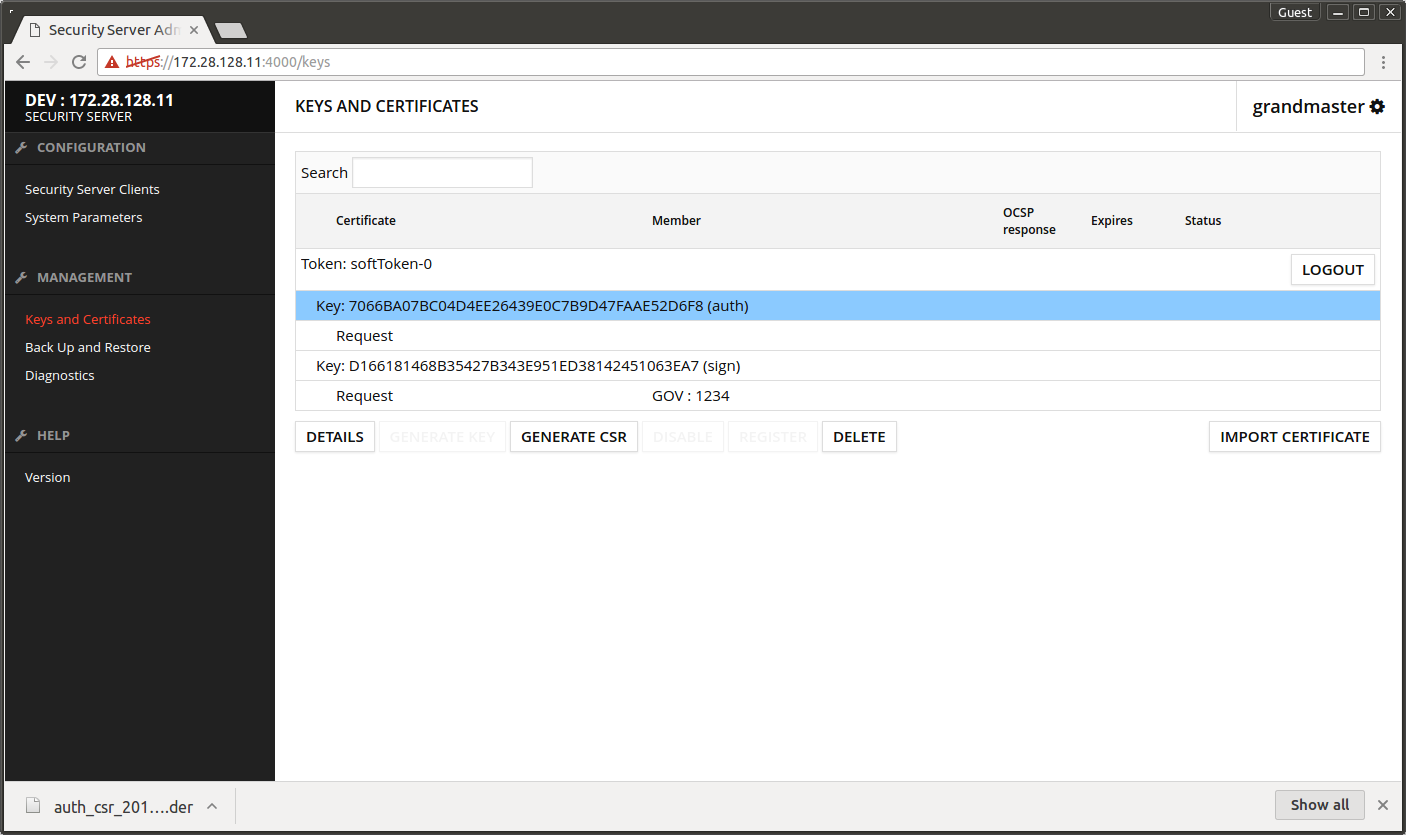
3.5 Importing the certificates
- Select the certificate request under the auth key
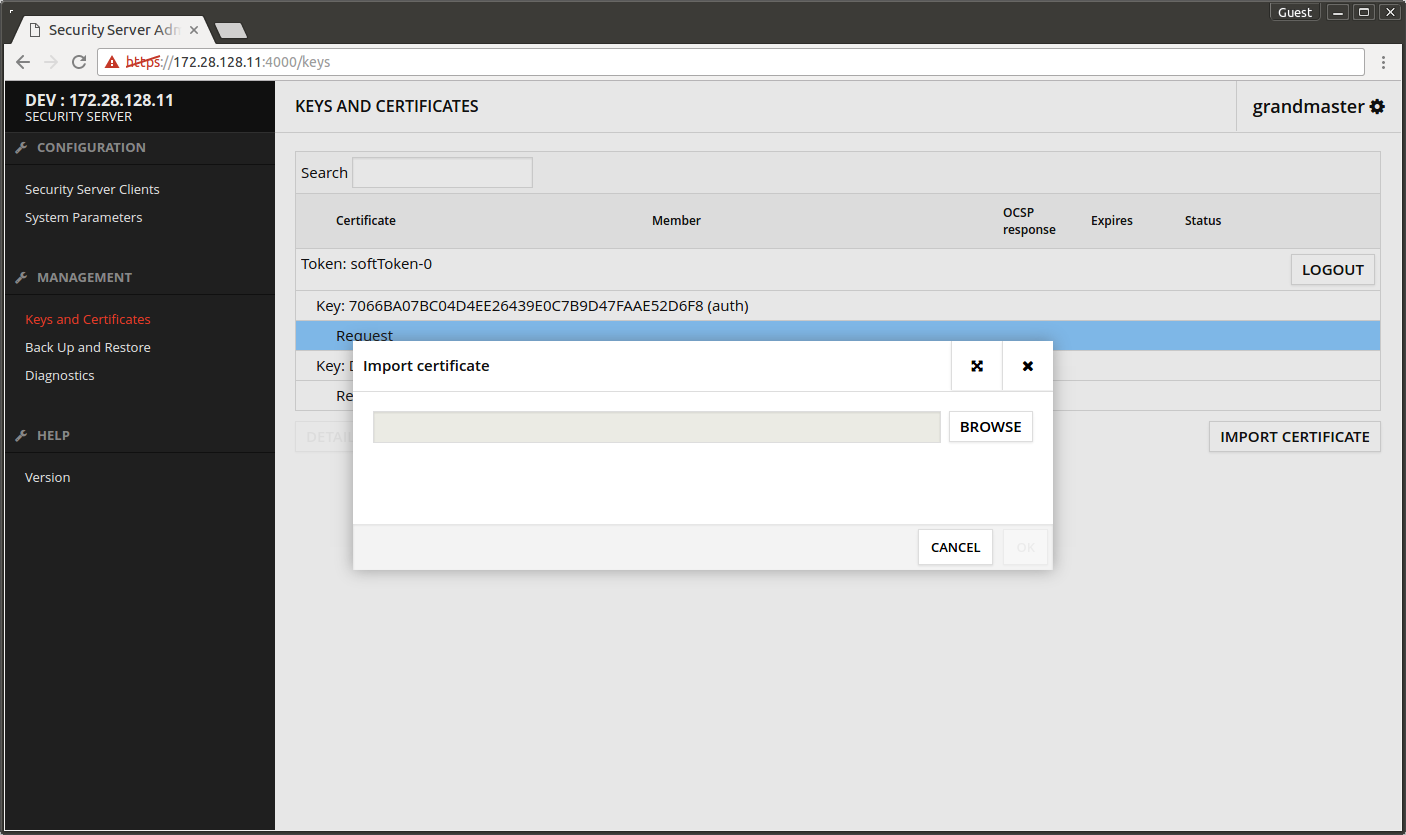
- Press IMPORT CERTIFICATE.

- Press BROWSE and find the certificate
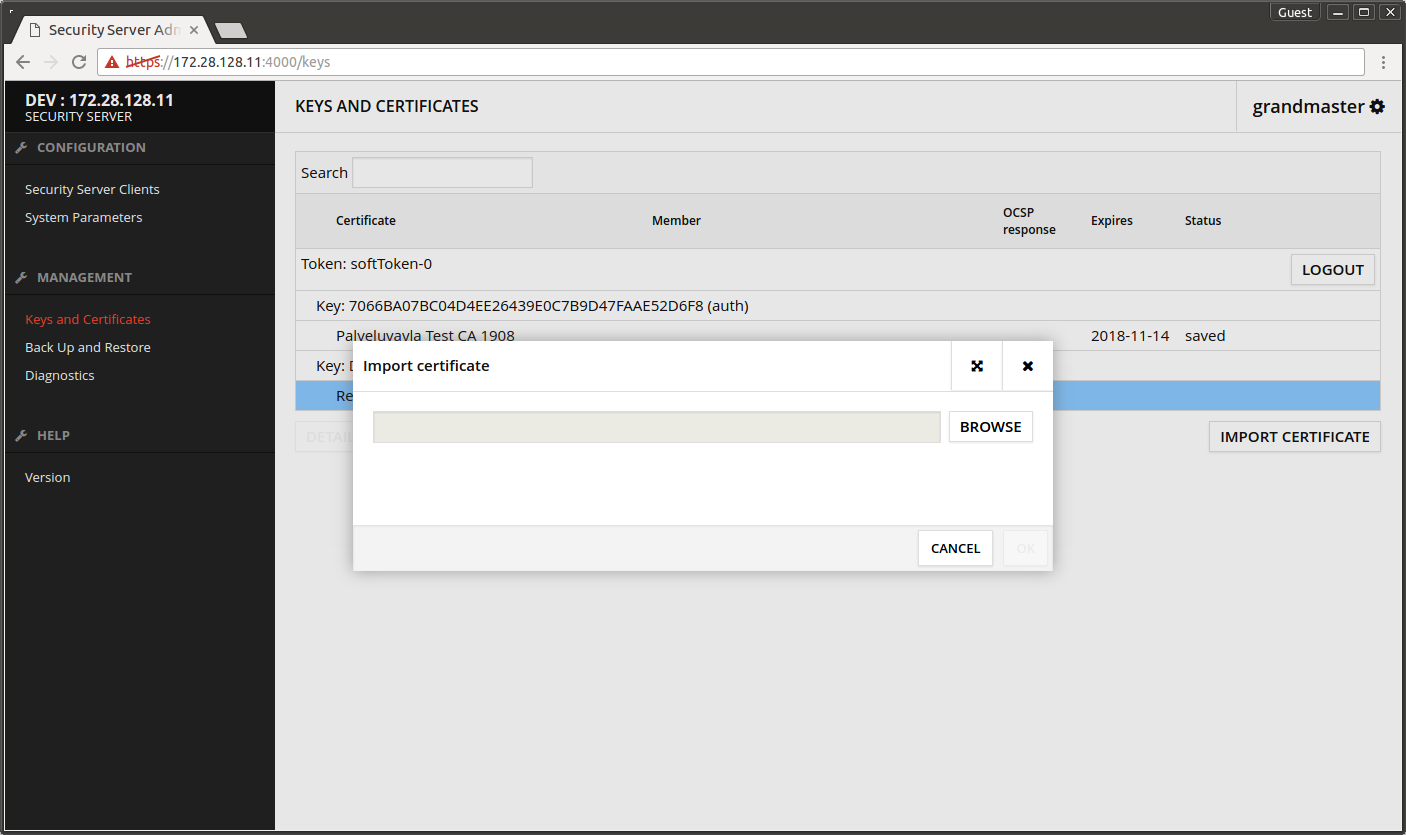
- Press OK.
The screen after importing the certificate. Auth certificate is disabled initially.

- Select the disabled auth certificate and press ACTIVATE.

The auth certificate activates.
- Select the certificate request under the sign key.
- Press IMPORT CERTIFICATE.

- Press BROWSE and find the sign certificate.
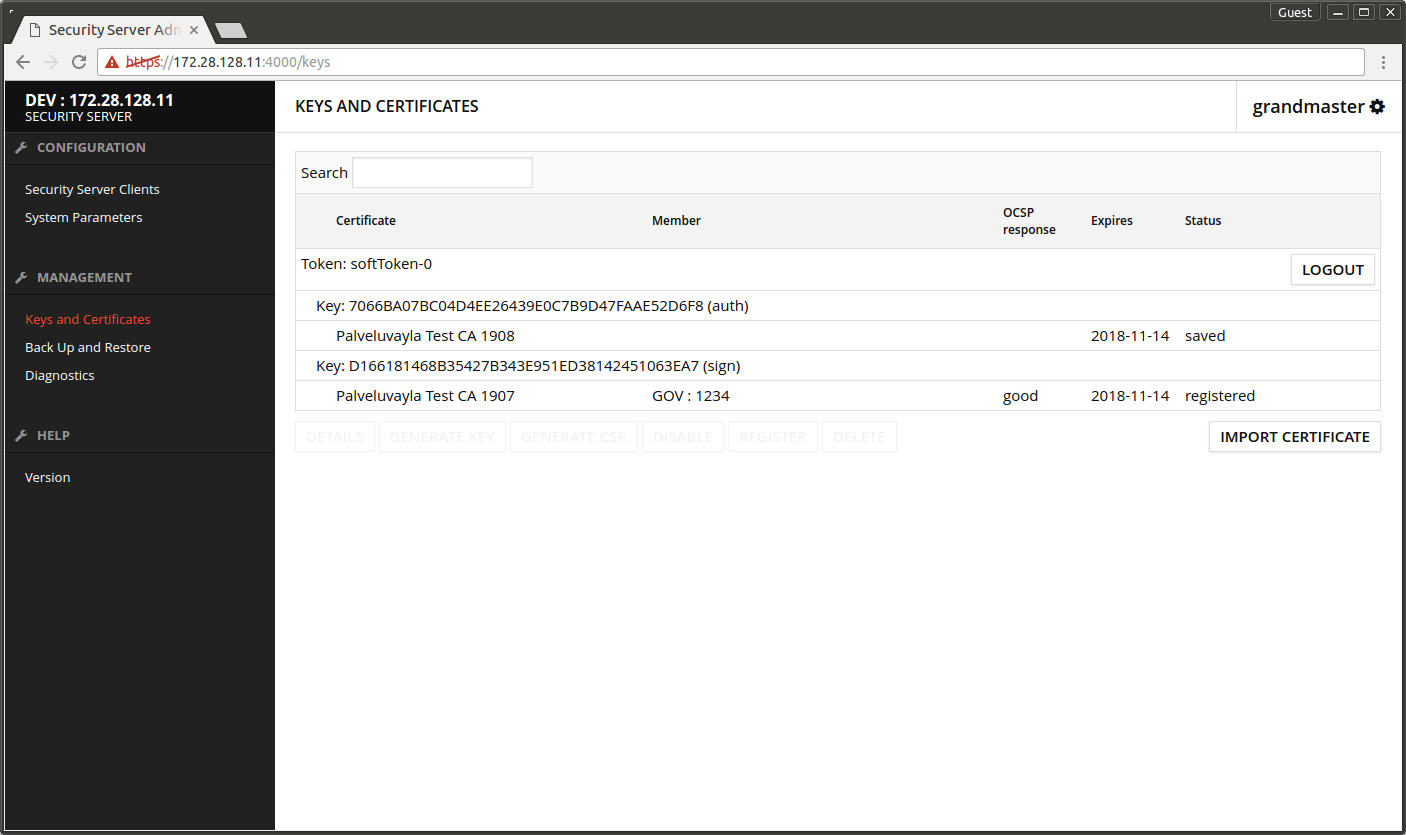
- Press OK.
The screen after importing the certificate. Sign certificate is good / registered.
3.6 Registering the authentication certificate
- Select the auth certificate.
- Press REGISTER.

- Enter the security server's FQDN.
- Press OK.

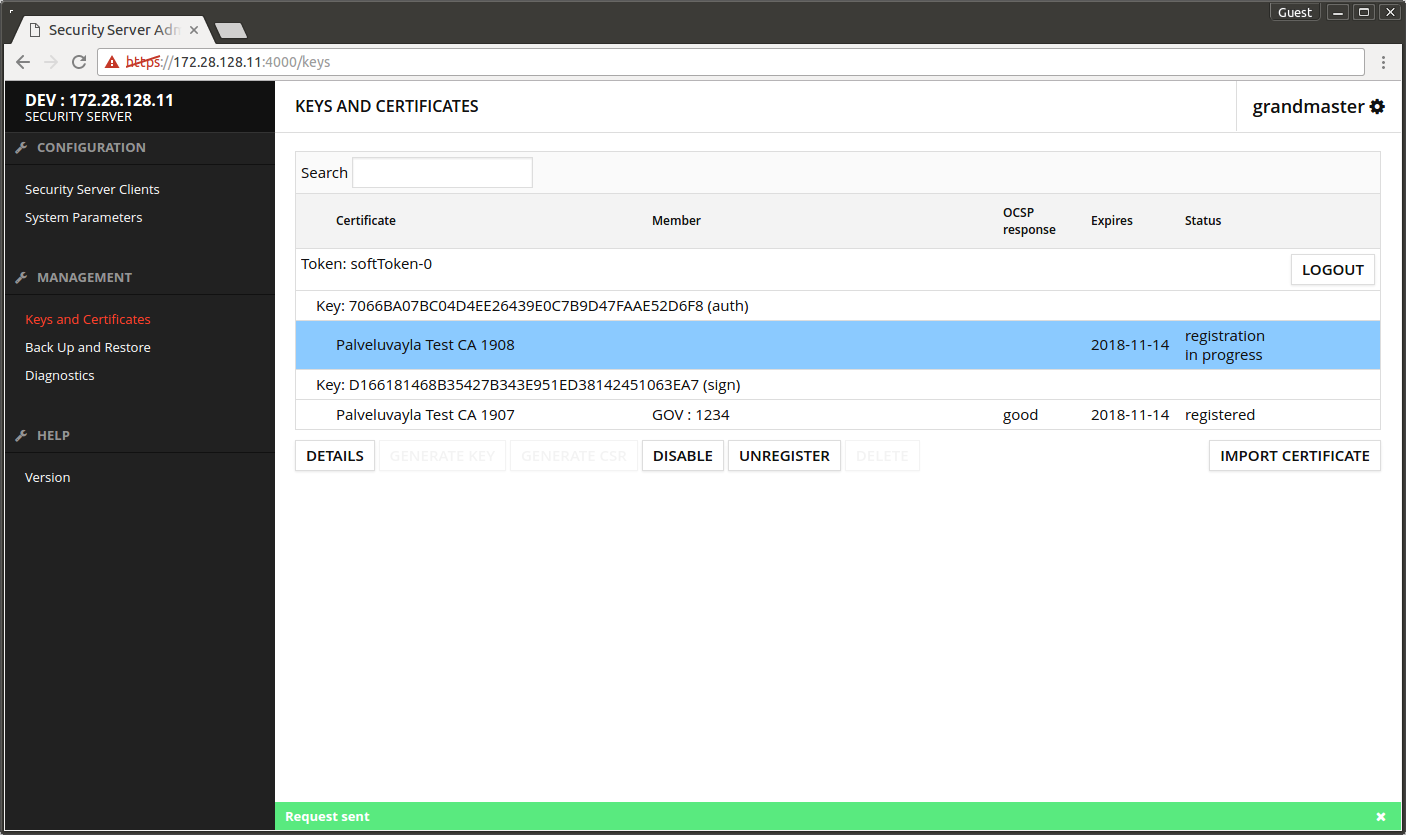
The registration request of the authentication certificate is sent to the central server. The certificate transitions to state registration in progress.
- Open the Central Server's admin interface.
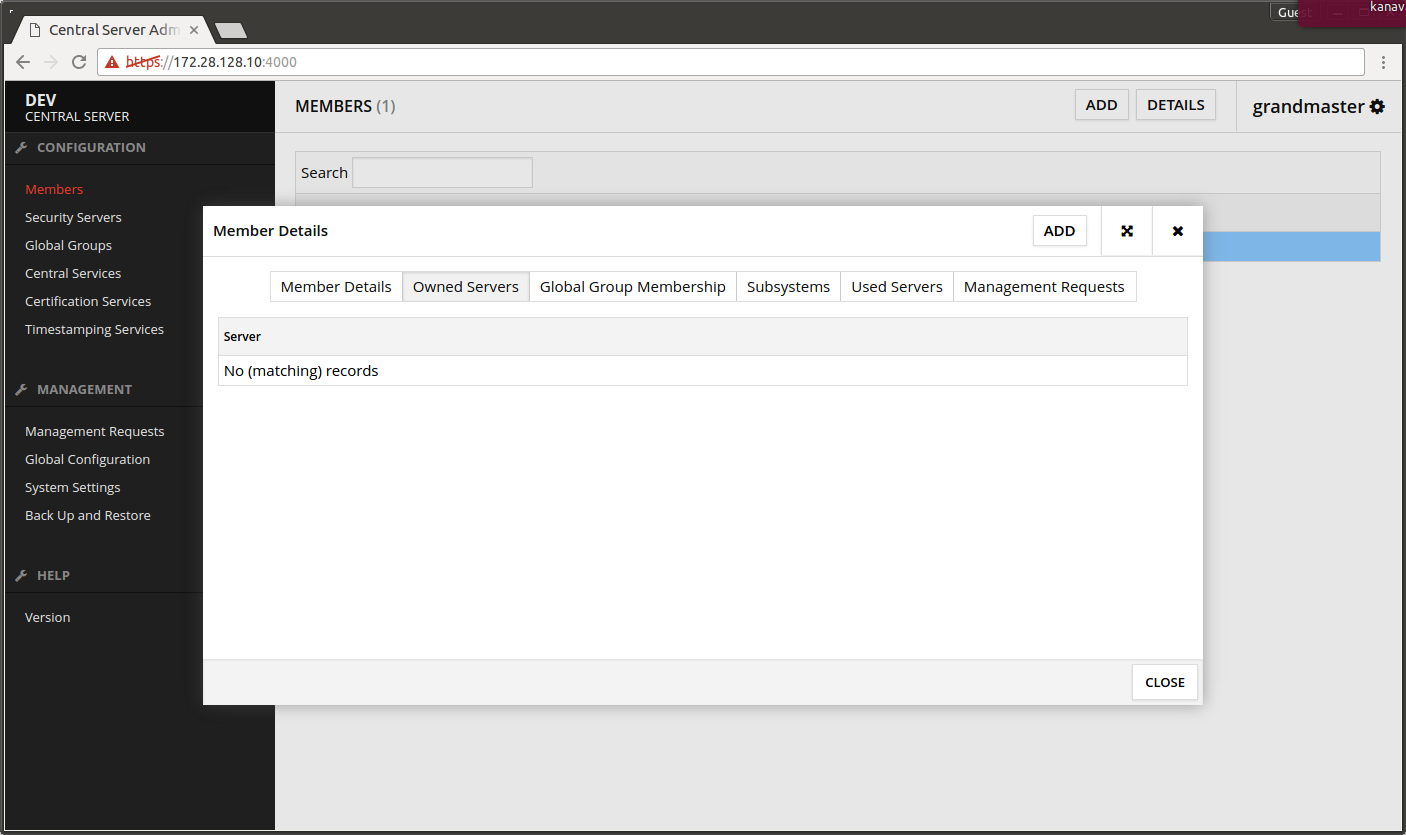
- Select the organization maintaining the Central Server.
- Press DETAILS.

- Select the tab called Owned Servers.
- Press ADD.
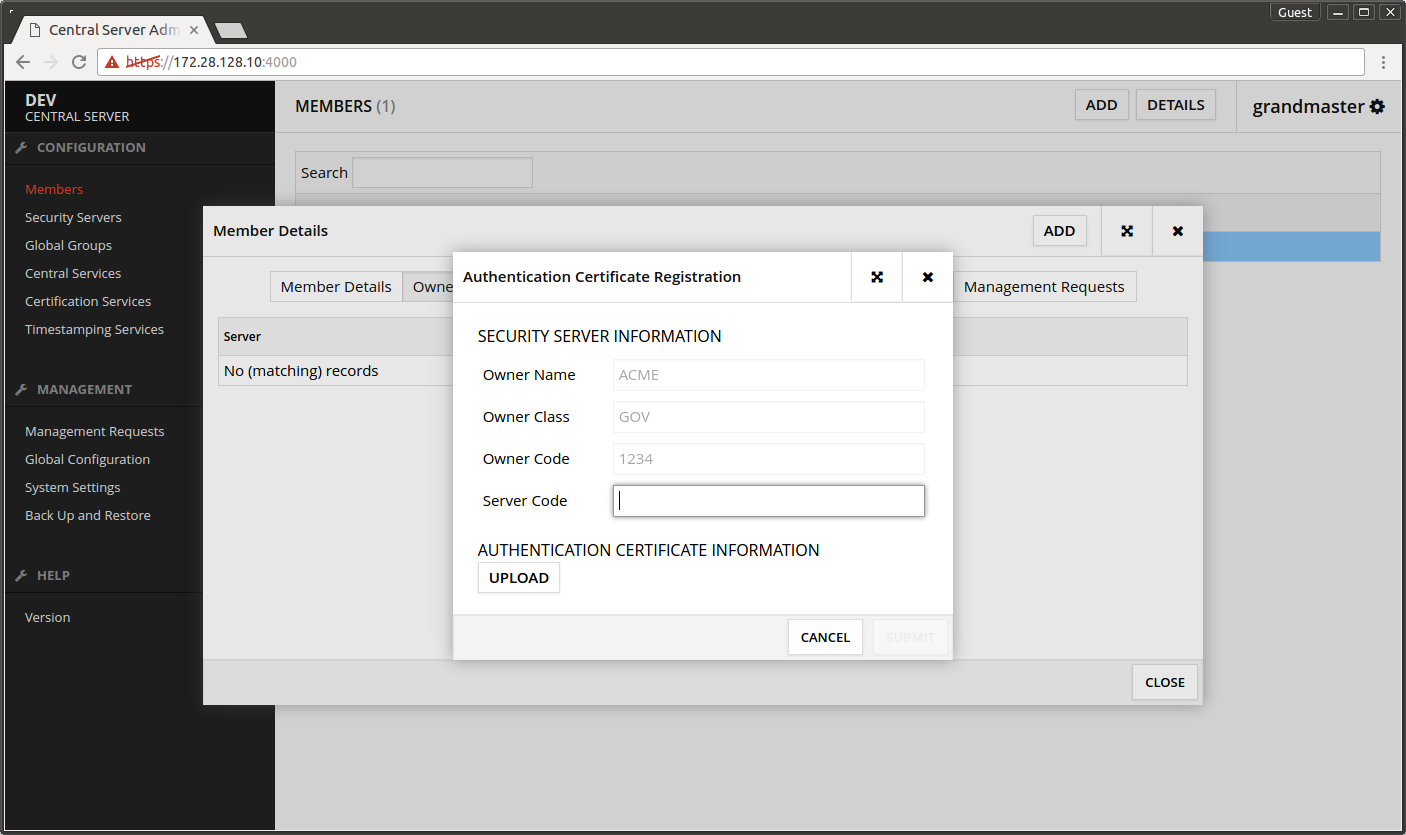
- Server Code - enter the same code that was entered in Security Server's initial configuration.
- Press UPLOAD.
- In the dialog that opens find the Security Server's authentication certificate.
- Press OK.
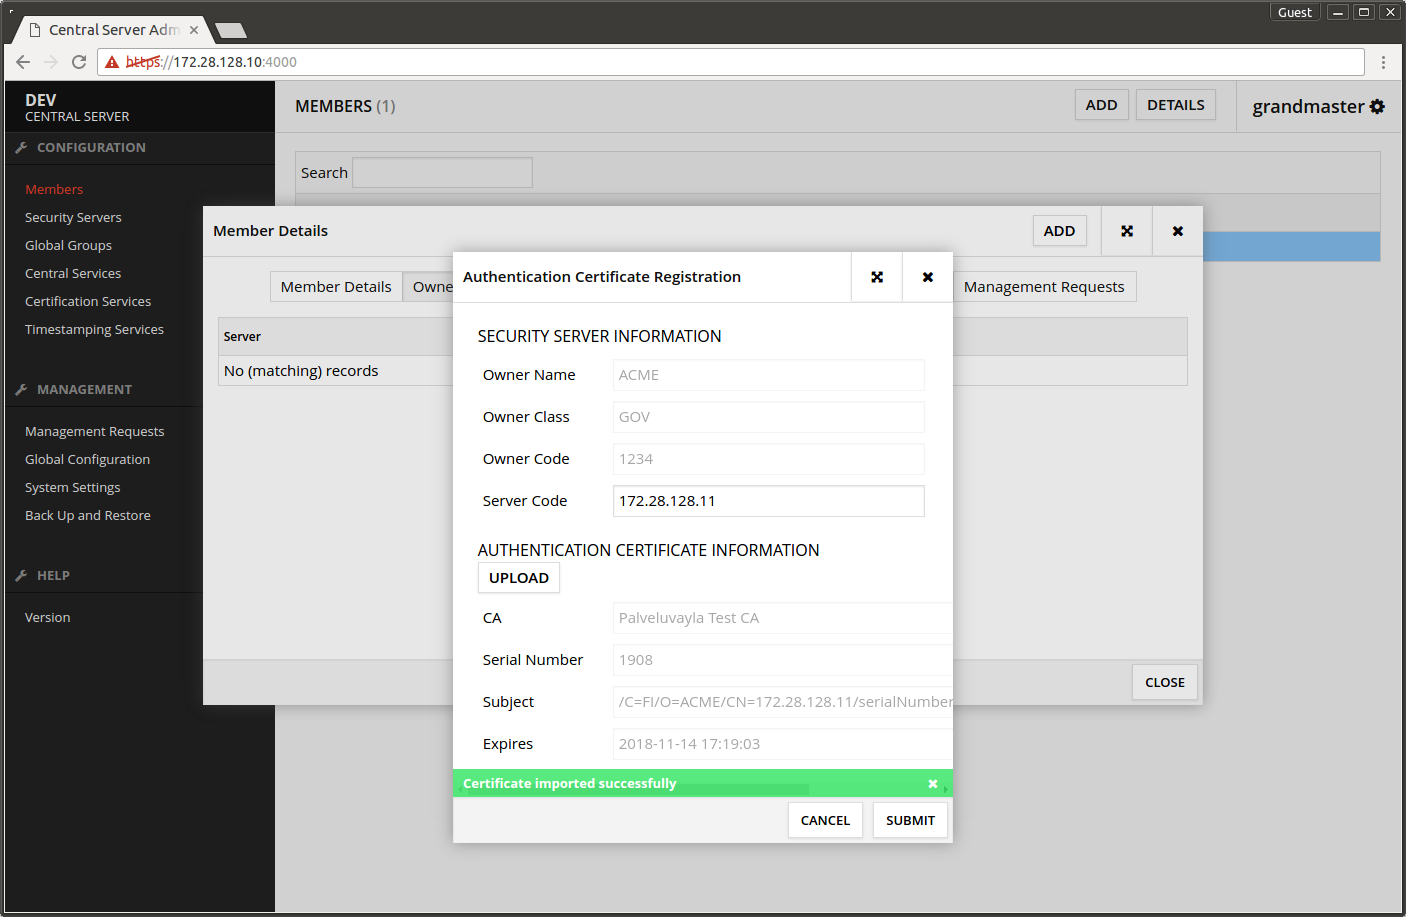
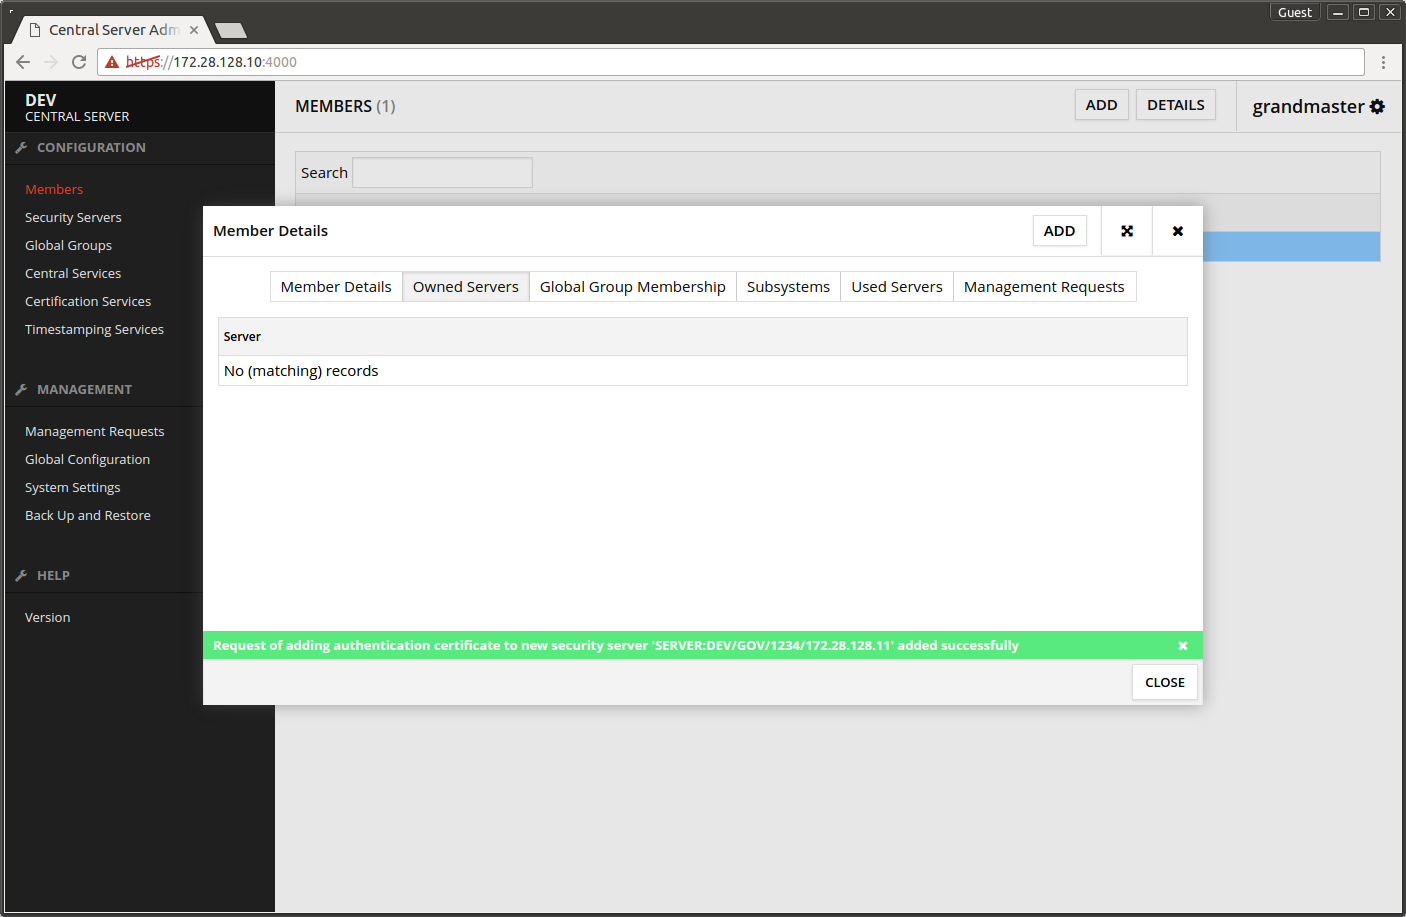
The next screen says Certificate imported successfully.
- Press CLOSE.
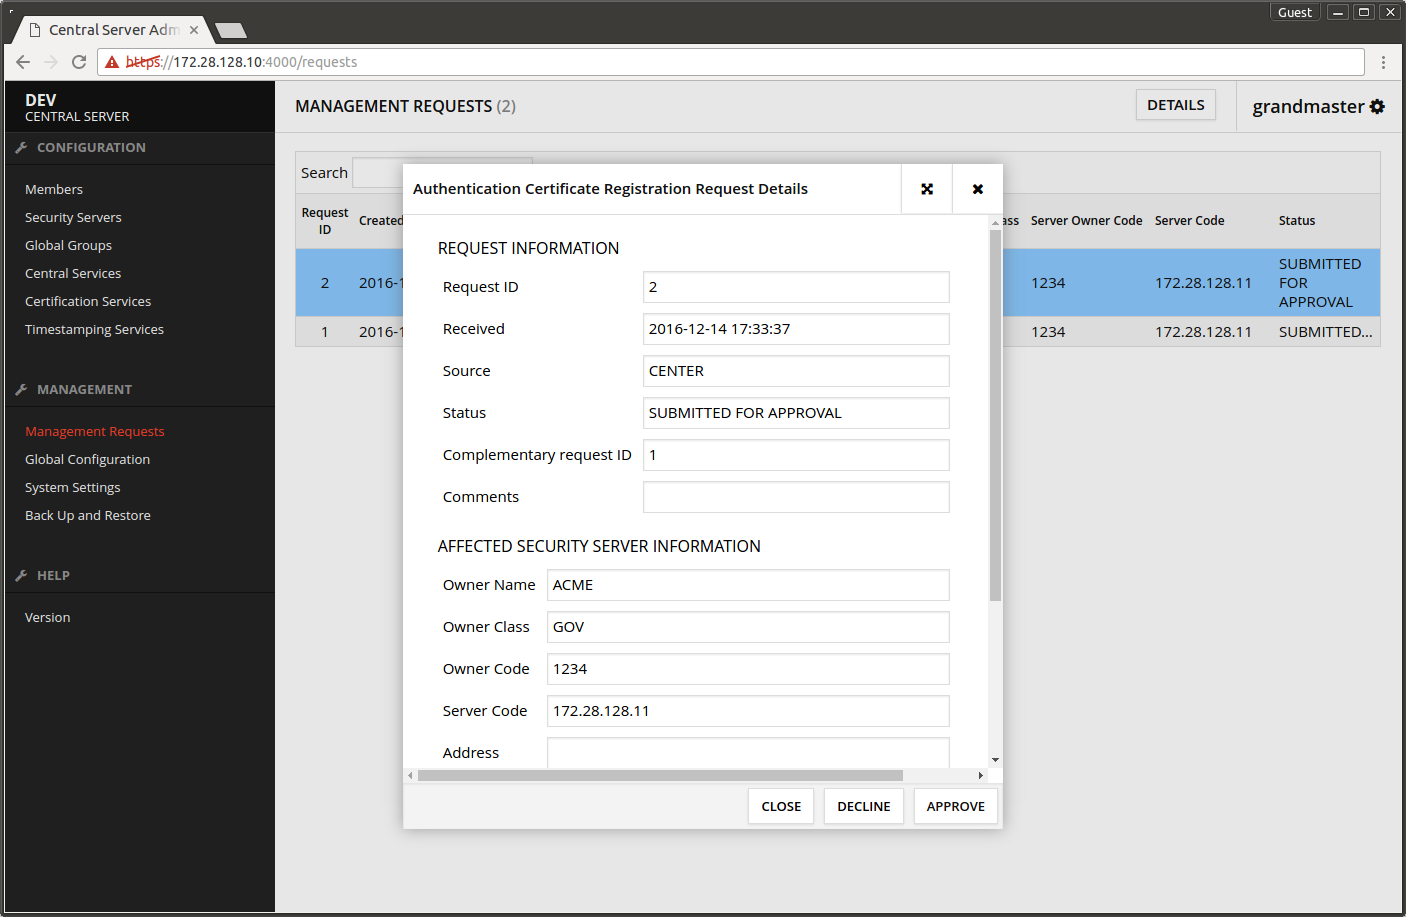
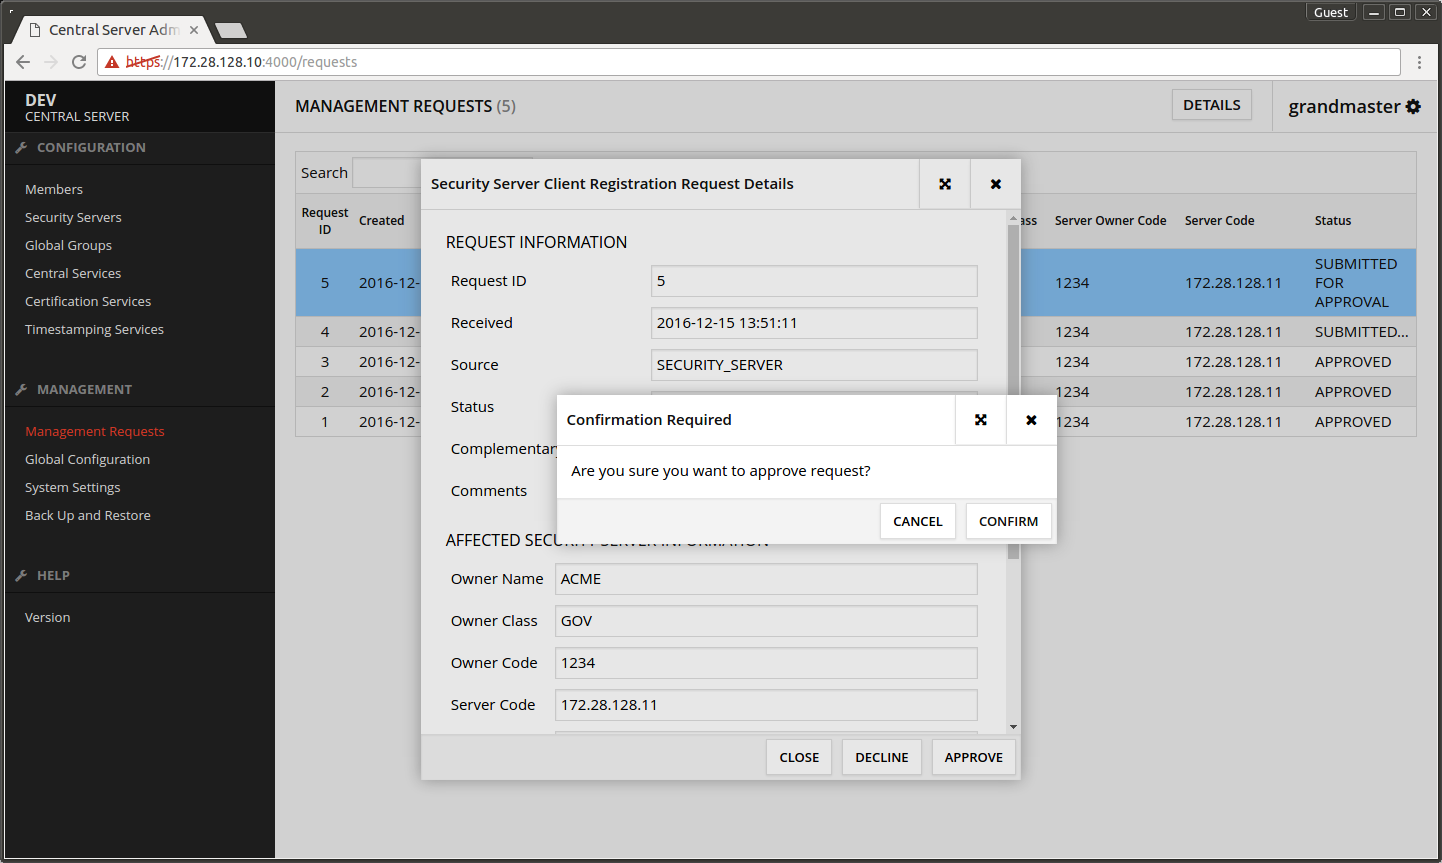
- Open Management Requests.
- Select the first request pending for approval.
- Press DETAILS.

- In the dialog that opens press APPROVE.
- In the confirmation dialog press CONFIRM.
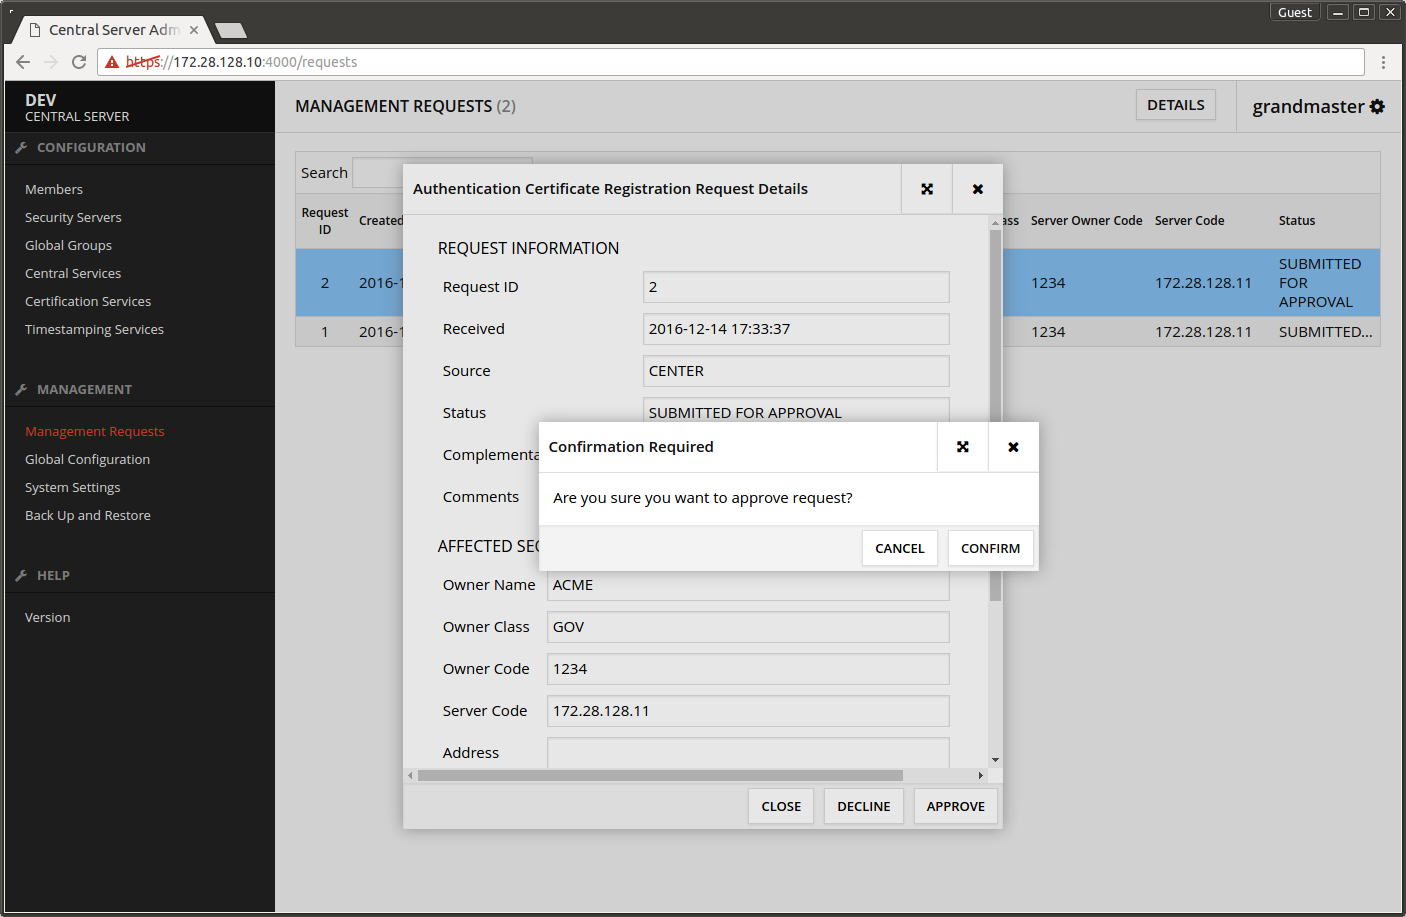
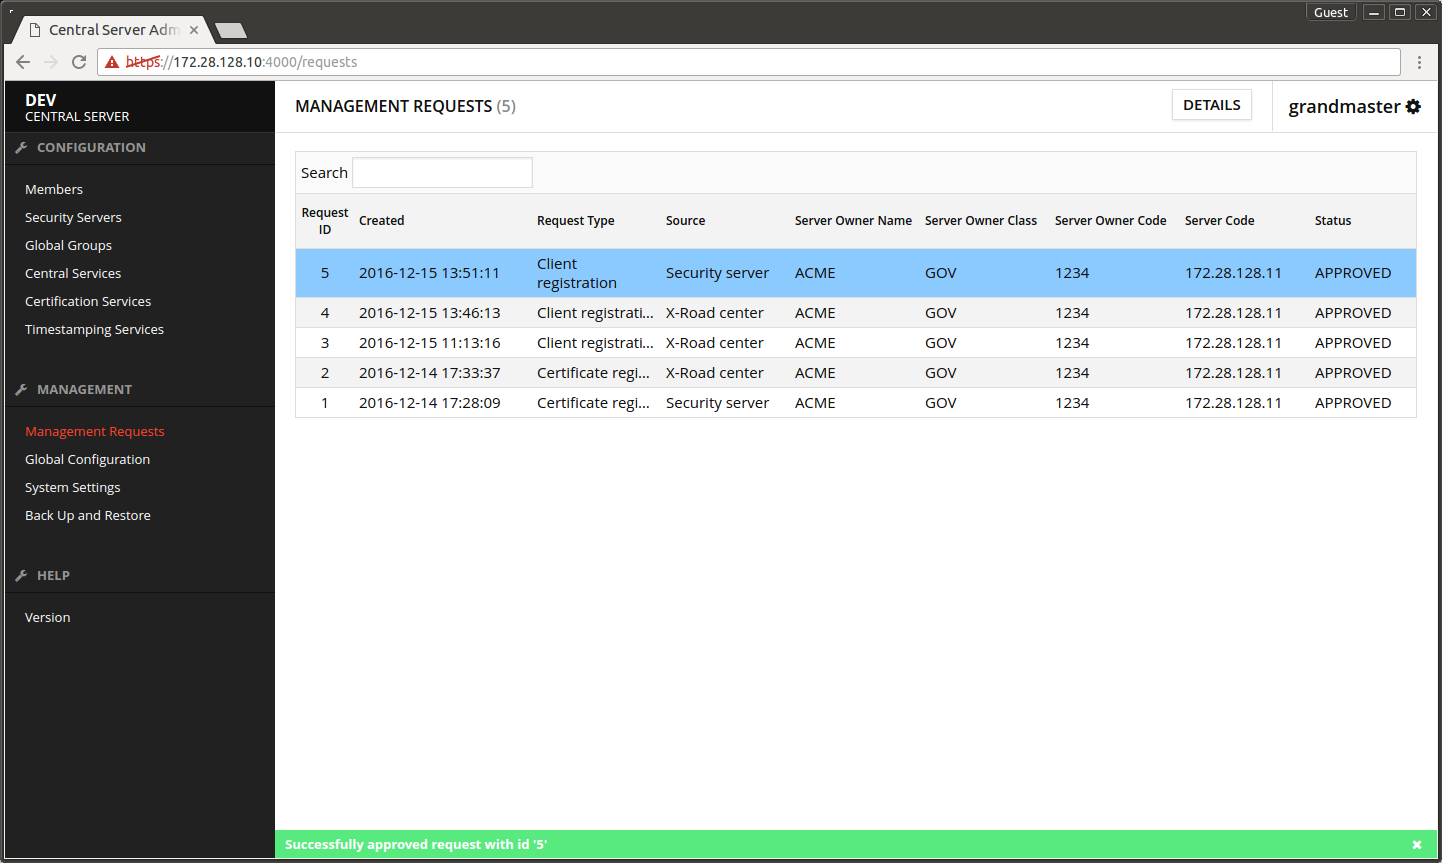
The next screen displays the message Successfully approved request.

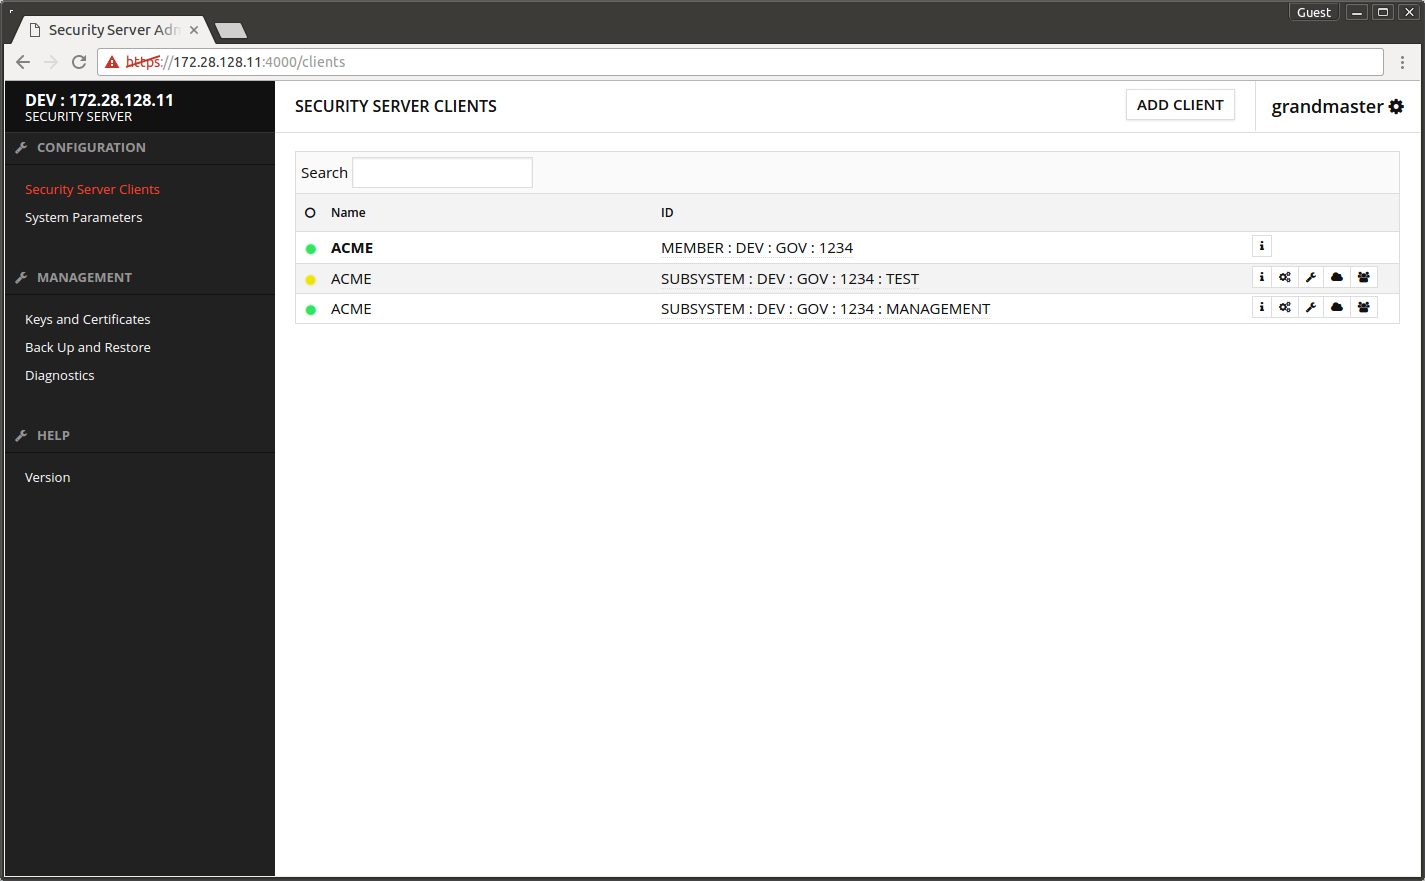
Return to the Security Server's admin interface.
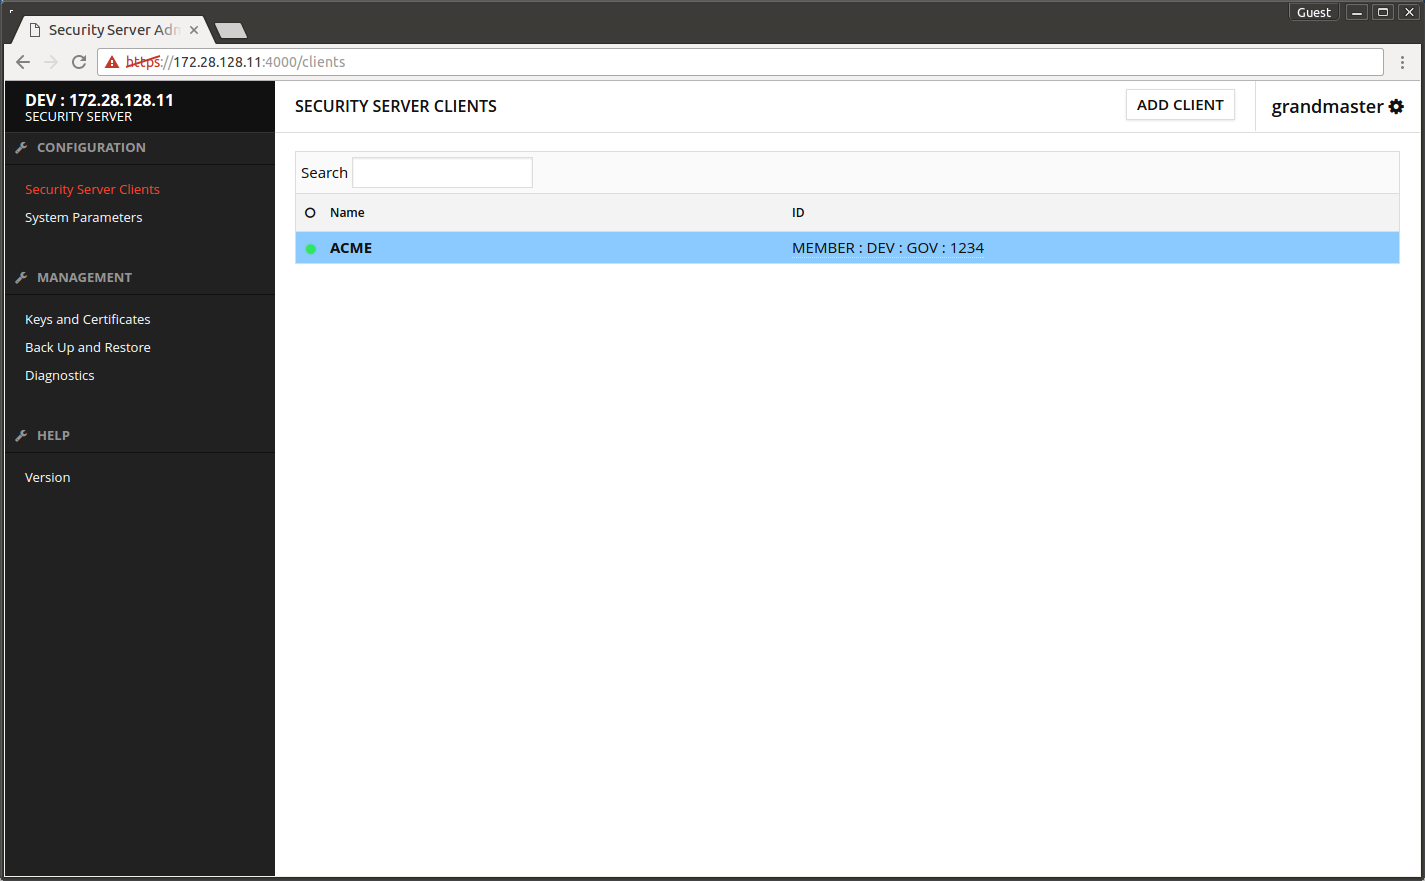
- Open Security Server Clients.
- The yellow ball in front of the owner organization turns green after a little wait
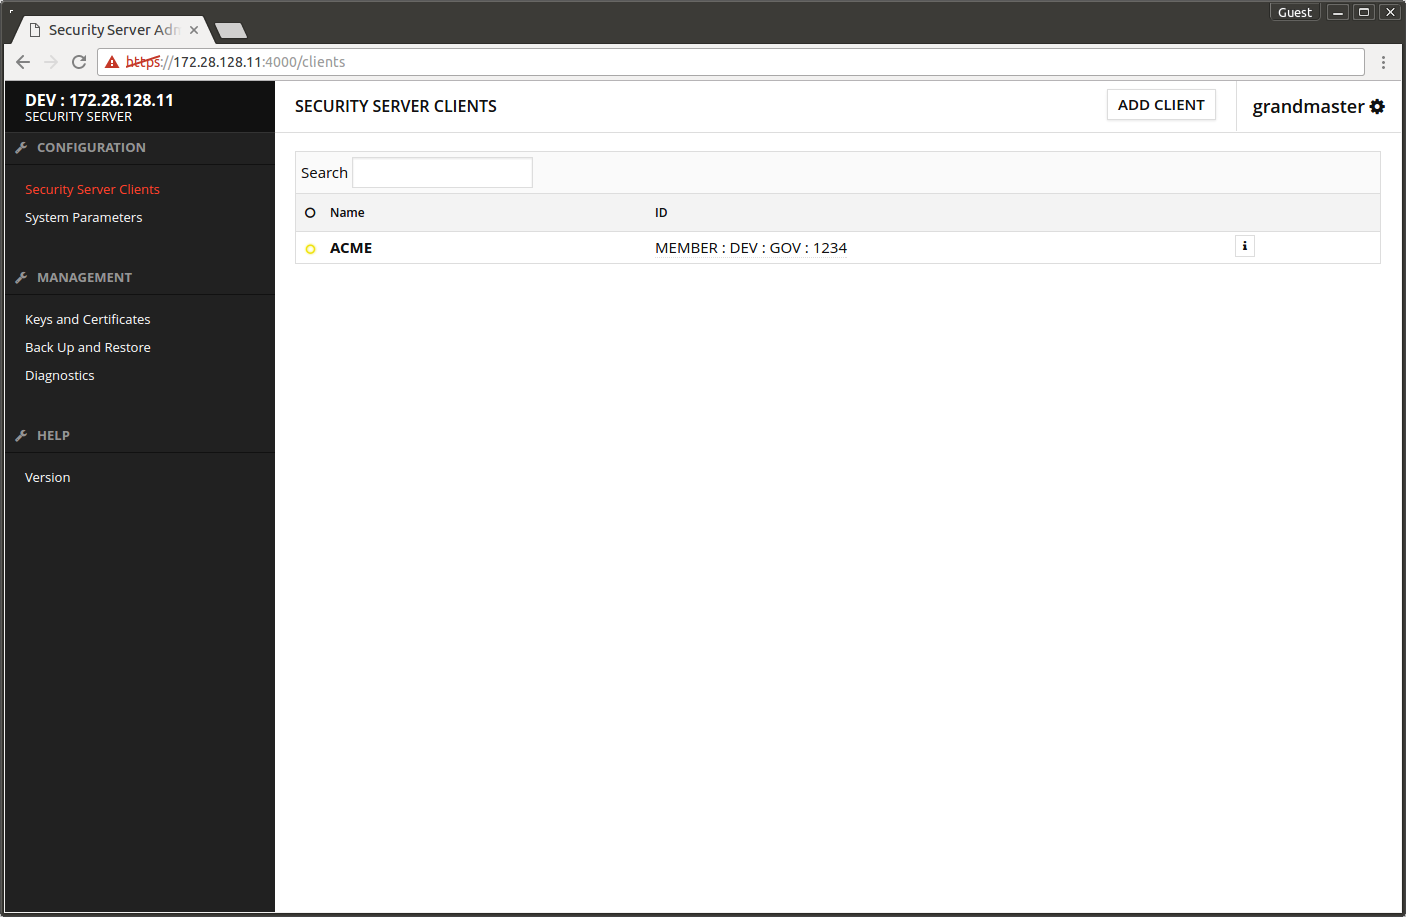
The screen after successful registration.

3.7 Add subsystem for management services
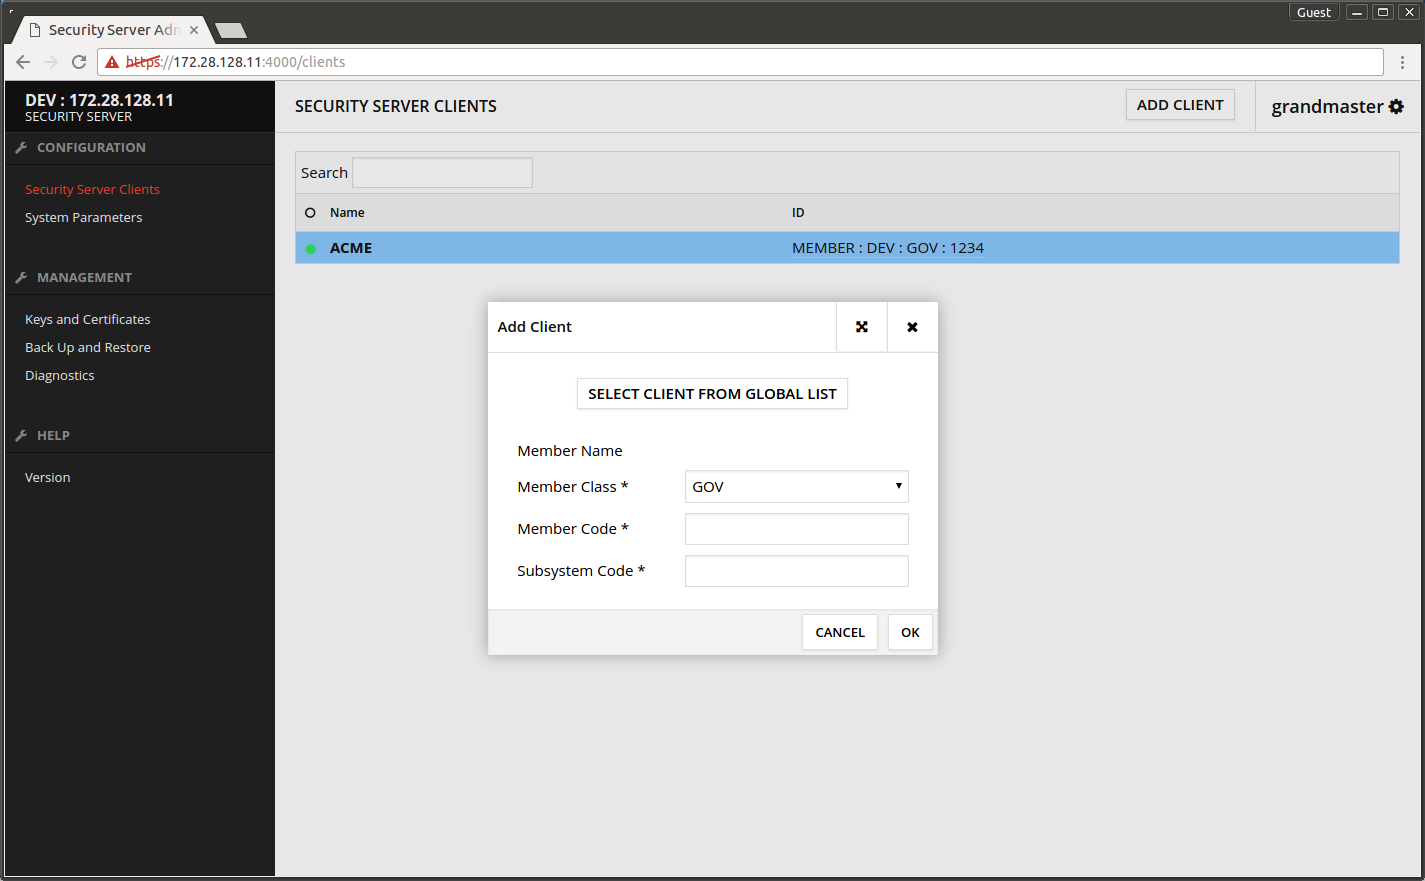
- Press ADD CLIENT.
- Press SELECT CLIENT FROM GLOBAL LIST.
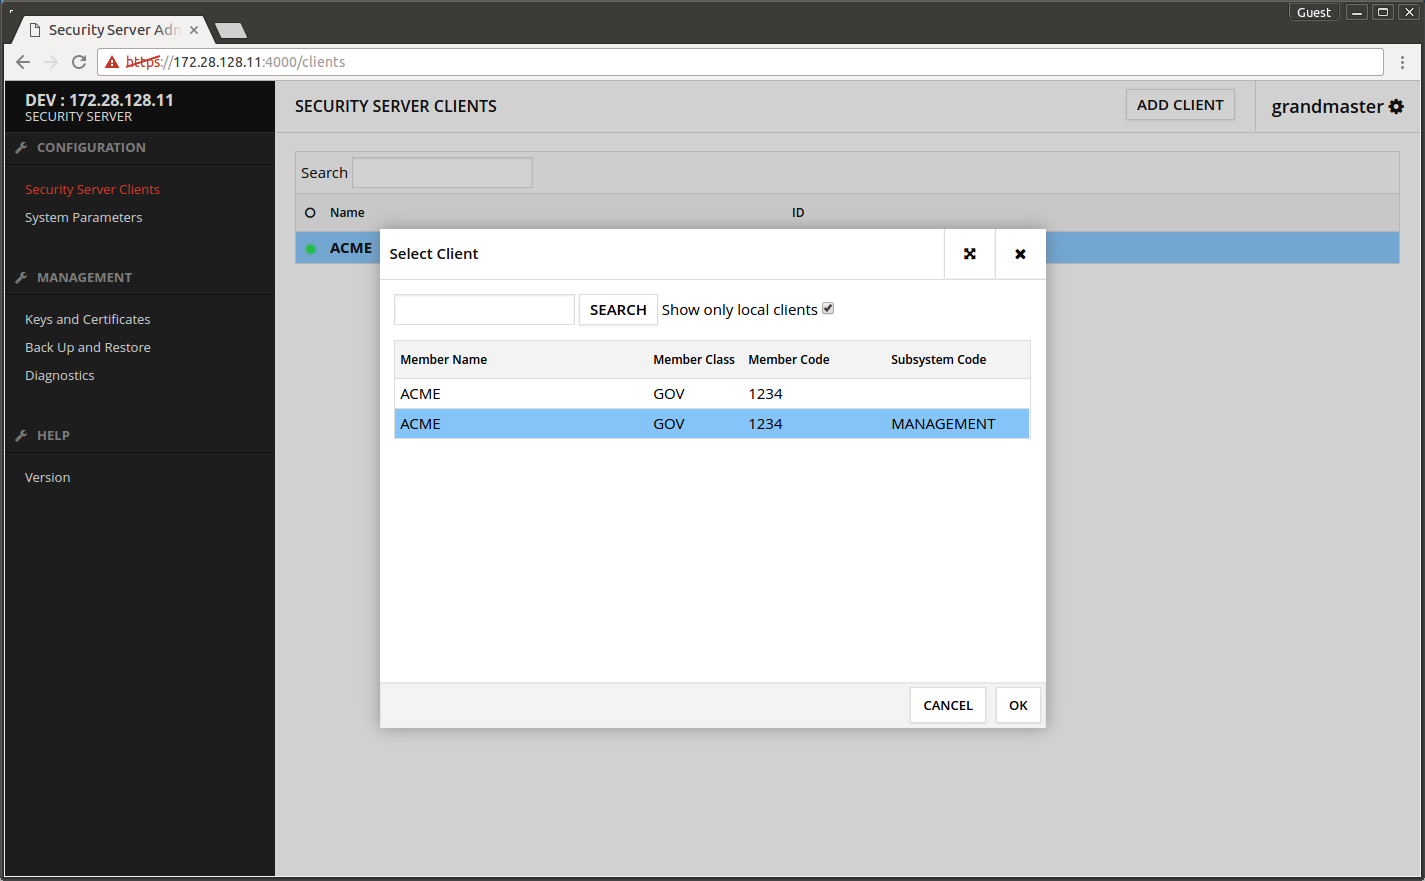
- Press SEARCH.
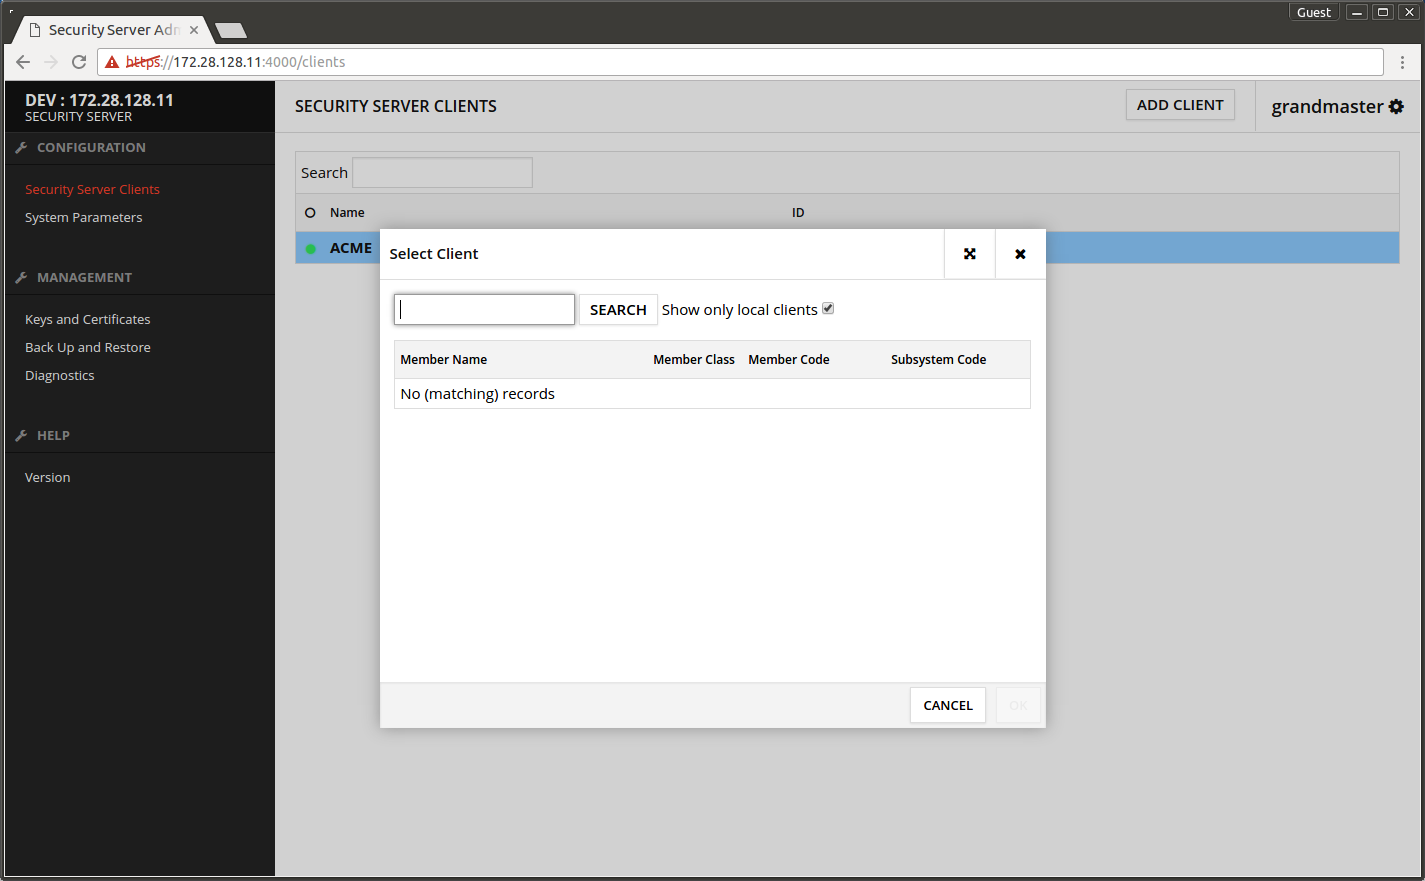
- Select the Security Server owner organization's row where the Subsystem Code is MANAGEMENT.
- Press OK.
- Press OK.

- Press CONFIRM.

The registration request fails because the management services have not yet been defined.

- Open the central server's admin interface.
- Open System Settings.
- Press Management Services -> REGISTER.
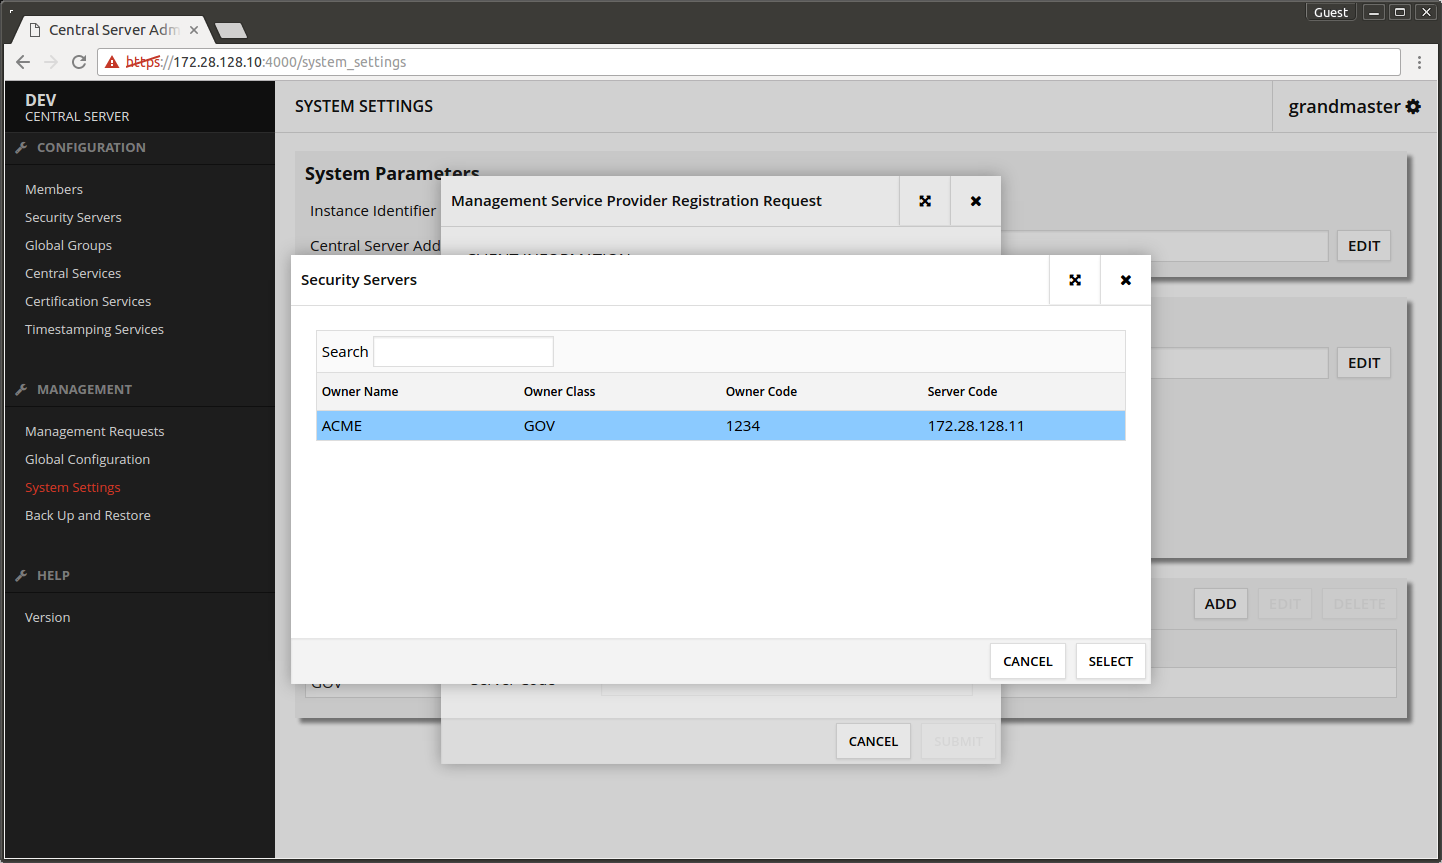
- Press SEARCH.
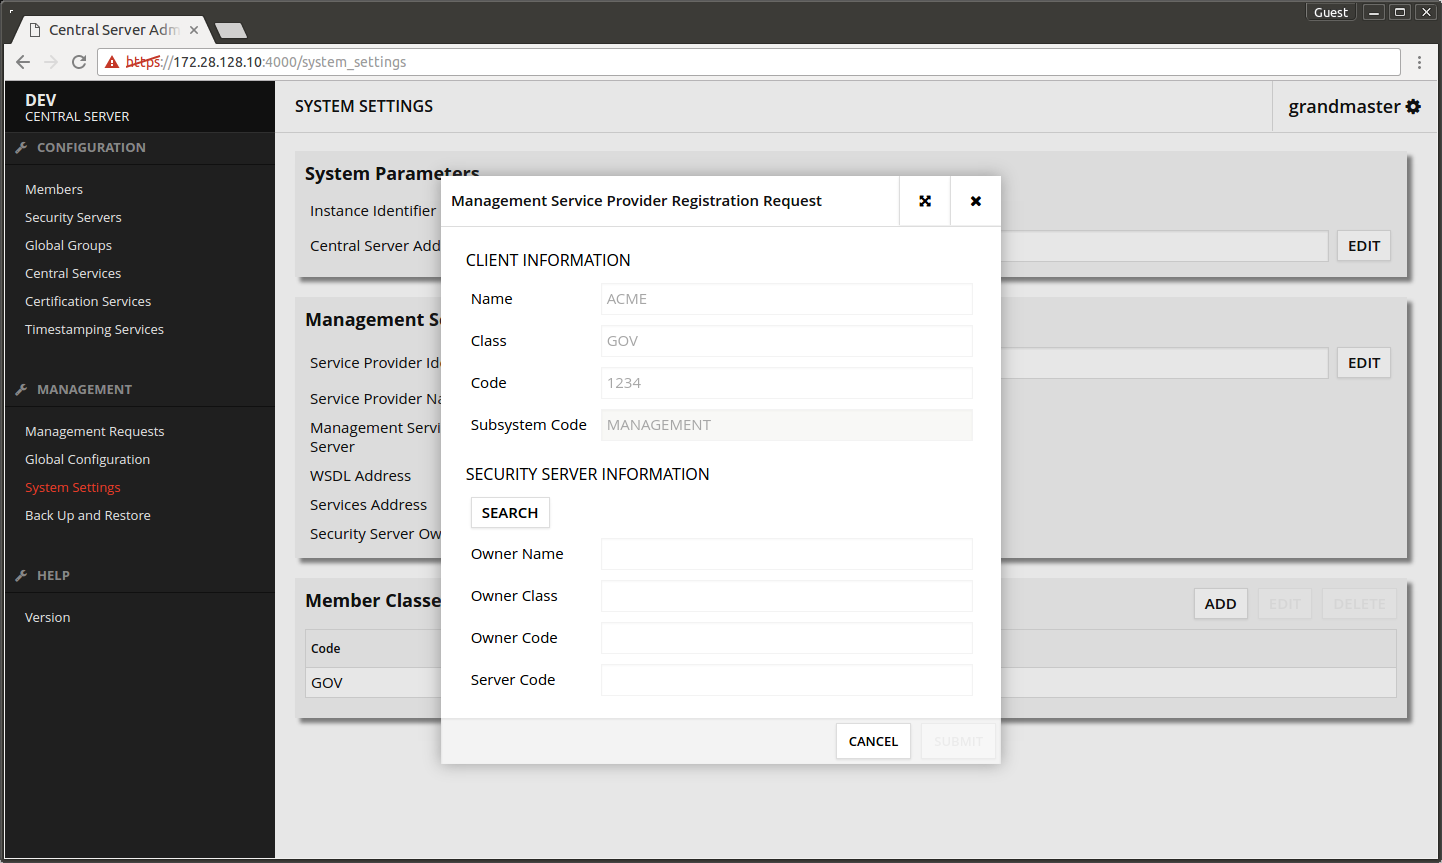
- Select the Security Server's owner organization from the list.
- Press SELECT.
- Press SUBMIT.

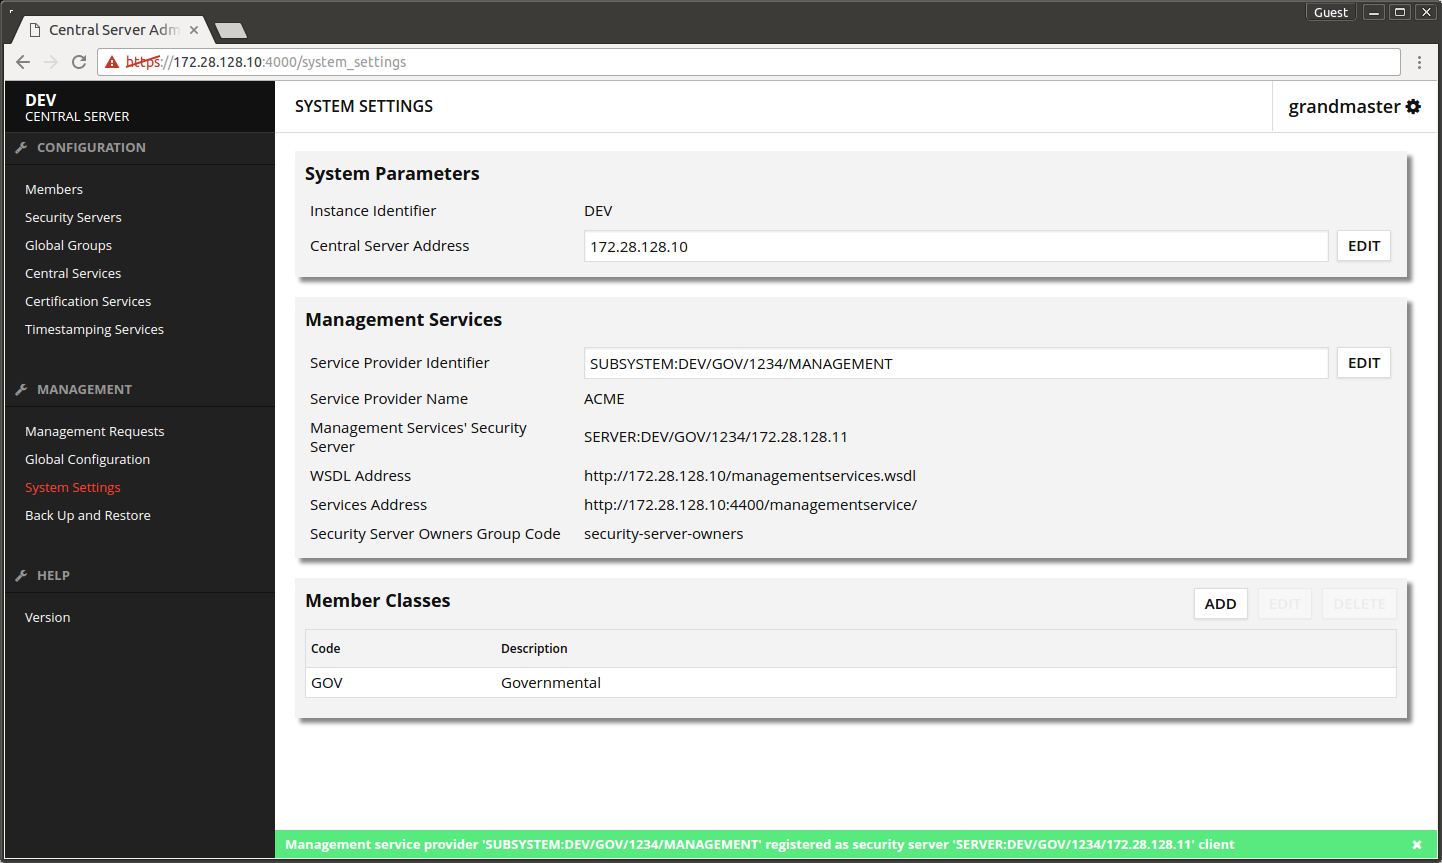
The next screen shows a message about successful registration.
- Open the Security Server's admin interface.
- Open Security Server Clients.
- Wait until the yellow ball in front of MANAGEMENT subsystem turns green.

The screen after successful registration.

3.8 Configuring the management services
- Select MANAGEMENT subsystem.
- Press the wrench button on the toolbar on the right.

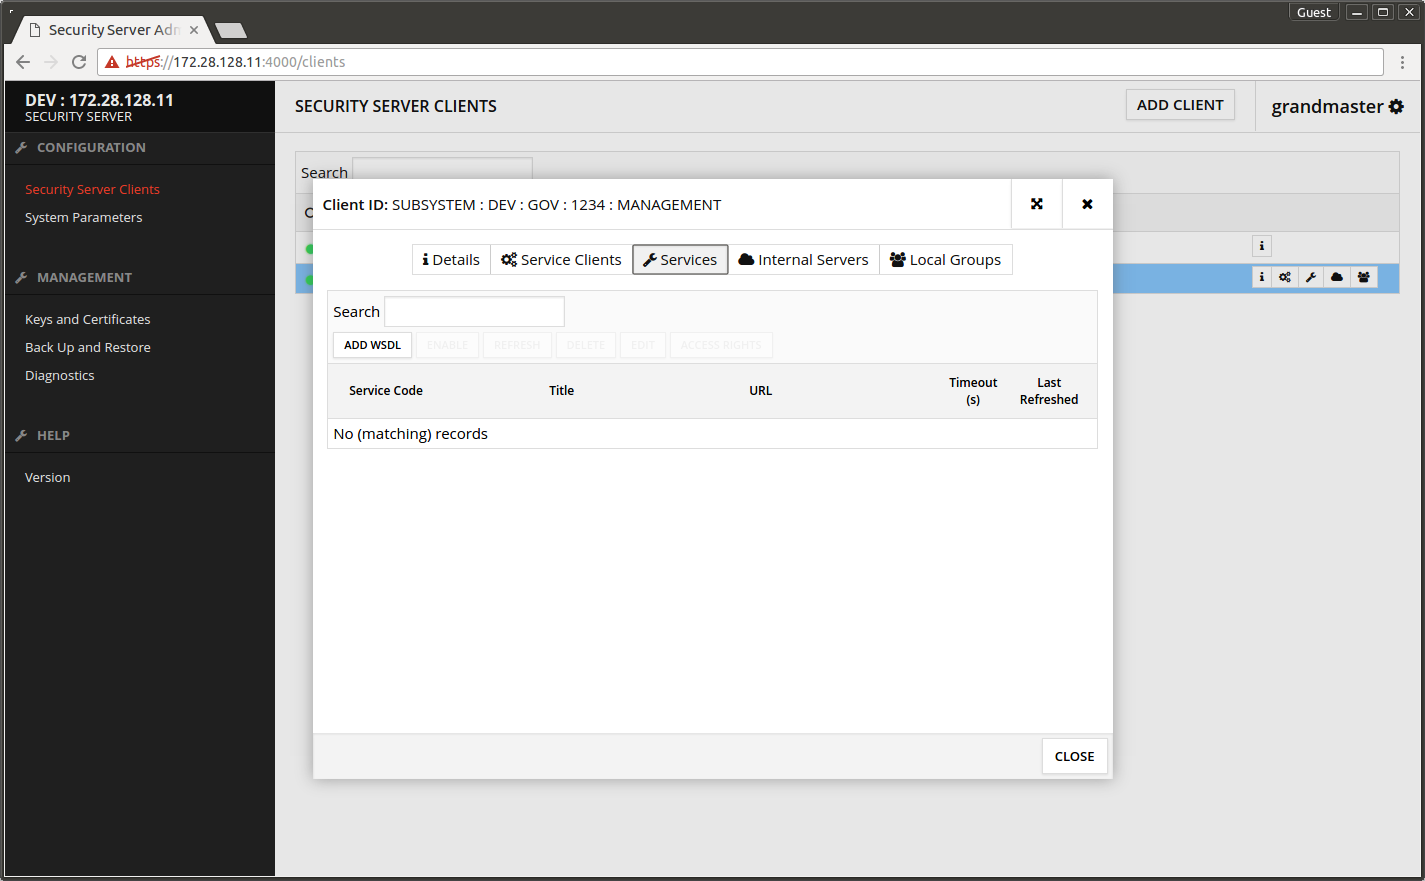
Services tab opens.
- On the central server open System Settings.
- Copy to clipboard Management Services -> WSDL Address (later on you will also need Services Address).
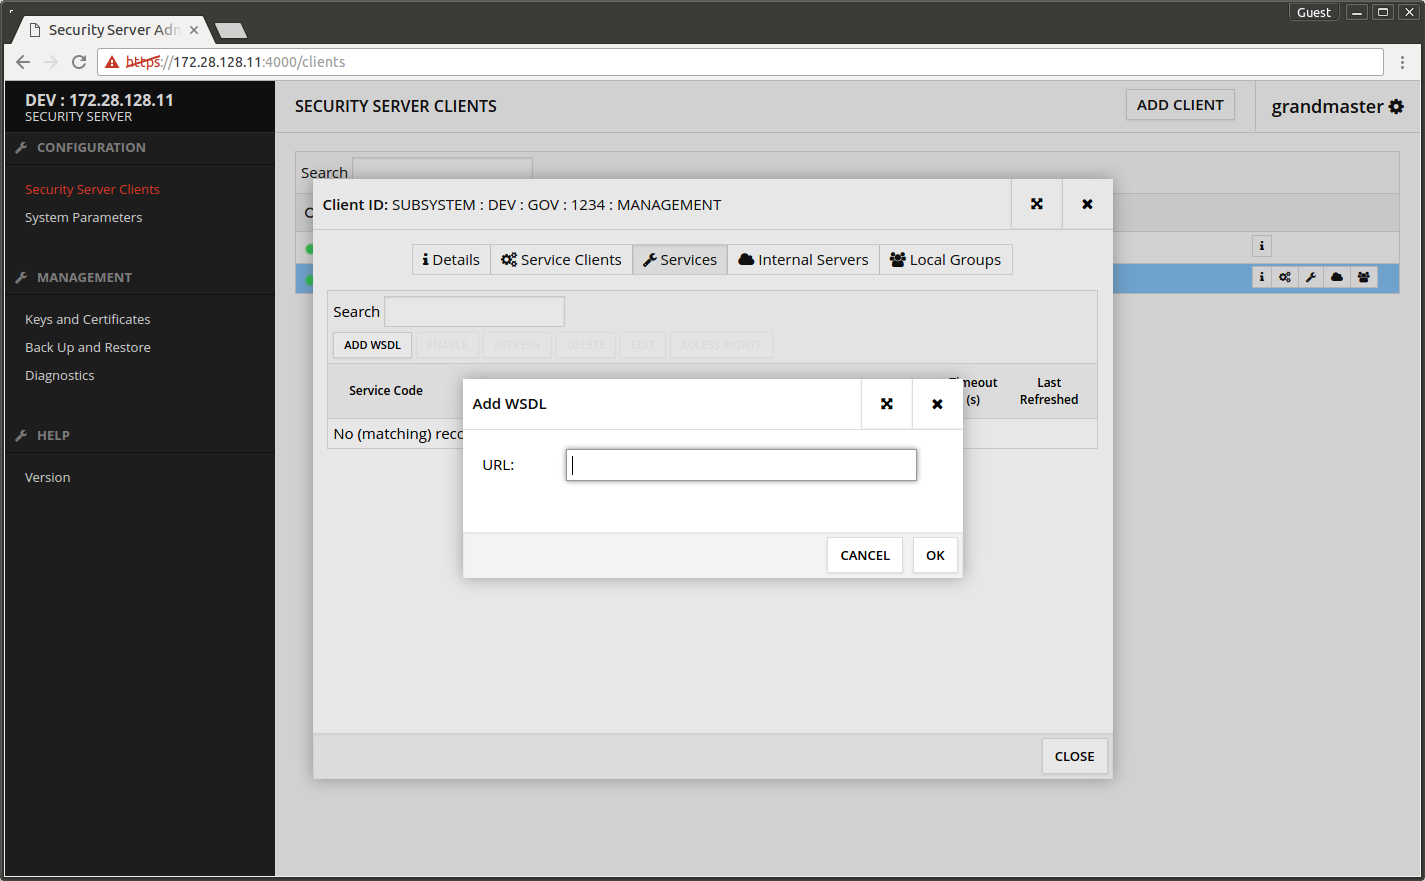
- Go back to the security server and press ADD WSDL.
- Paste from the clipboard the WSDL address you copied and press OK.
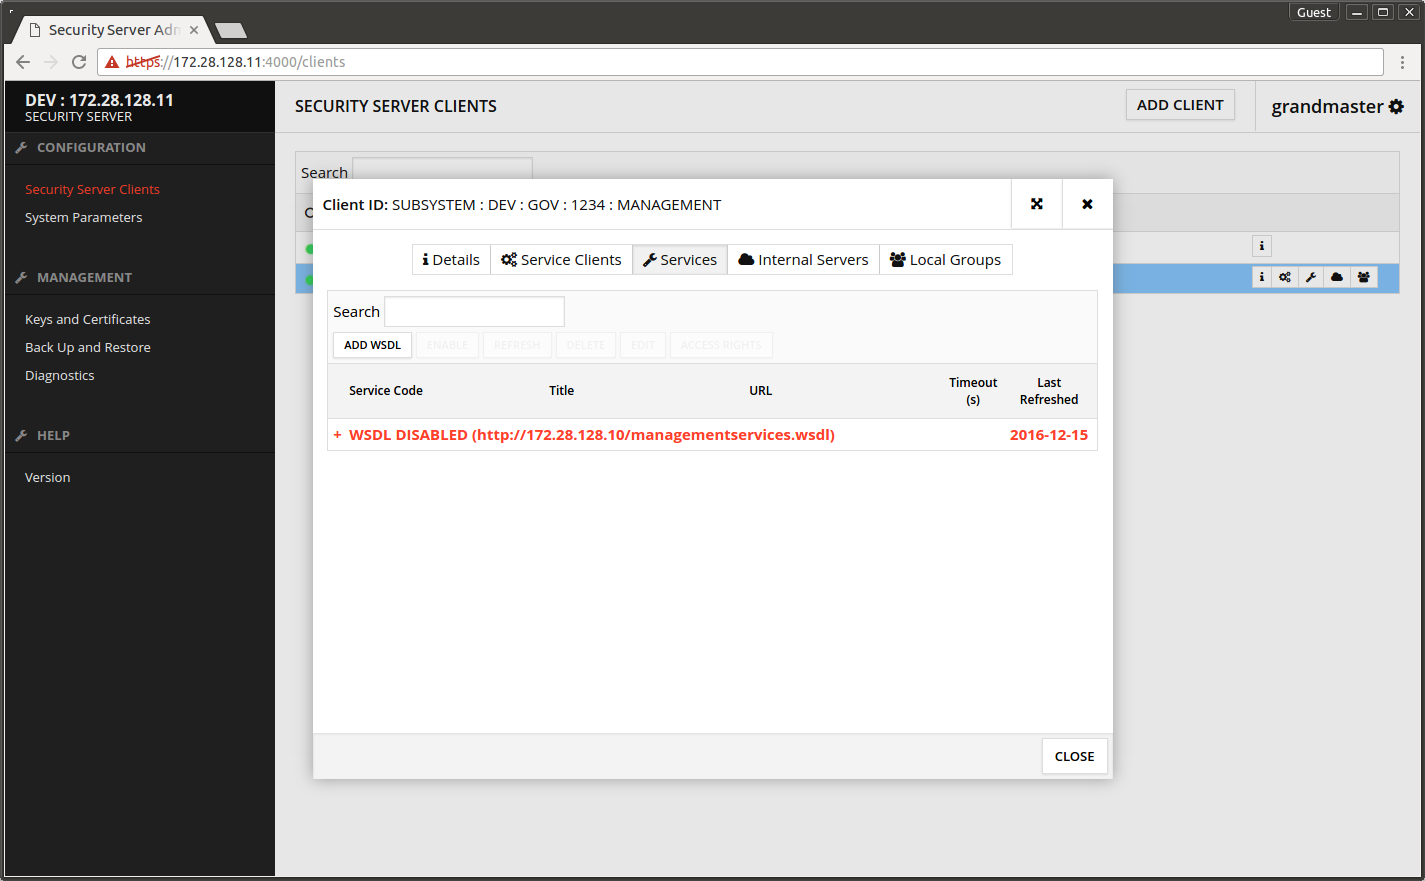
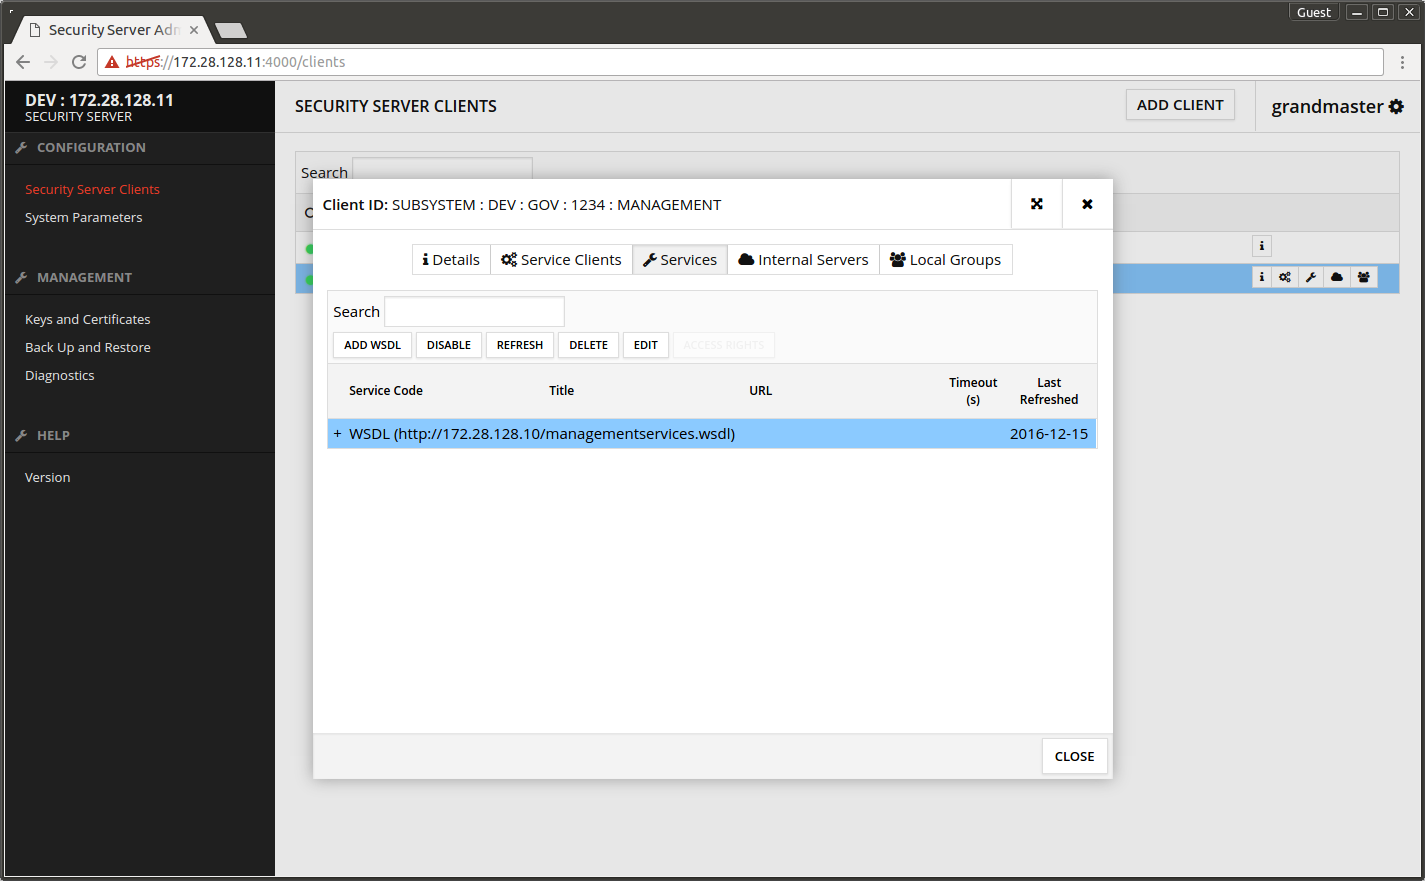
The added WSDL shows disabled on the list.
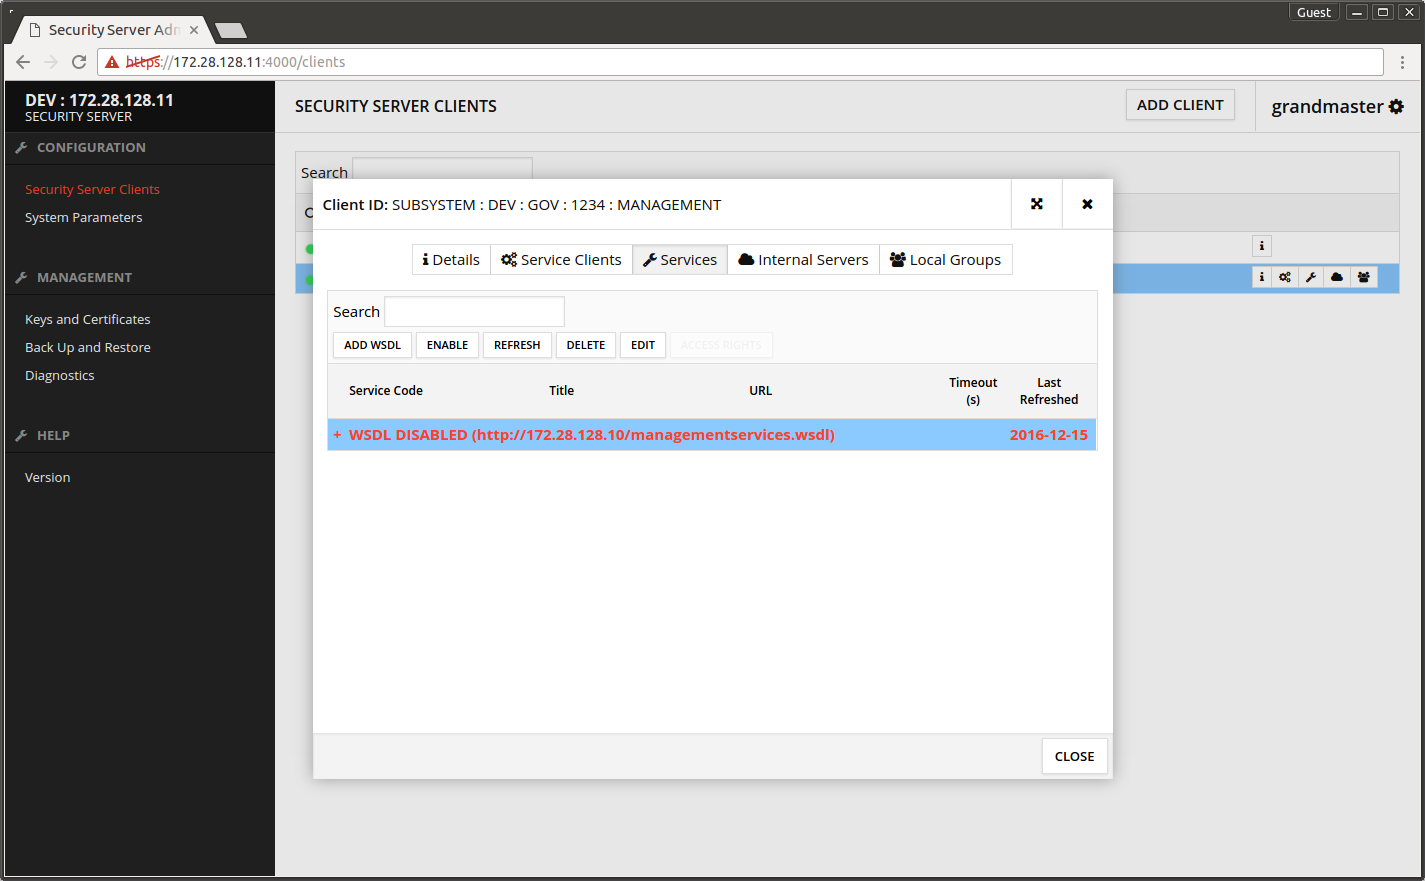
- Select the WSDL row and press ENABLE.
The screen after enabling the WSDL.
- Press the + in front of the WSDL to show the services it contains.
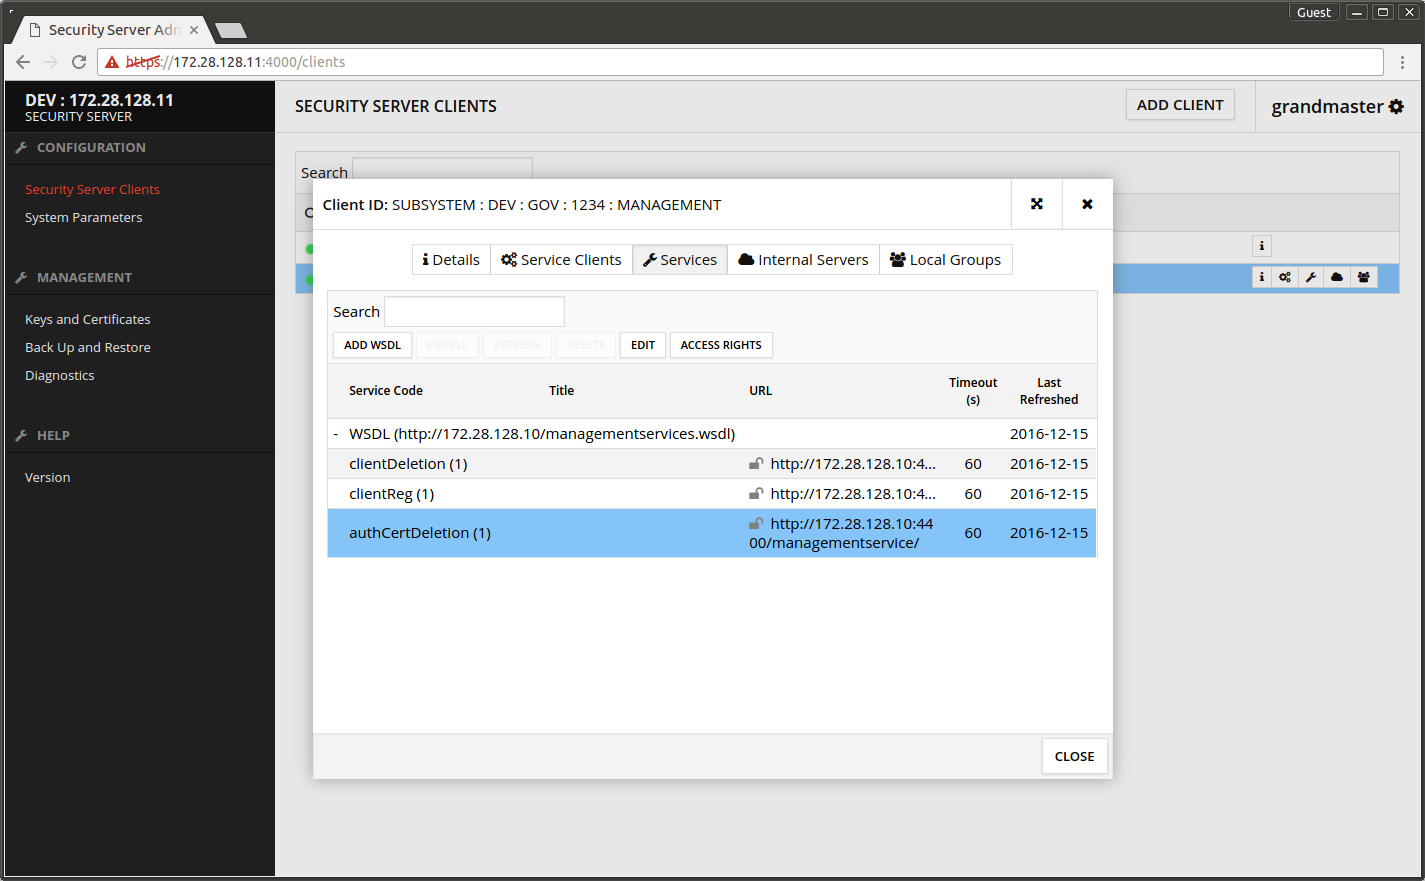
The screen after the services under WSDL has been expanded.
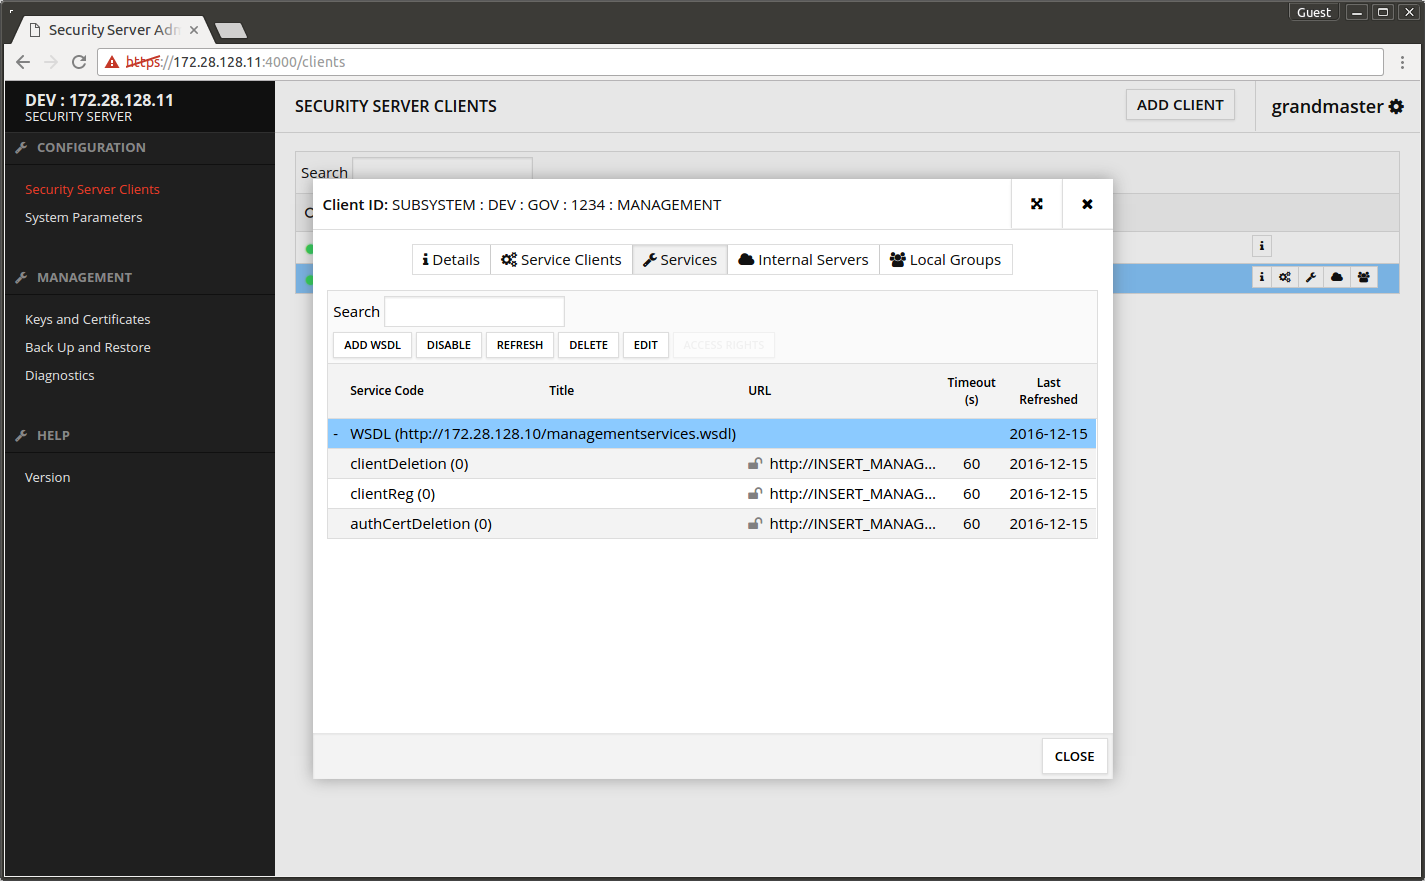
- Select clientDeletion from the services list.
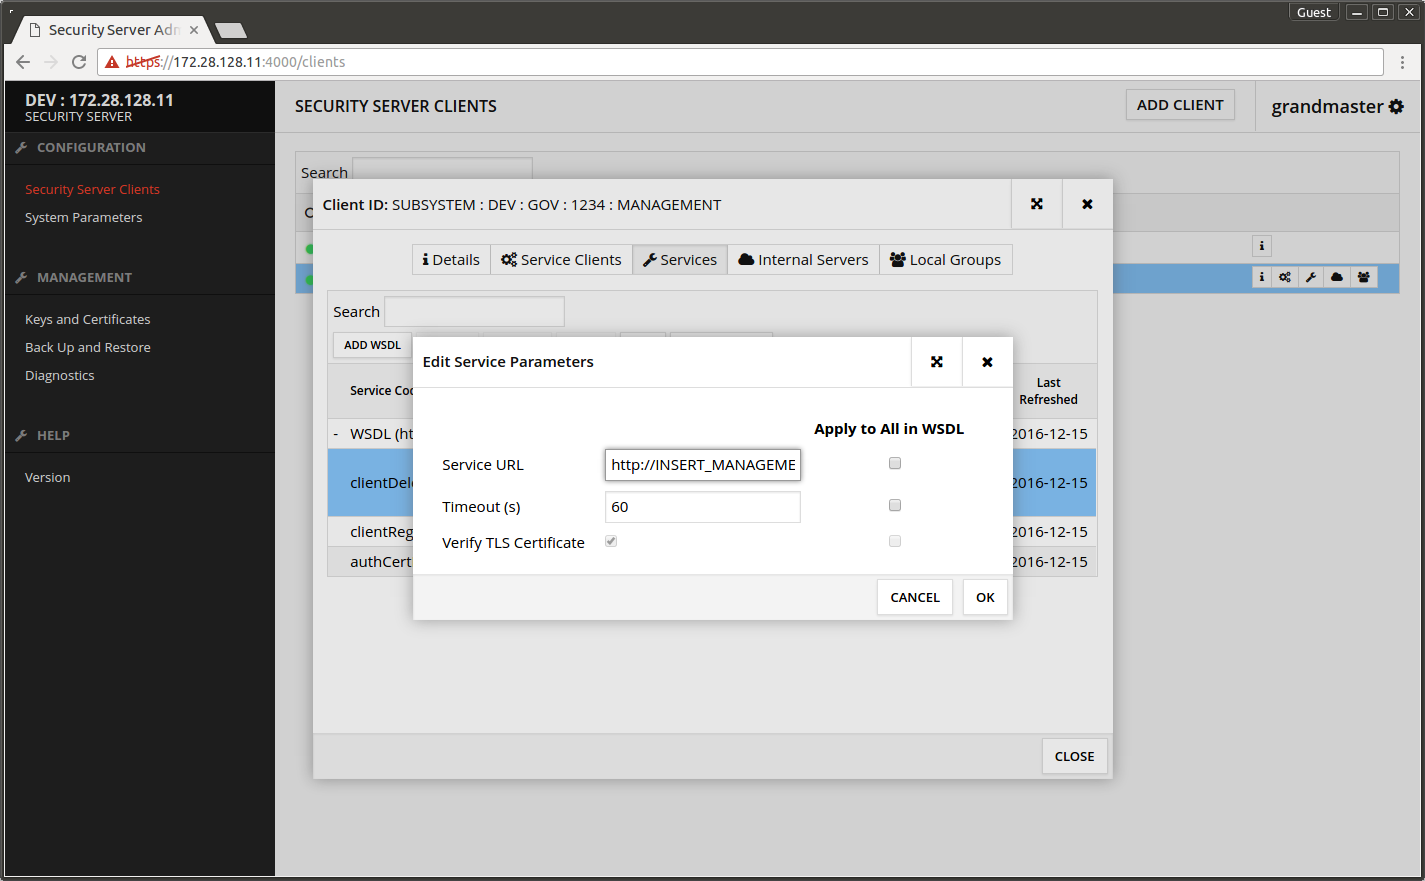
- Press EDIT.

Service URL - copy from the central server System Settings -> Management Services -> Services Address.
Versions < 6.21.0 (except 6.18.1, 6.19.1, 6.20.1)
By default the Central Server gives the address using HTTP protocol and port 4400. The safer alternative is to use HTTPS protocol. It is taken to use by replacing the protocol part with HTTPS and port with 4001 in the services' address.Versions >= 6.21.0, 6.18.1, 6.19.1, 6.20.1
By default the Central Server gives the address using HTTPS protocol and port 4002.
- Timeout - leave to default.
- Verify TLS Certificate - unchecked (remove the tick if checked).
- Apply to All in WSDL - check all boxes to perform the changes to all the WSDL services.
- Press OK.
- Select clientDeletion from the list.
- Press ACCESS RIGHTS.

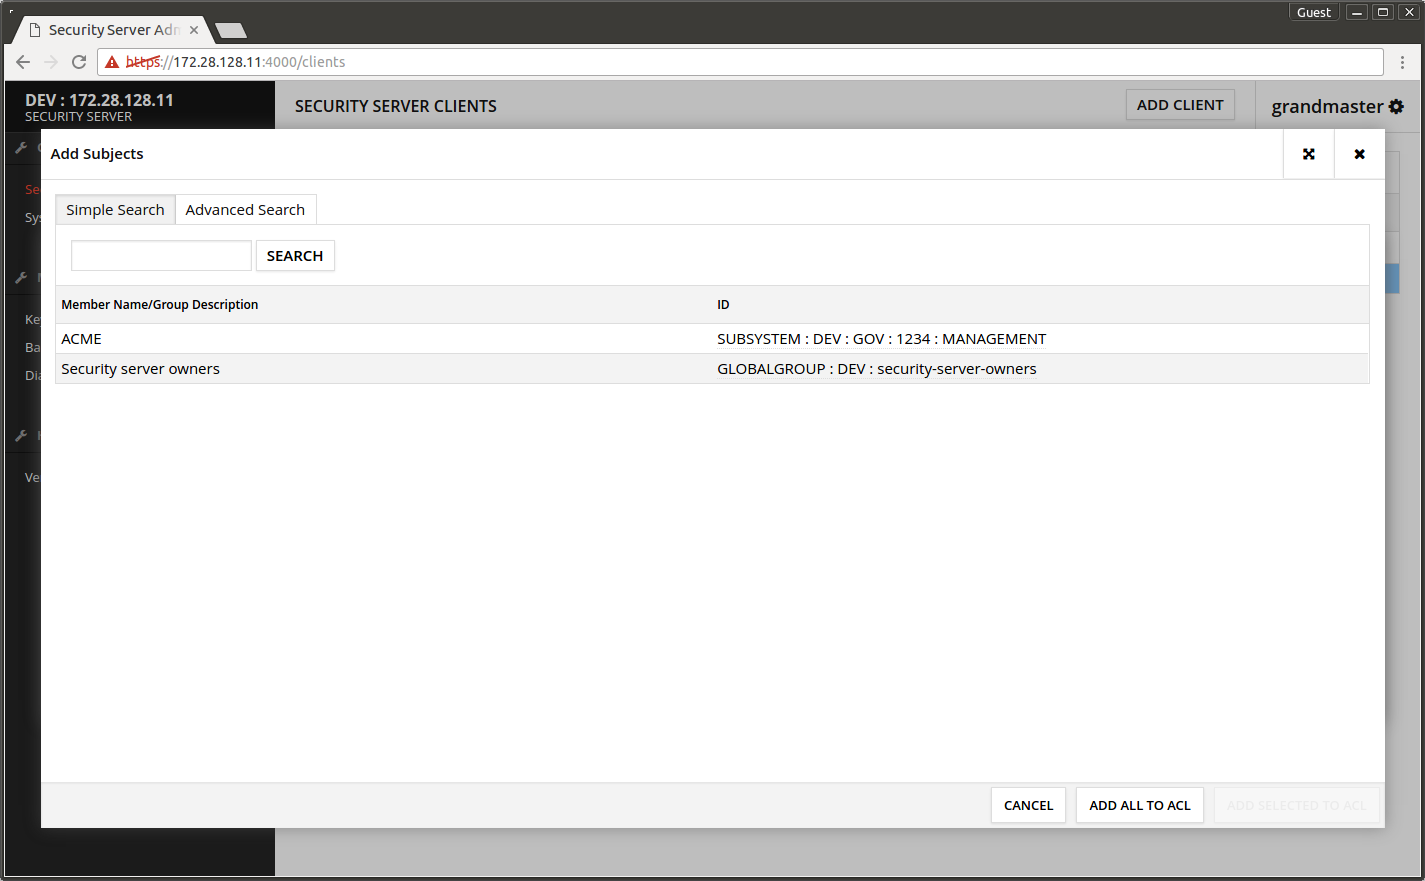
- Press ADD SUBJECTS.
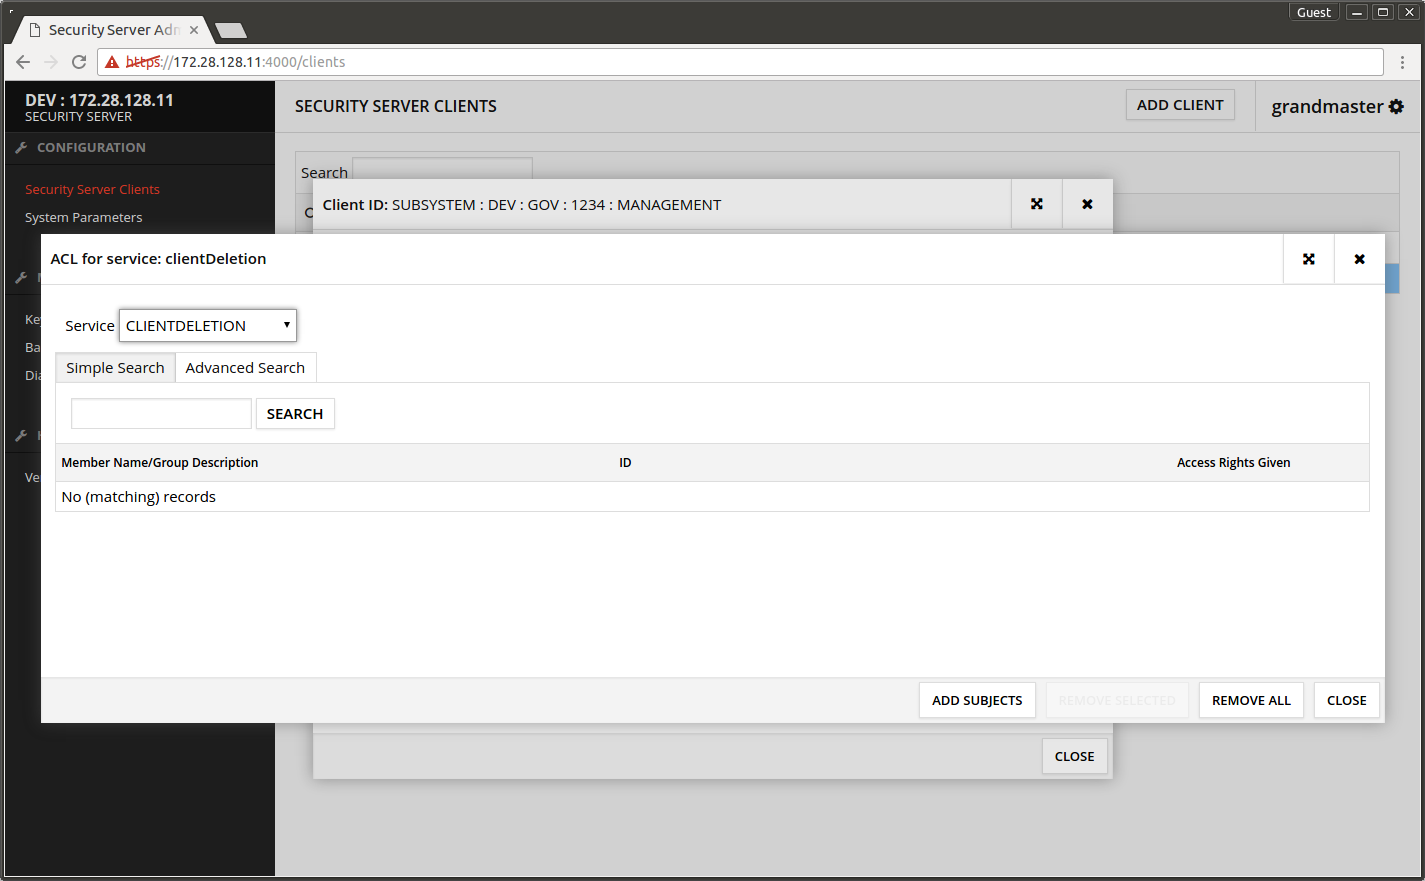
- Press SEARCH.

The list is populated with choices.
- Select Security server owners from the list.
- Press ADD SELECTED TO ACL.
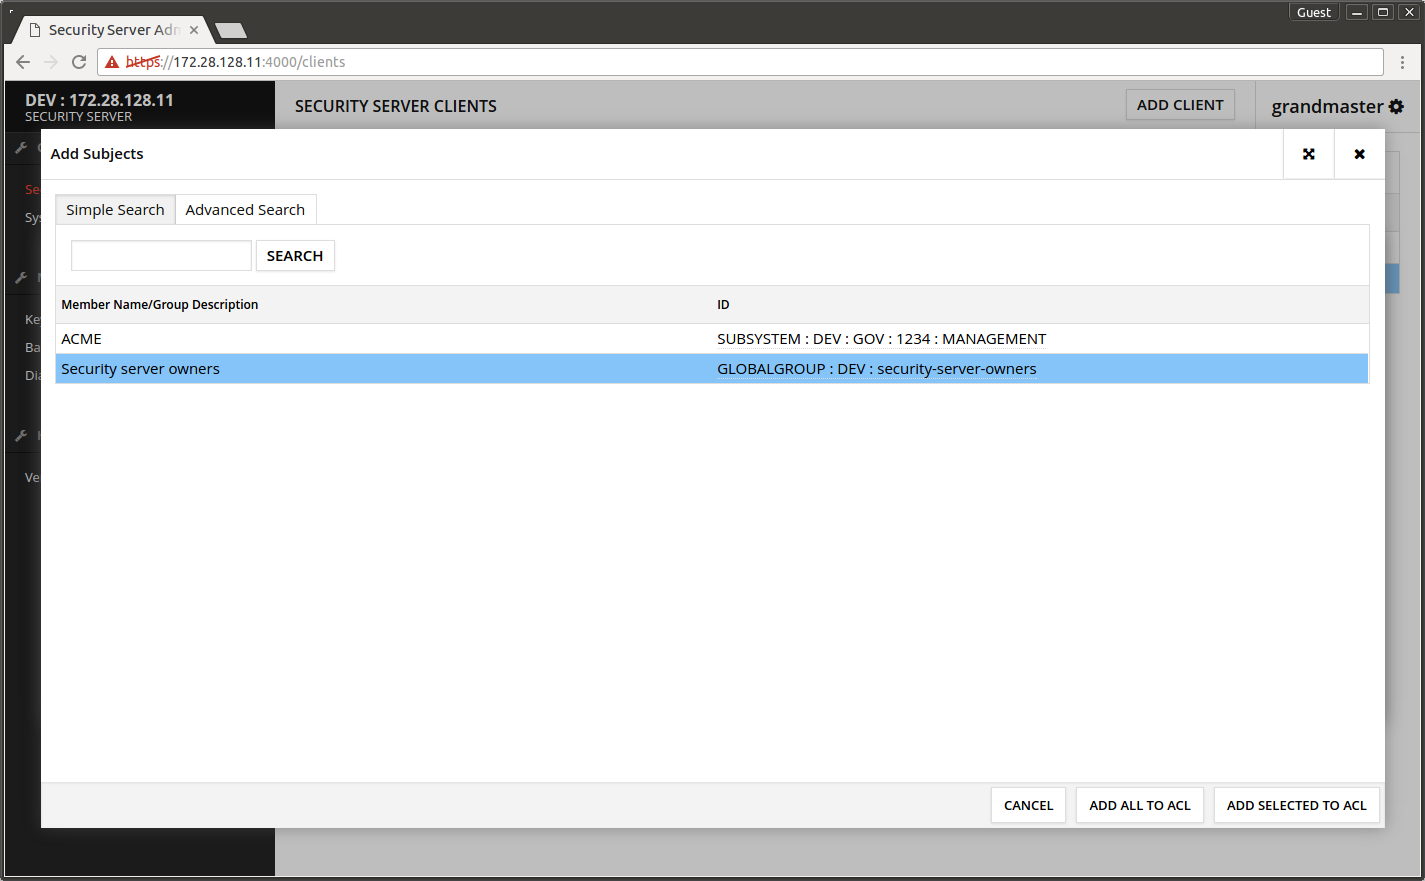
The ACL now shows the Security server owners.

- Repeat adding the user rights to other WSDL services clientReg and authCertDeletion.
Eventually, all of the WSDL services have access rights defined and the management services are ready to use.
4. Testing the management services
4.1 Add subsystem to Central Server
You can test the management services' functionality by adding a subsystem to the Security Server.
- Open the Central Server's admin interface.
- Open Security Servers.
- Select the security server of the management services.
- Press DETAILS.

- Open Clients tab.
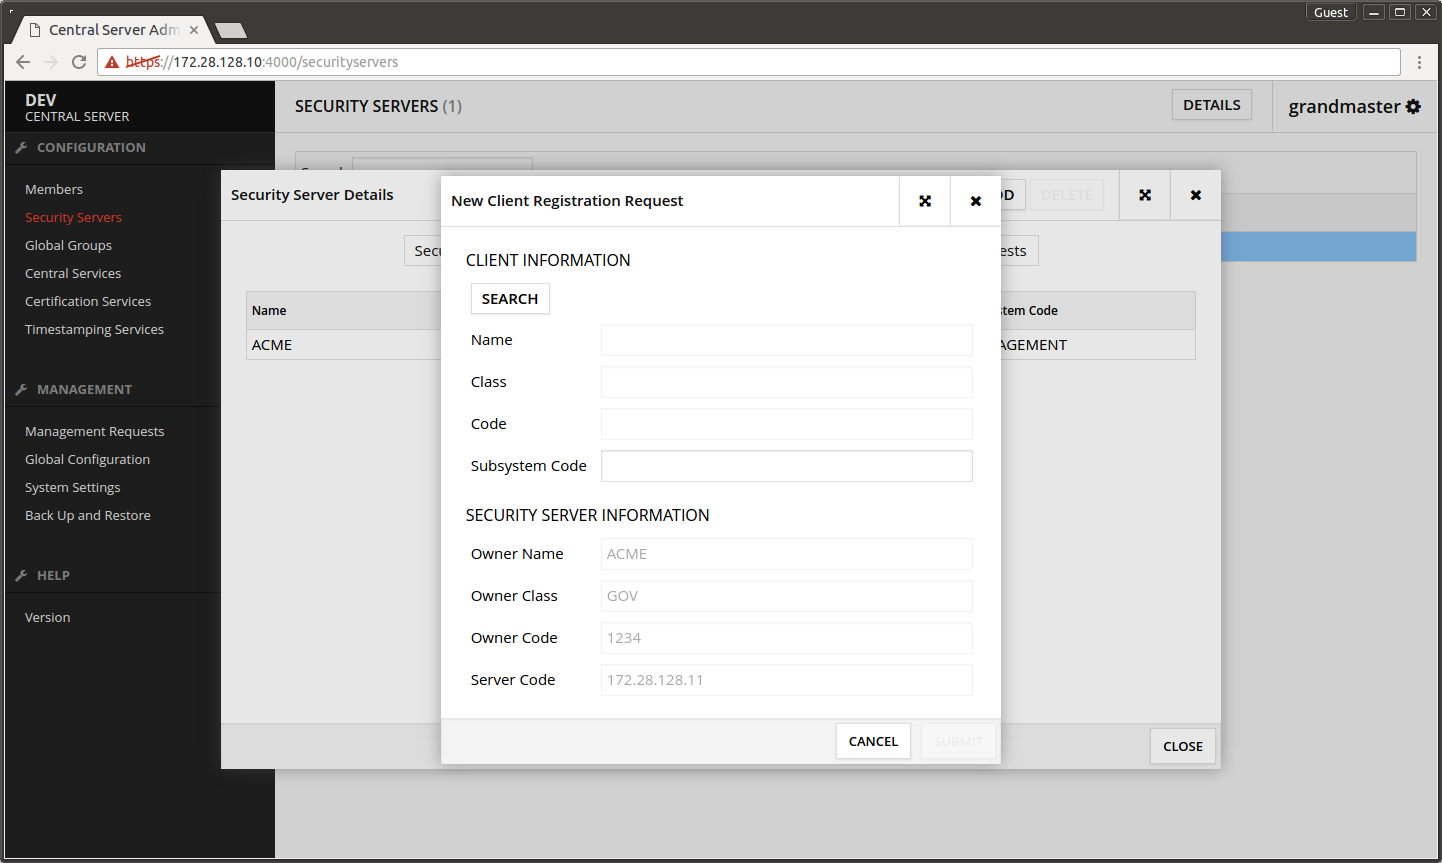
- Press ADD.
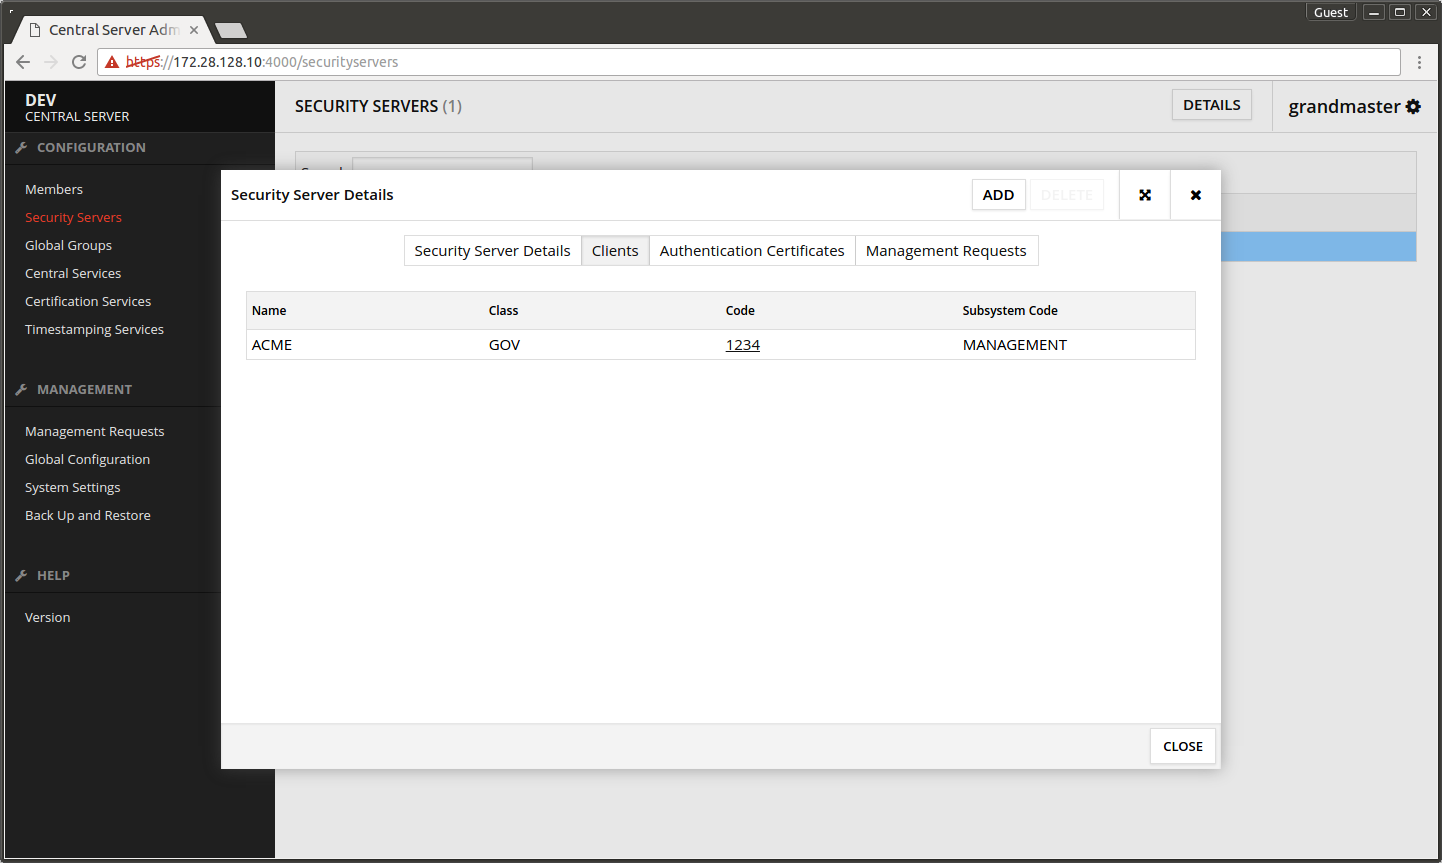
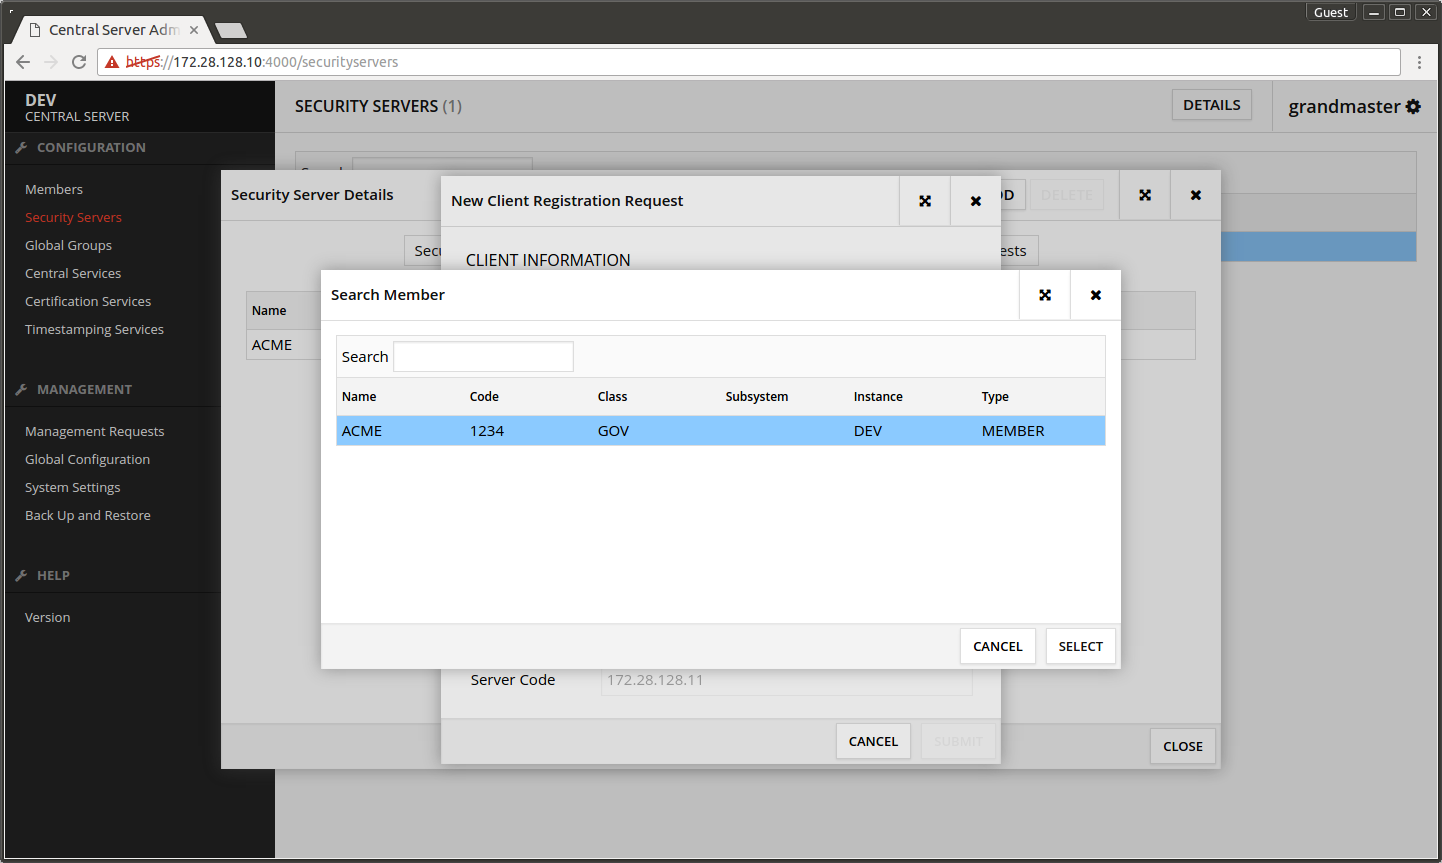
- Press SEARCH.
- Select the Security Server's owner organization from the list.
- Press SELECT.
- Subsystem Code - write here TEST.
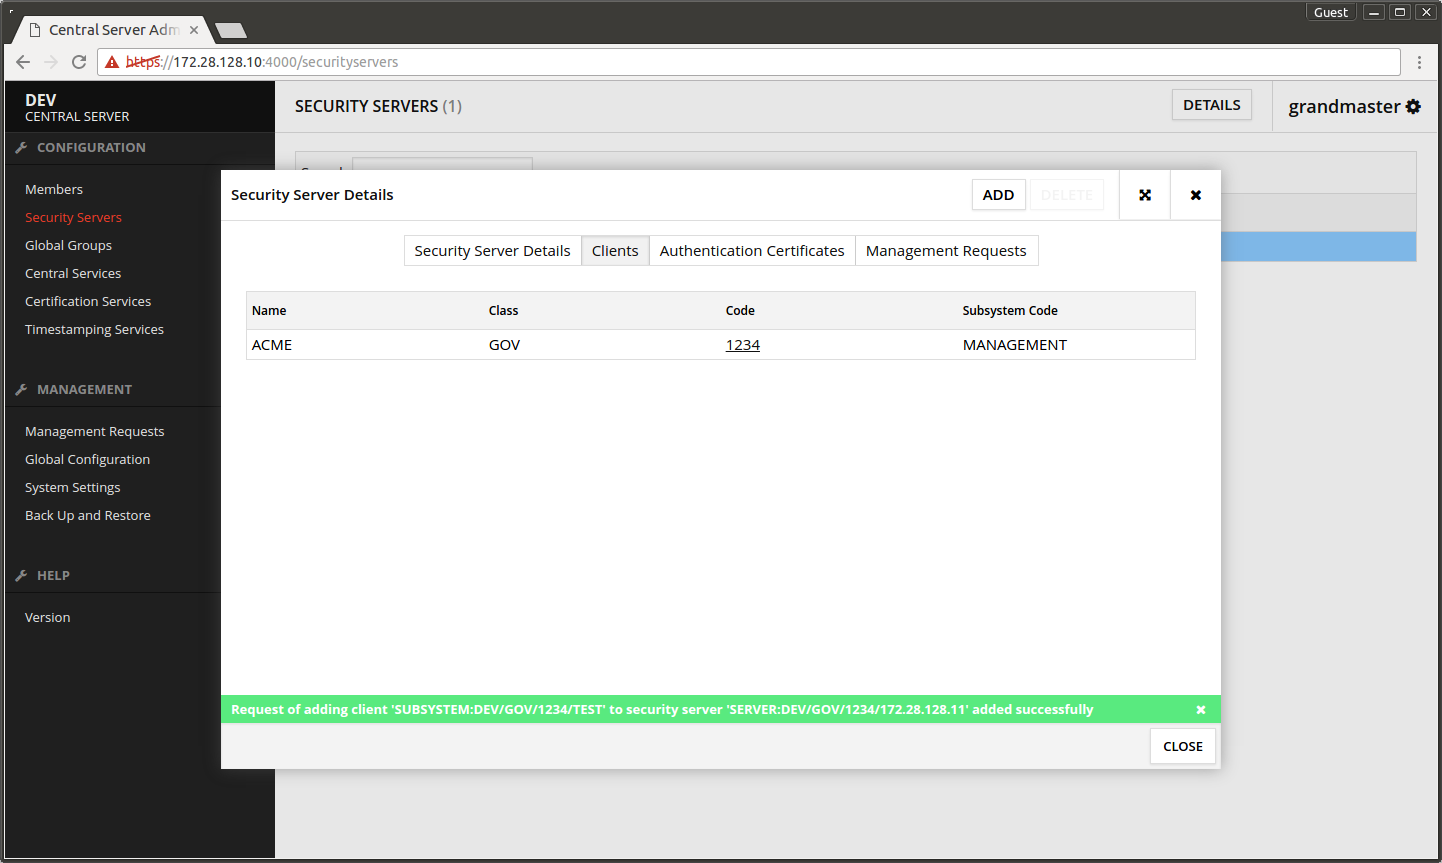
- Press SUBMIT.
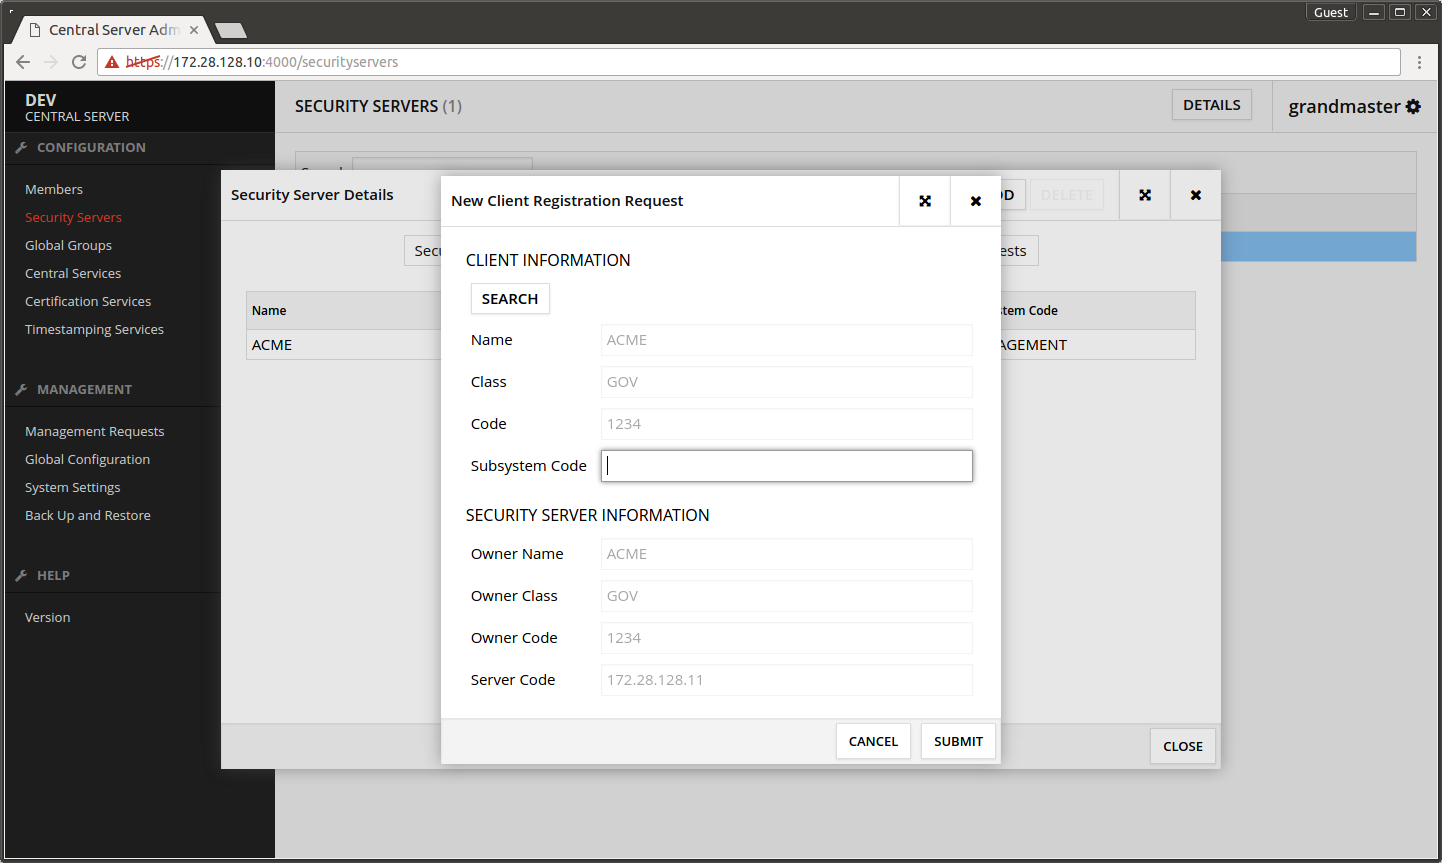
The screen after making the registration request.
4.2 Add subsystem to Security Server
- Open the Security Server's admin interface.
- Open Security Server Clients.
- Press ADD CLIENT.

- Press SELECT CLIENT FROM GLOBAL LIST.

- Press SEARCH.
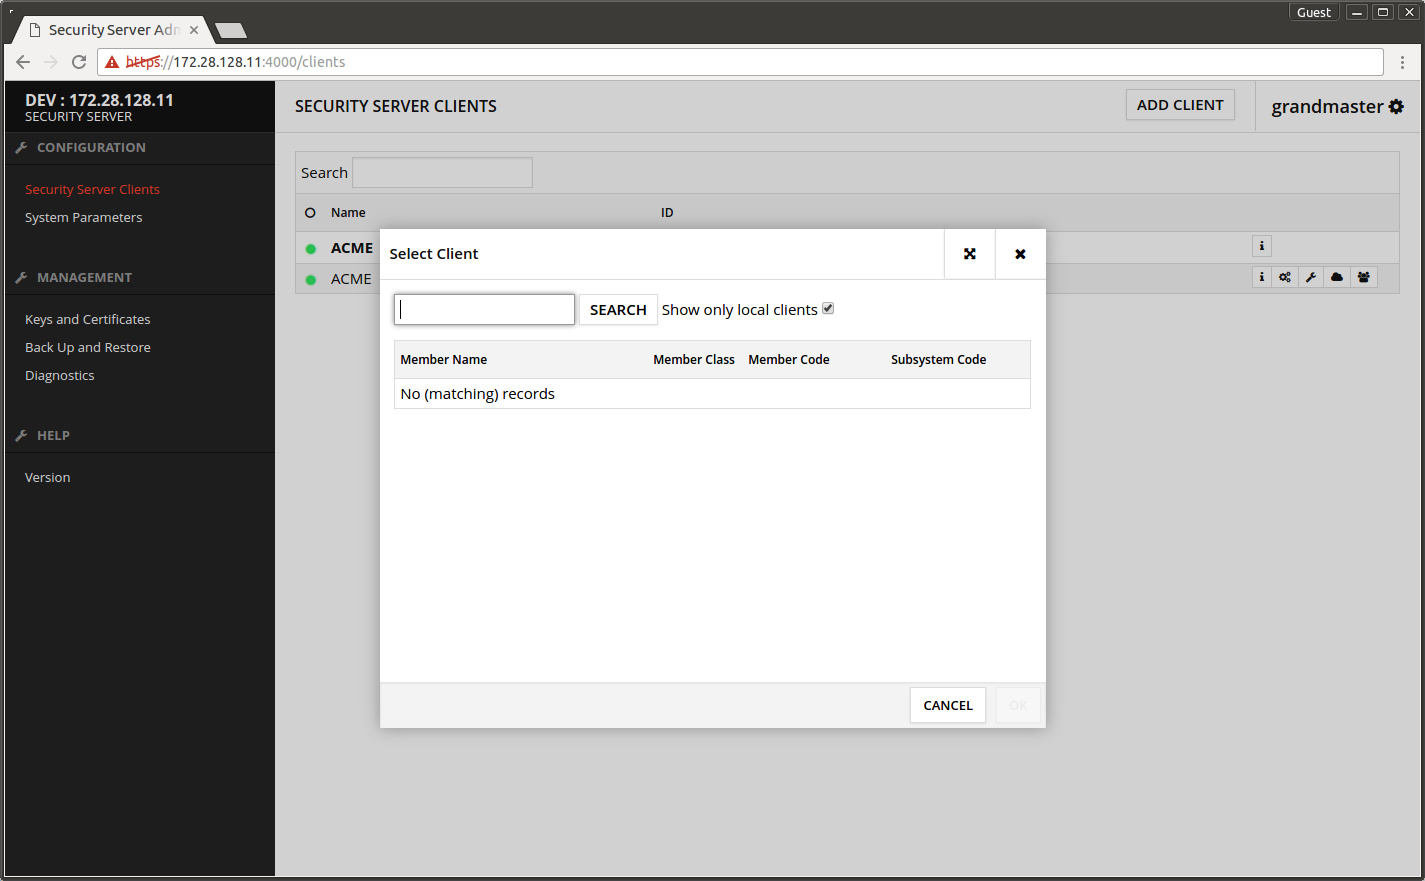
- Select TEST subsystem from the list.
- Press OK.

- Press OK.

4.3 Register the subsystem
A dialog asking about subsystem registration opens.
- Press CONFIRM.
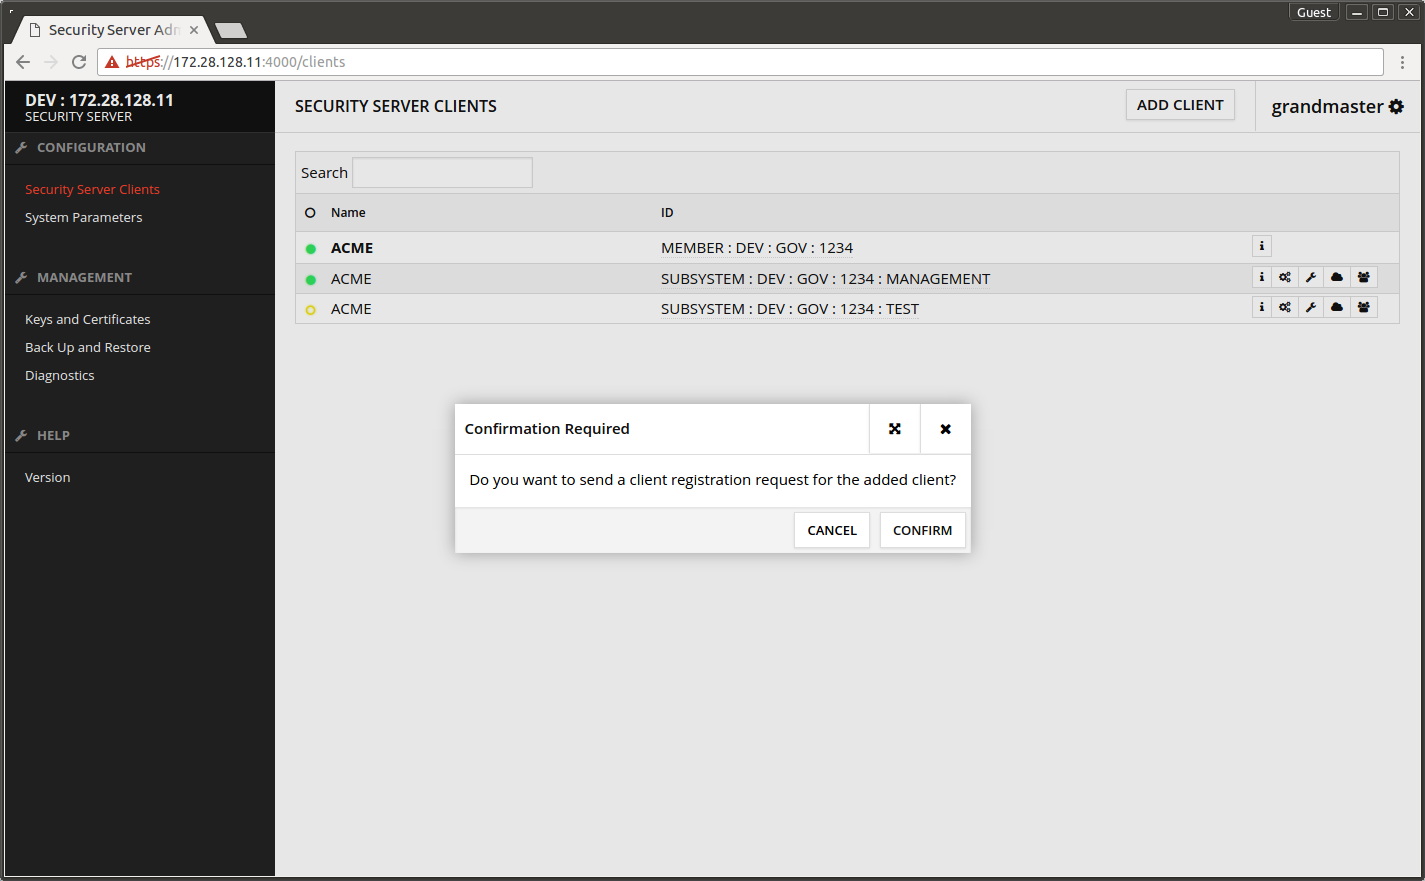
The subsystem TEST shows on the list. The yellow ball in front of it indicates the registration is not yet ready.

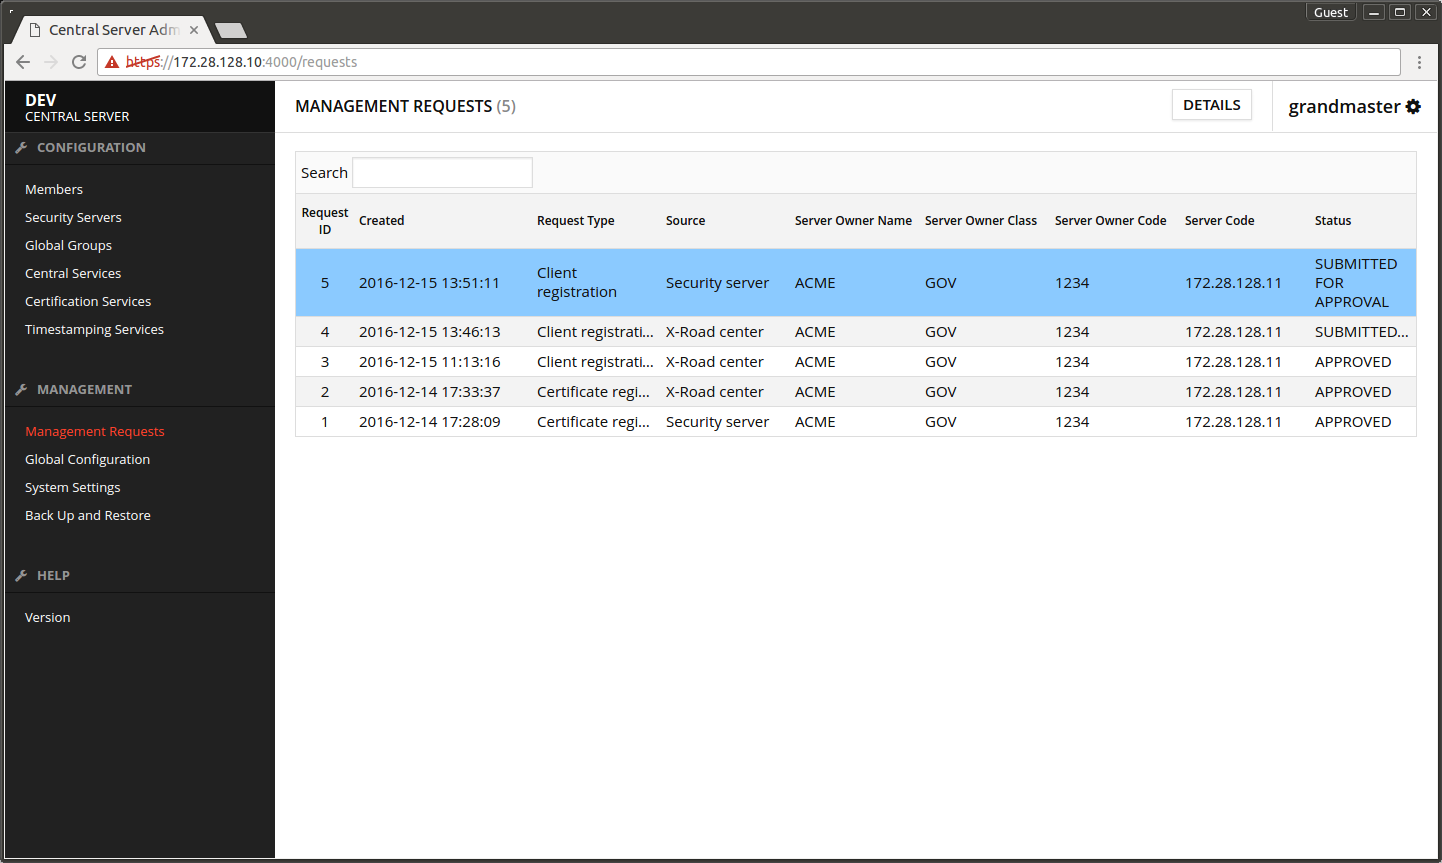
- Open the Central Server's admin interface.
- Open Management Requests.
- Select the first Client registration request that has not been approved yet.
- Press DETAILS.
- Press APPROVE.
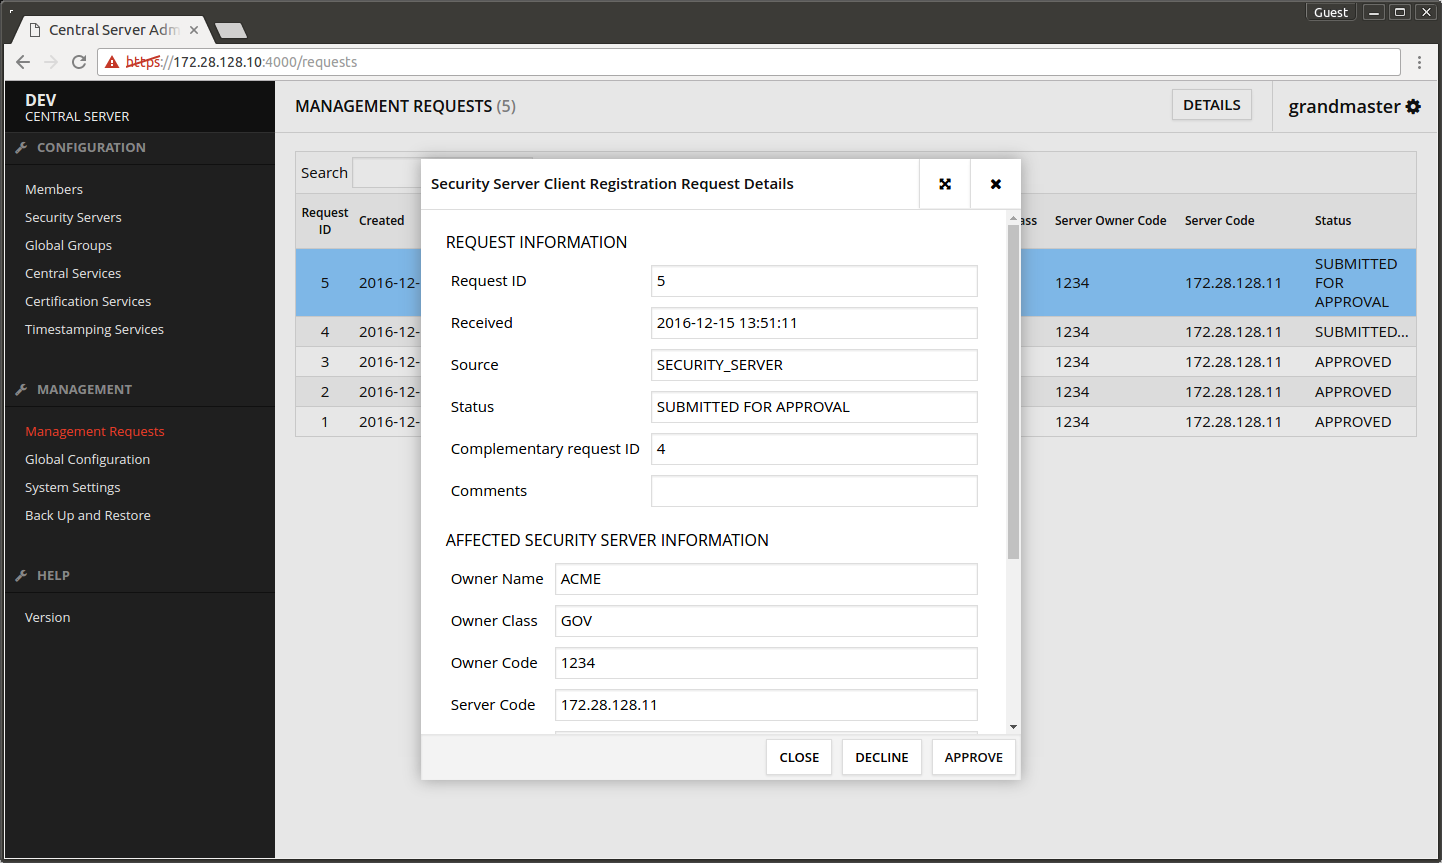
- Press CONFIRM.
The screen after accepting the management request.
- Open the Security Server administrator user interface.
- Wait until the yellow indicator in front of TEST subsystem turns green.
The screen after the client registration has completed.

Related articles